Back in January, I was considering a July 2019 track day at the earliest, so I’d been focusing more on the Datsun project. My tentative plan was to get the Datsun motor apart, sent to machine shop(s), then start working on the Saab.
Then Kevin emailed me and asked if I was interested in a Circuit of the Americas track weekend in May.
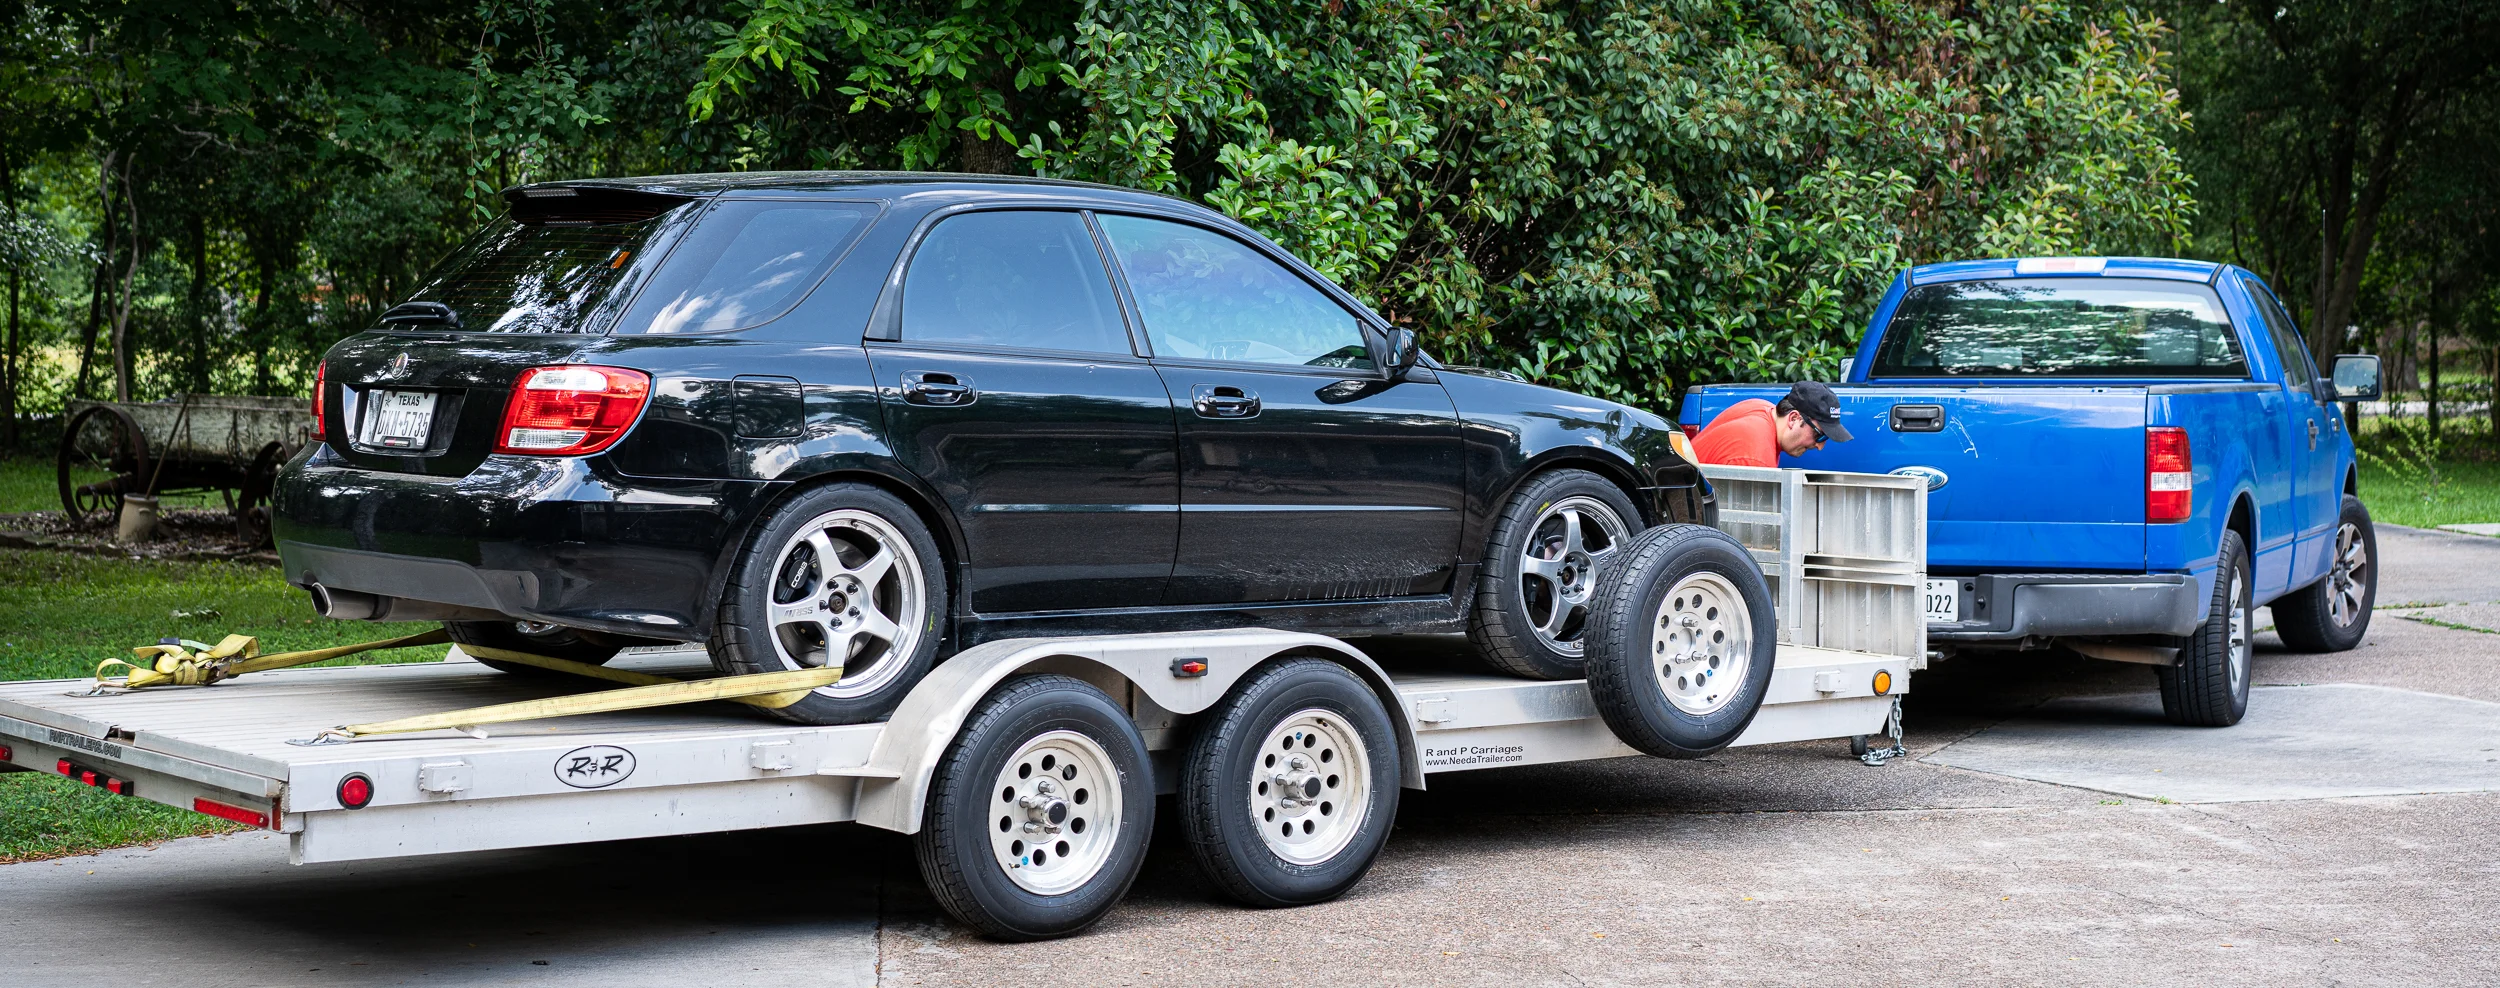
It was gonna be mighty close, but Nik agreed to split driving duties and costs with me and we could use his truck and trailer to transport the car.
Mad dash commence!
If you recall from the last post, I was testing out some big brakes that Nik had on the shelf.
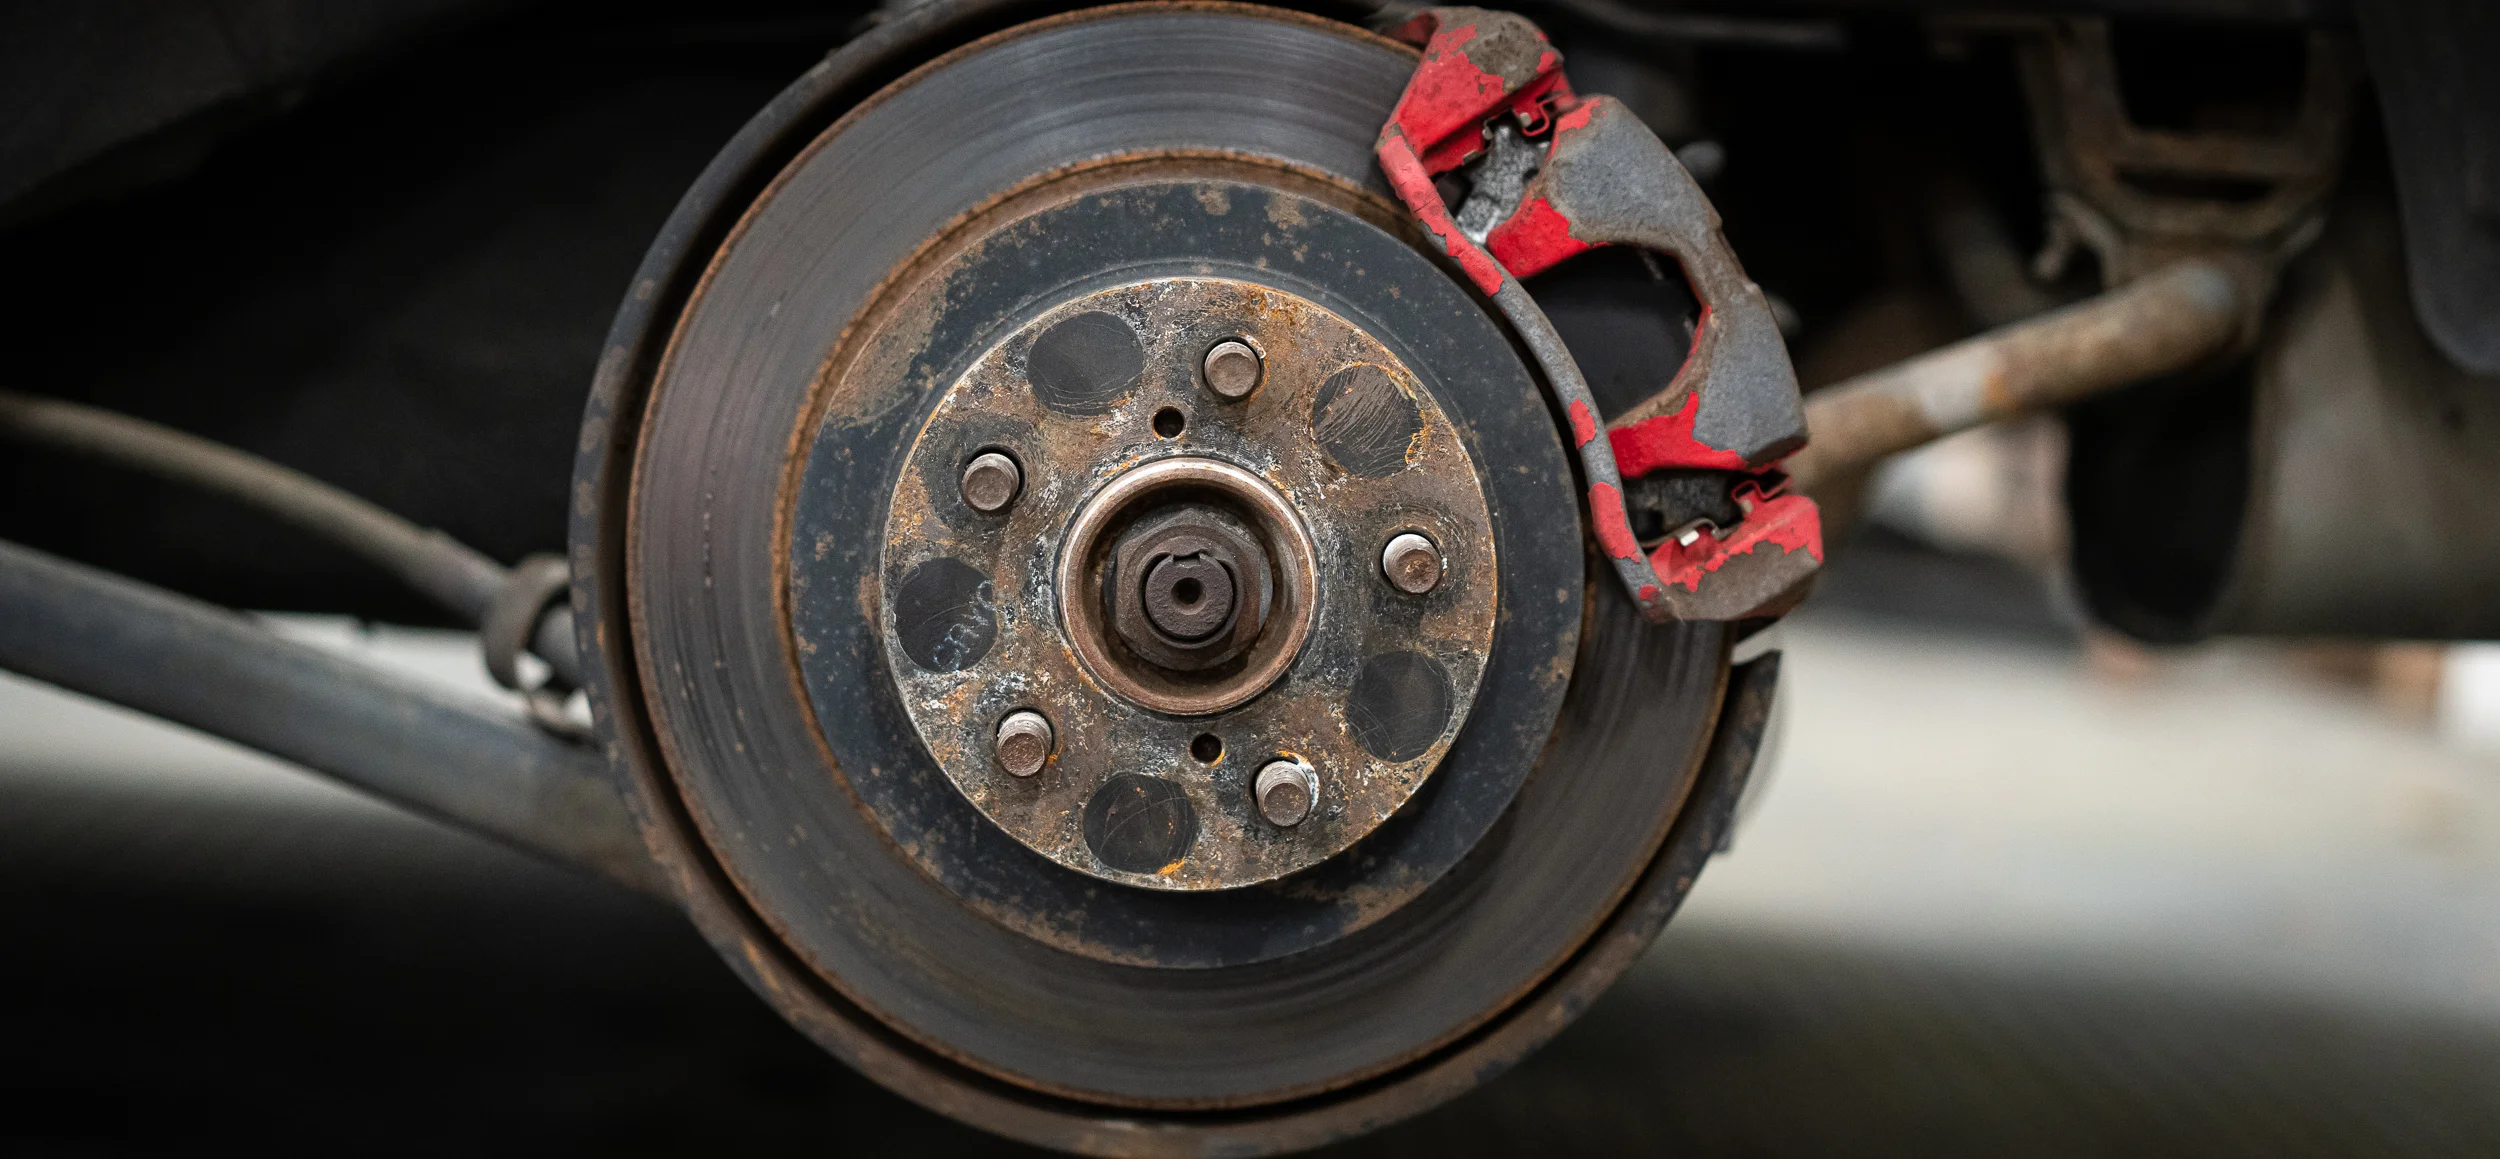
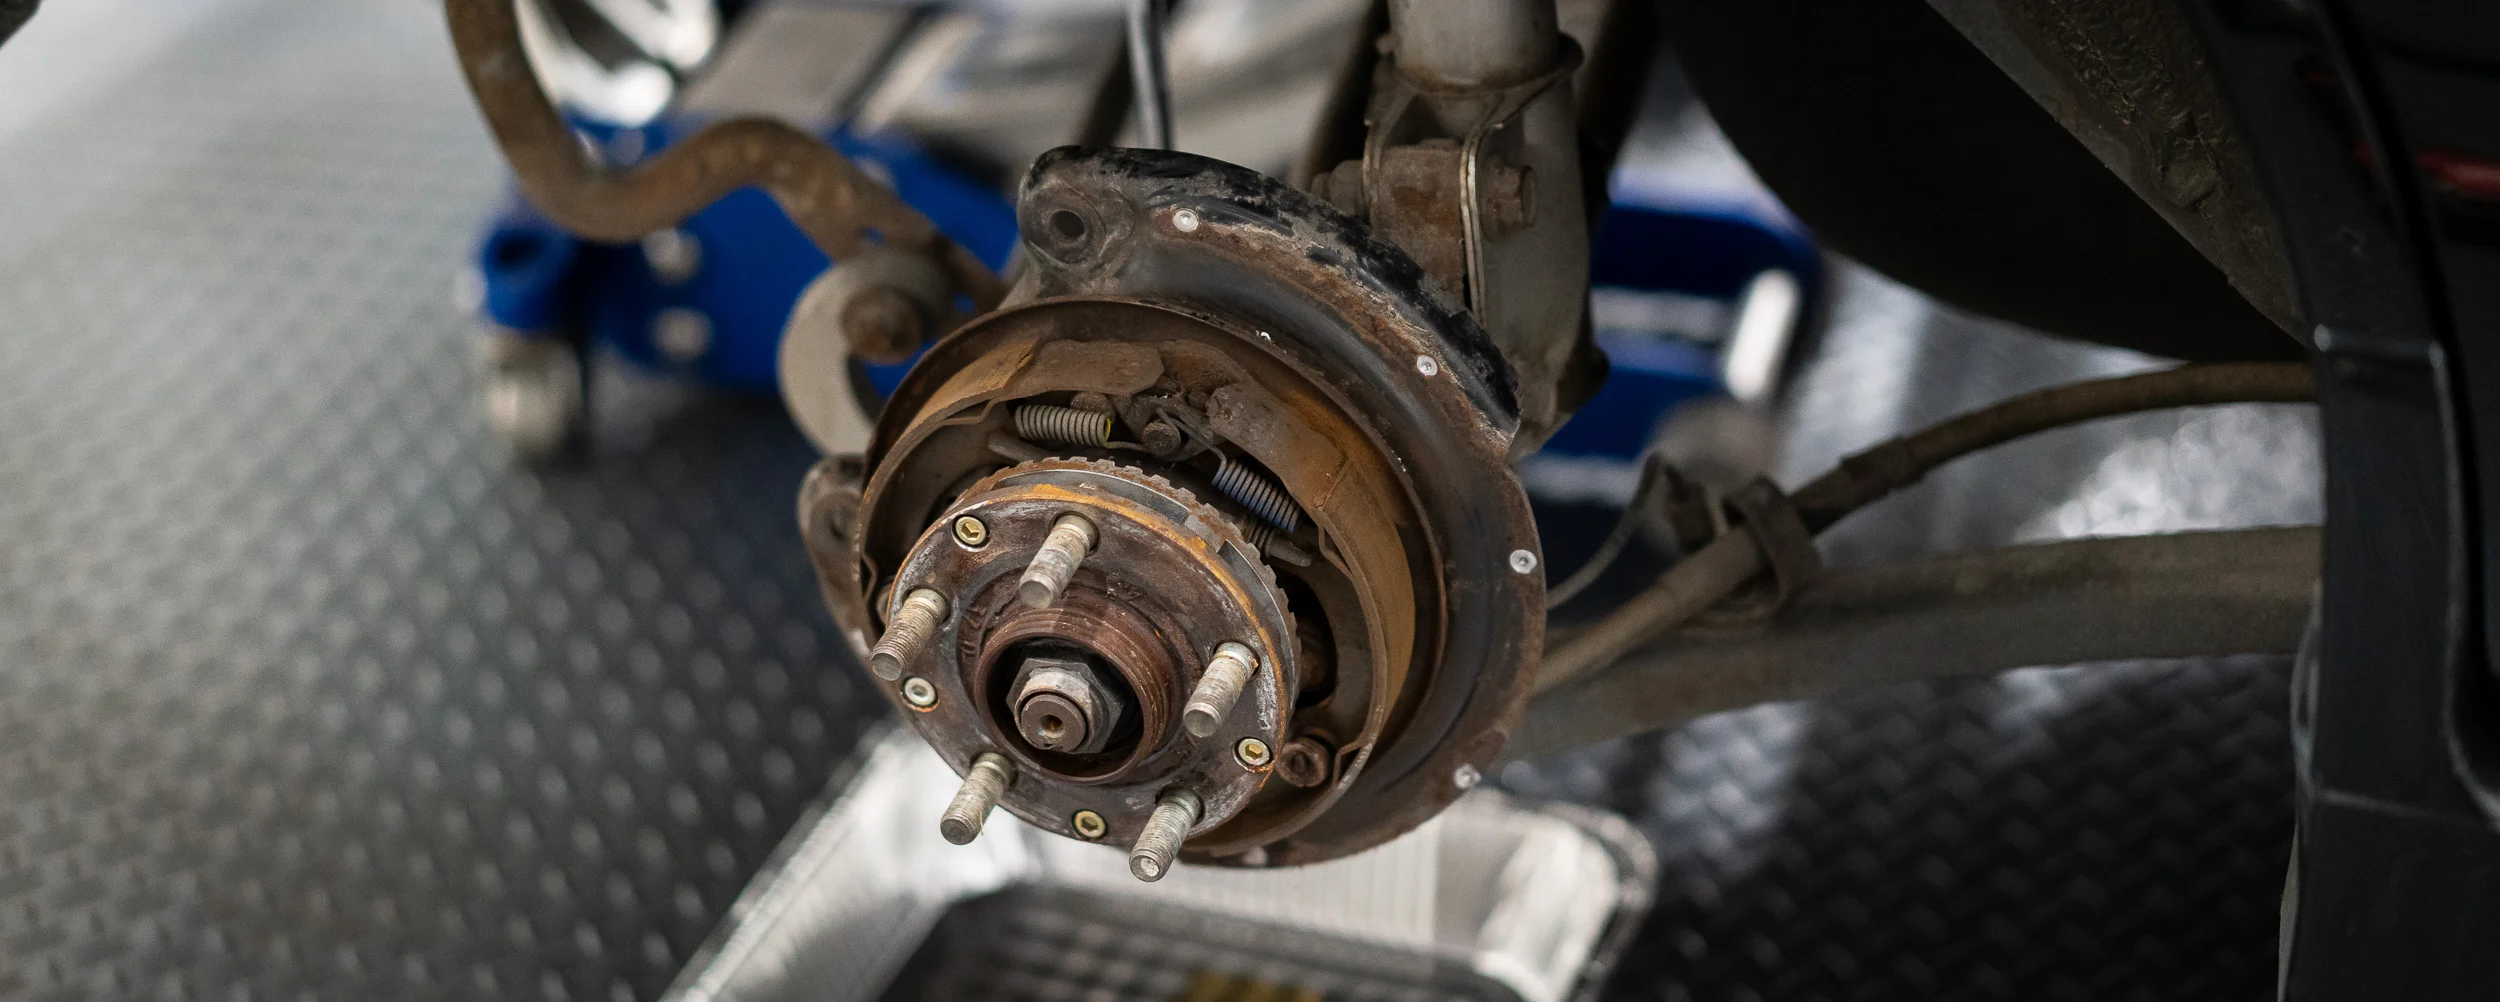
Here’s a reminder of what the front stock setup looks like. Sliding 2-piston with a tiny rotor. This combo performs quite badly and in fact, Subaru changed to a much beefier setup for the next model year, so there’s very little pad and rotor selection for this hardware anyway.

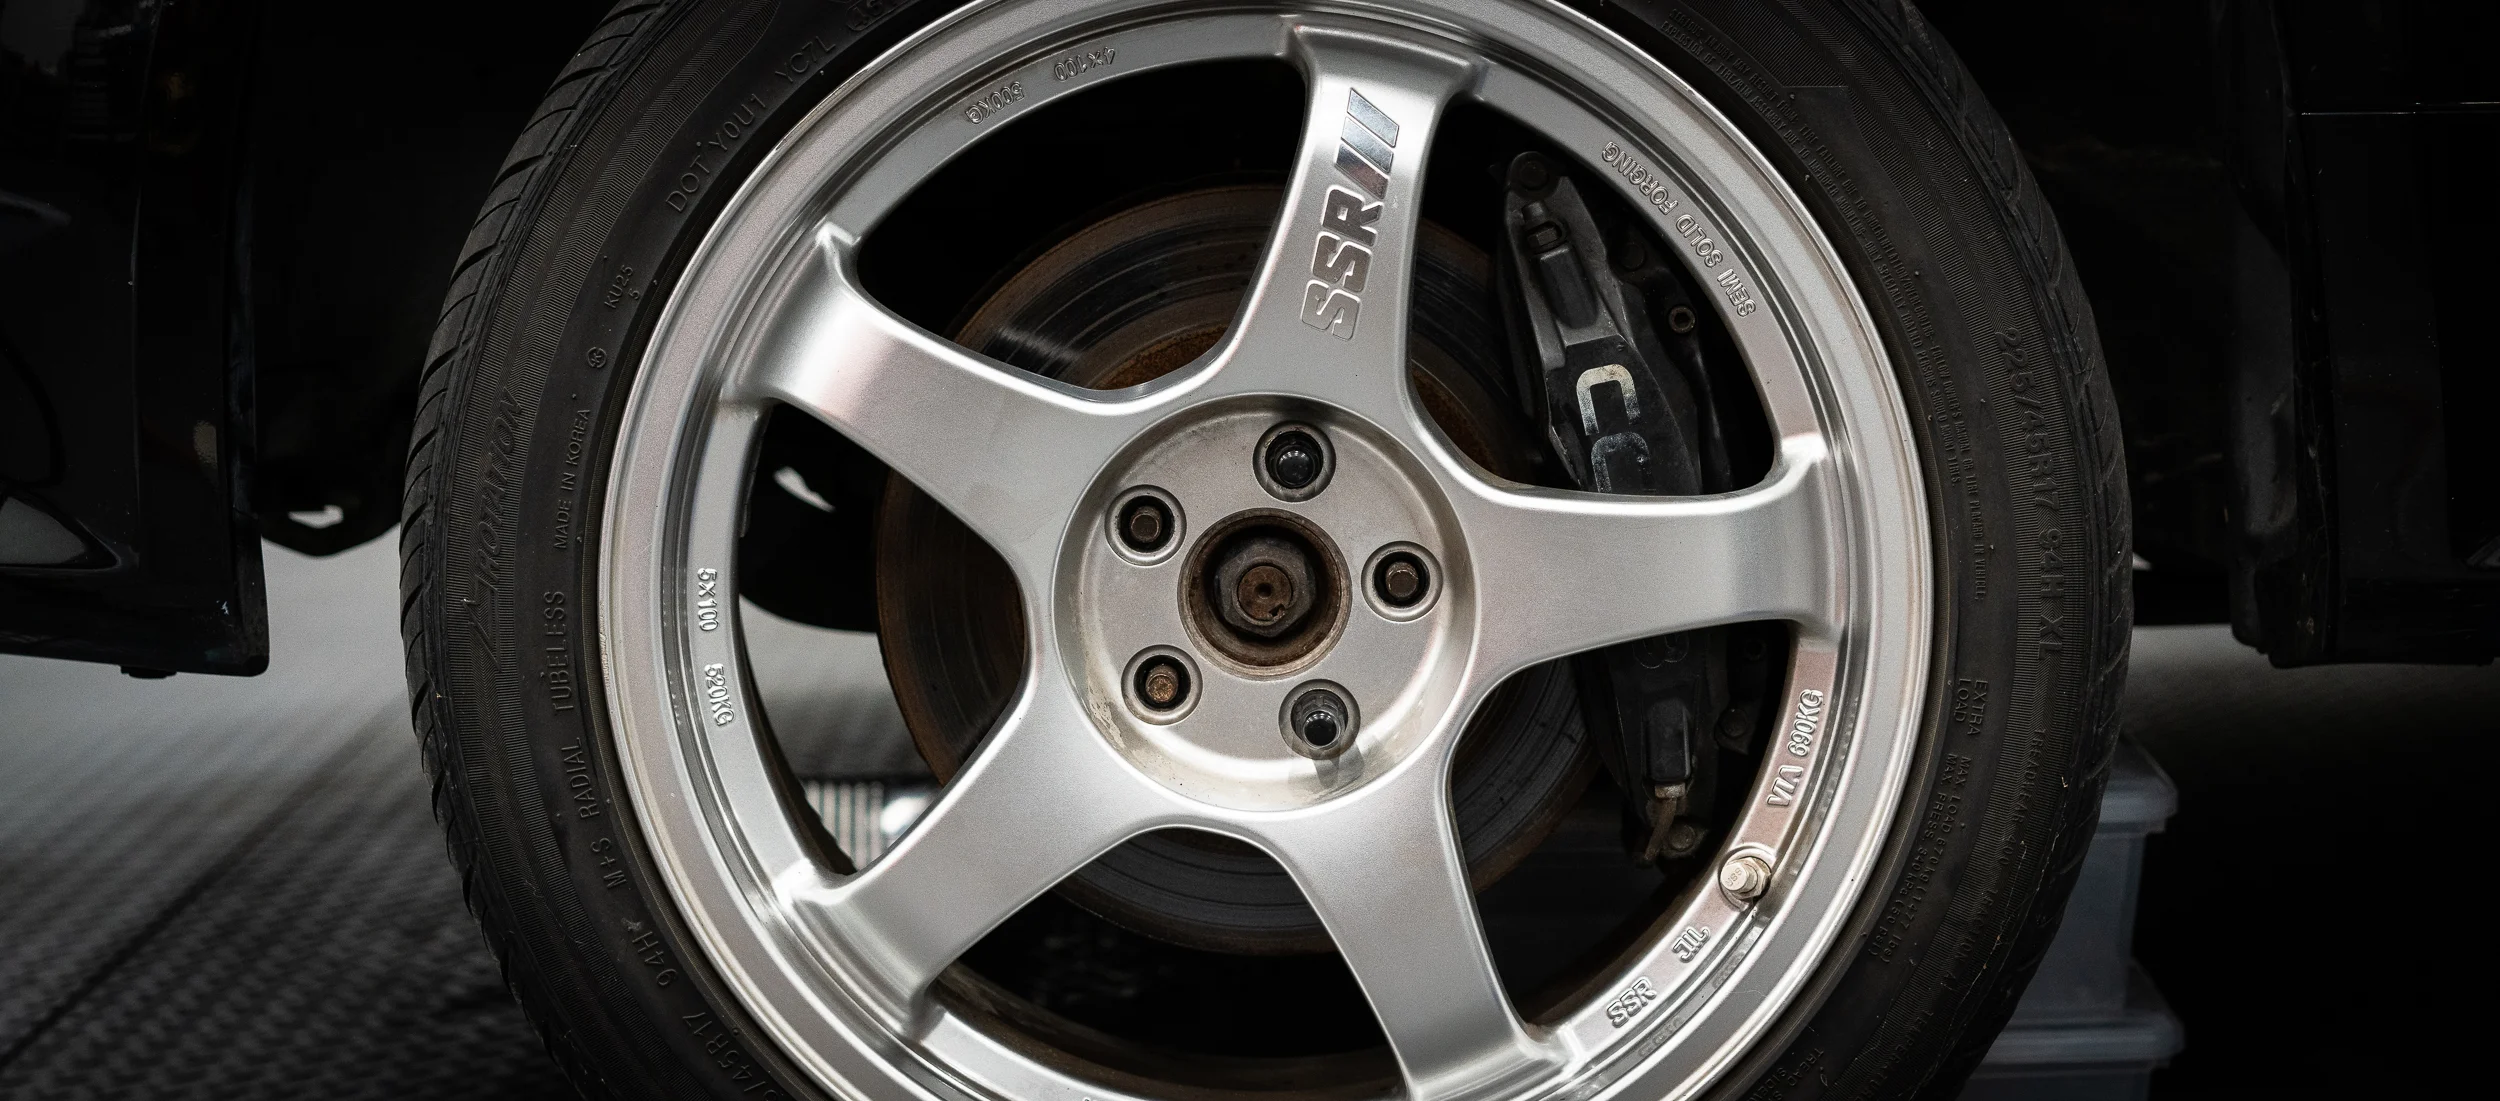
We tested the caliper and mounting bracket to see if they’d fit under the nice 17” wheels that came on the car.
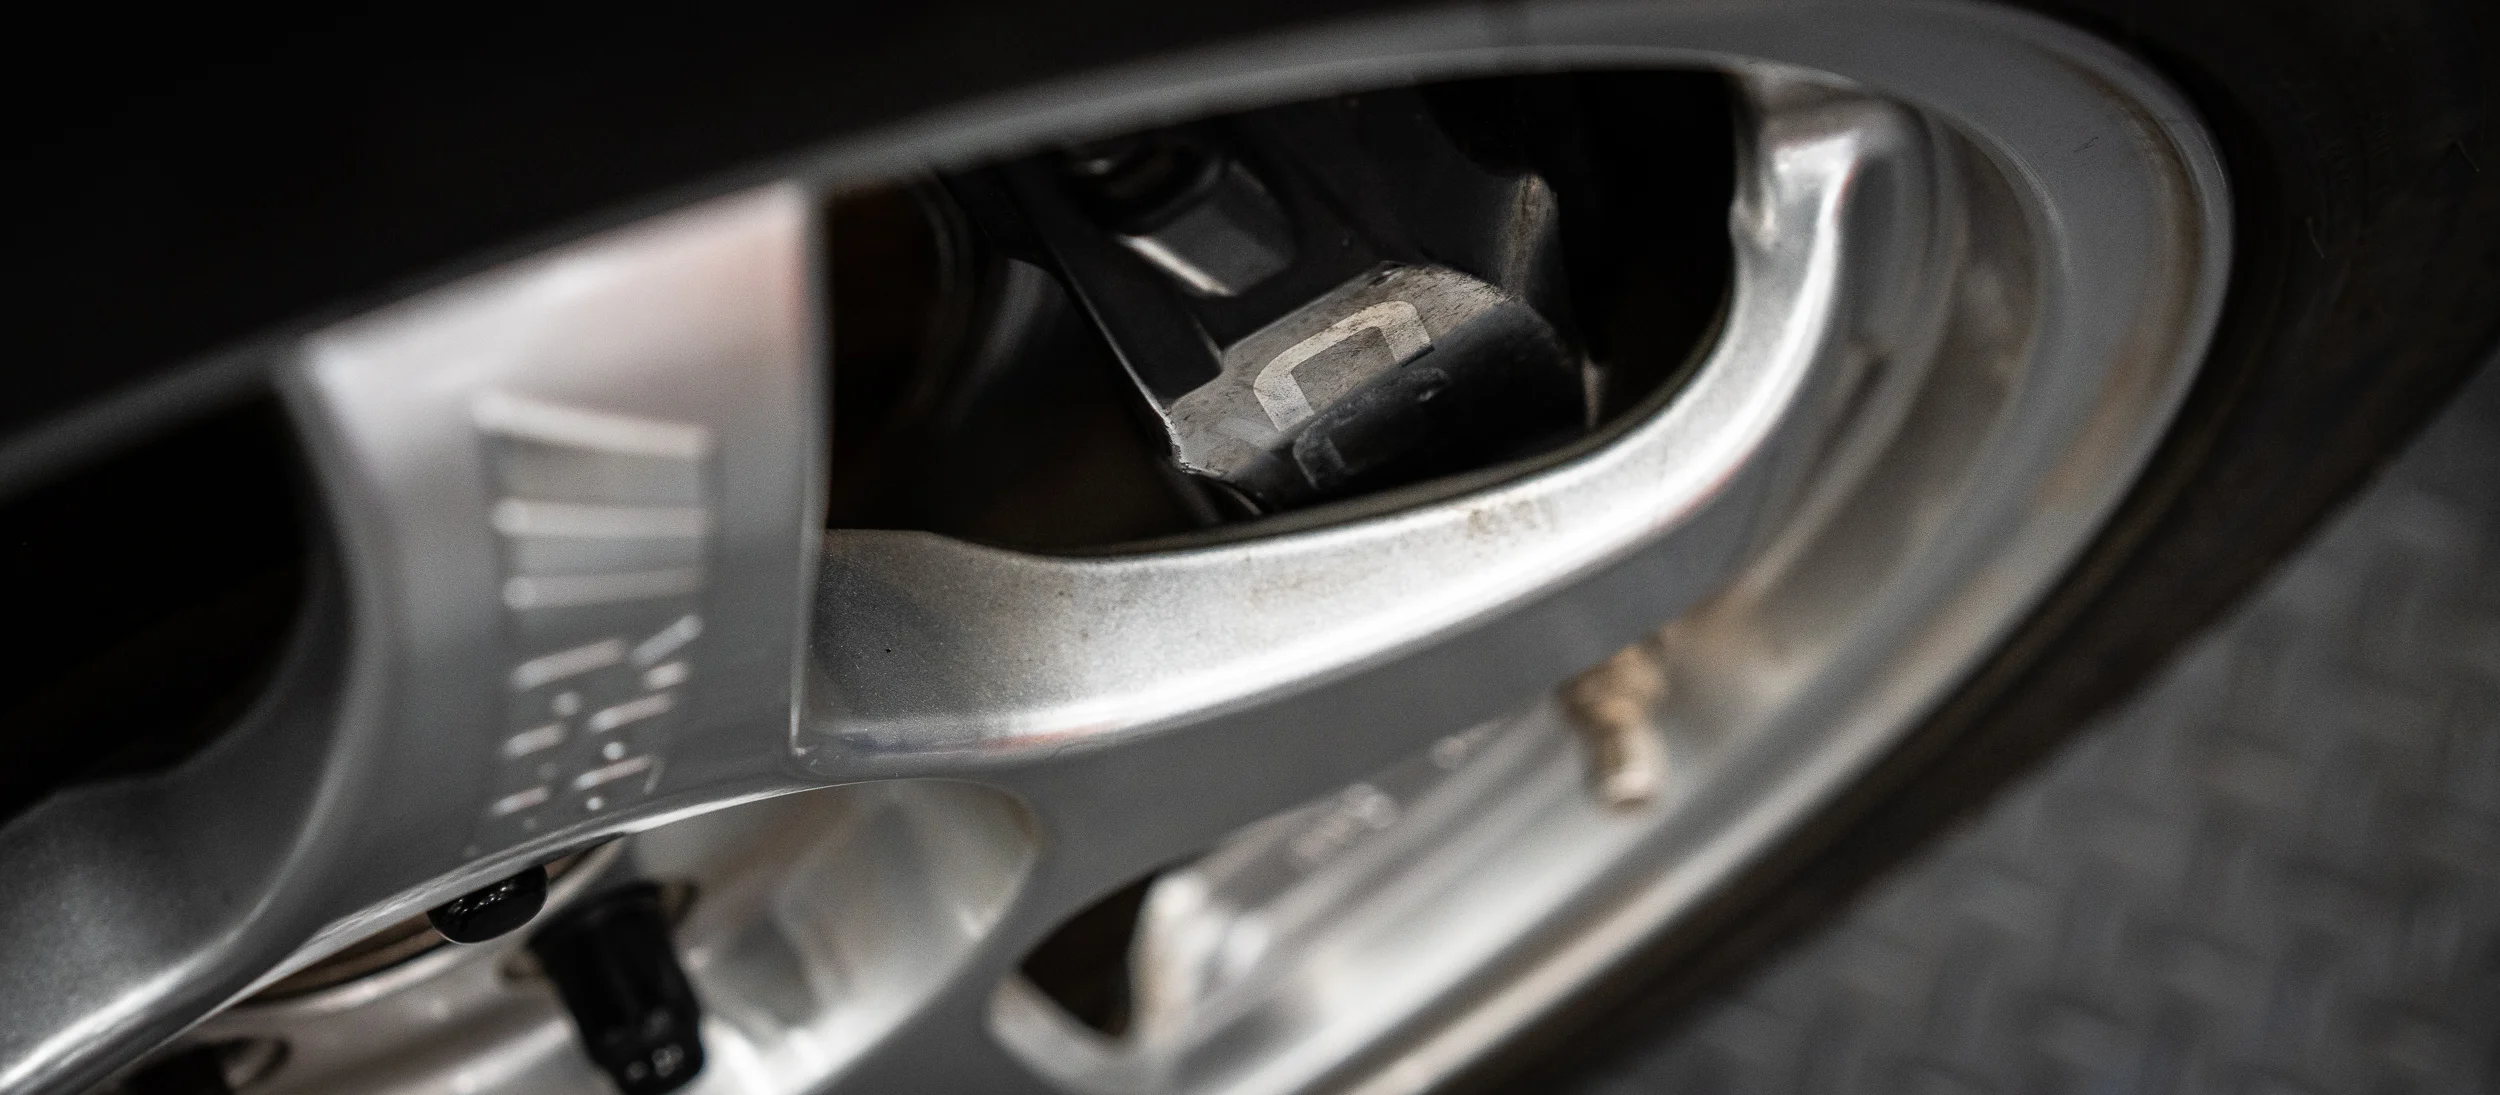
They looked good, but didn’t clear the back of the spokes (by less than a millimeter), so I ordered some 5mm wheel spacers.
Those worked.
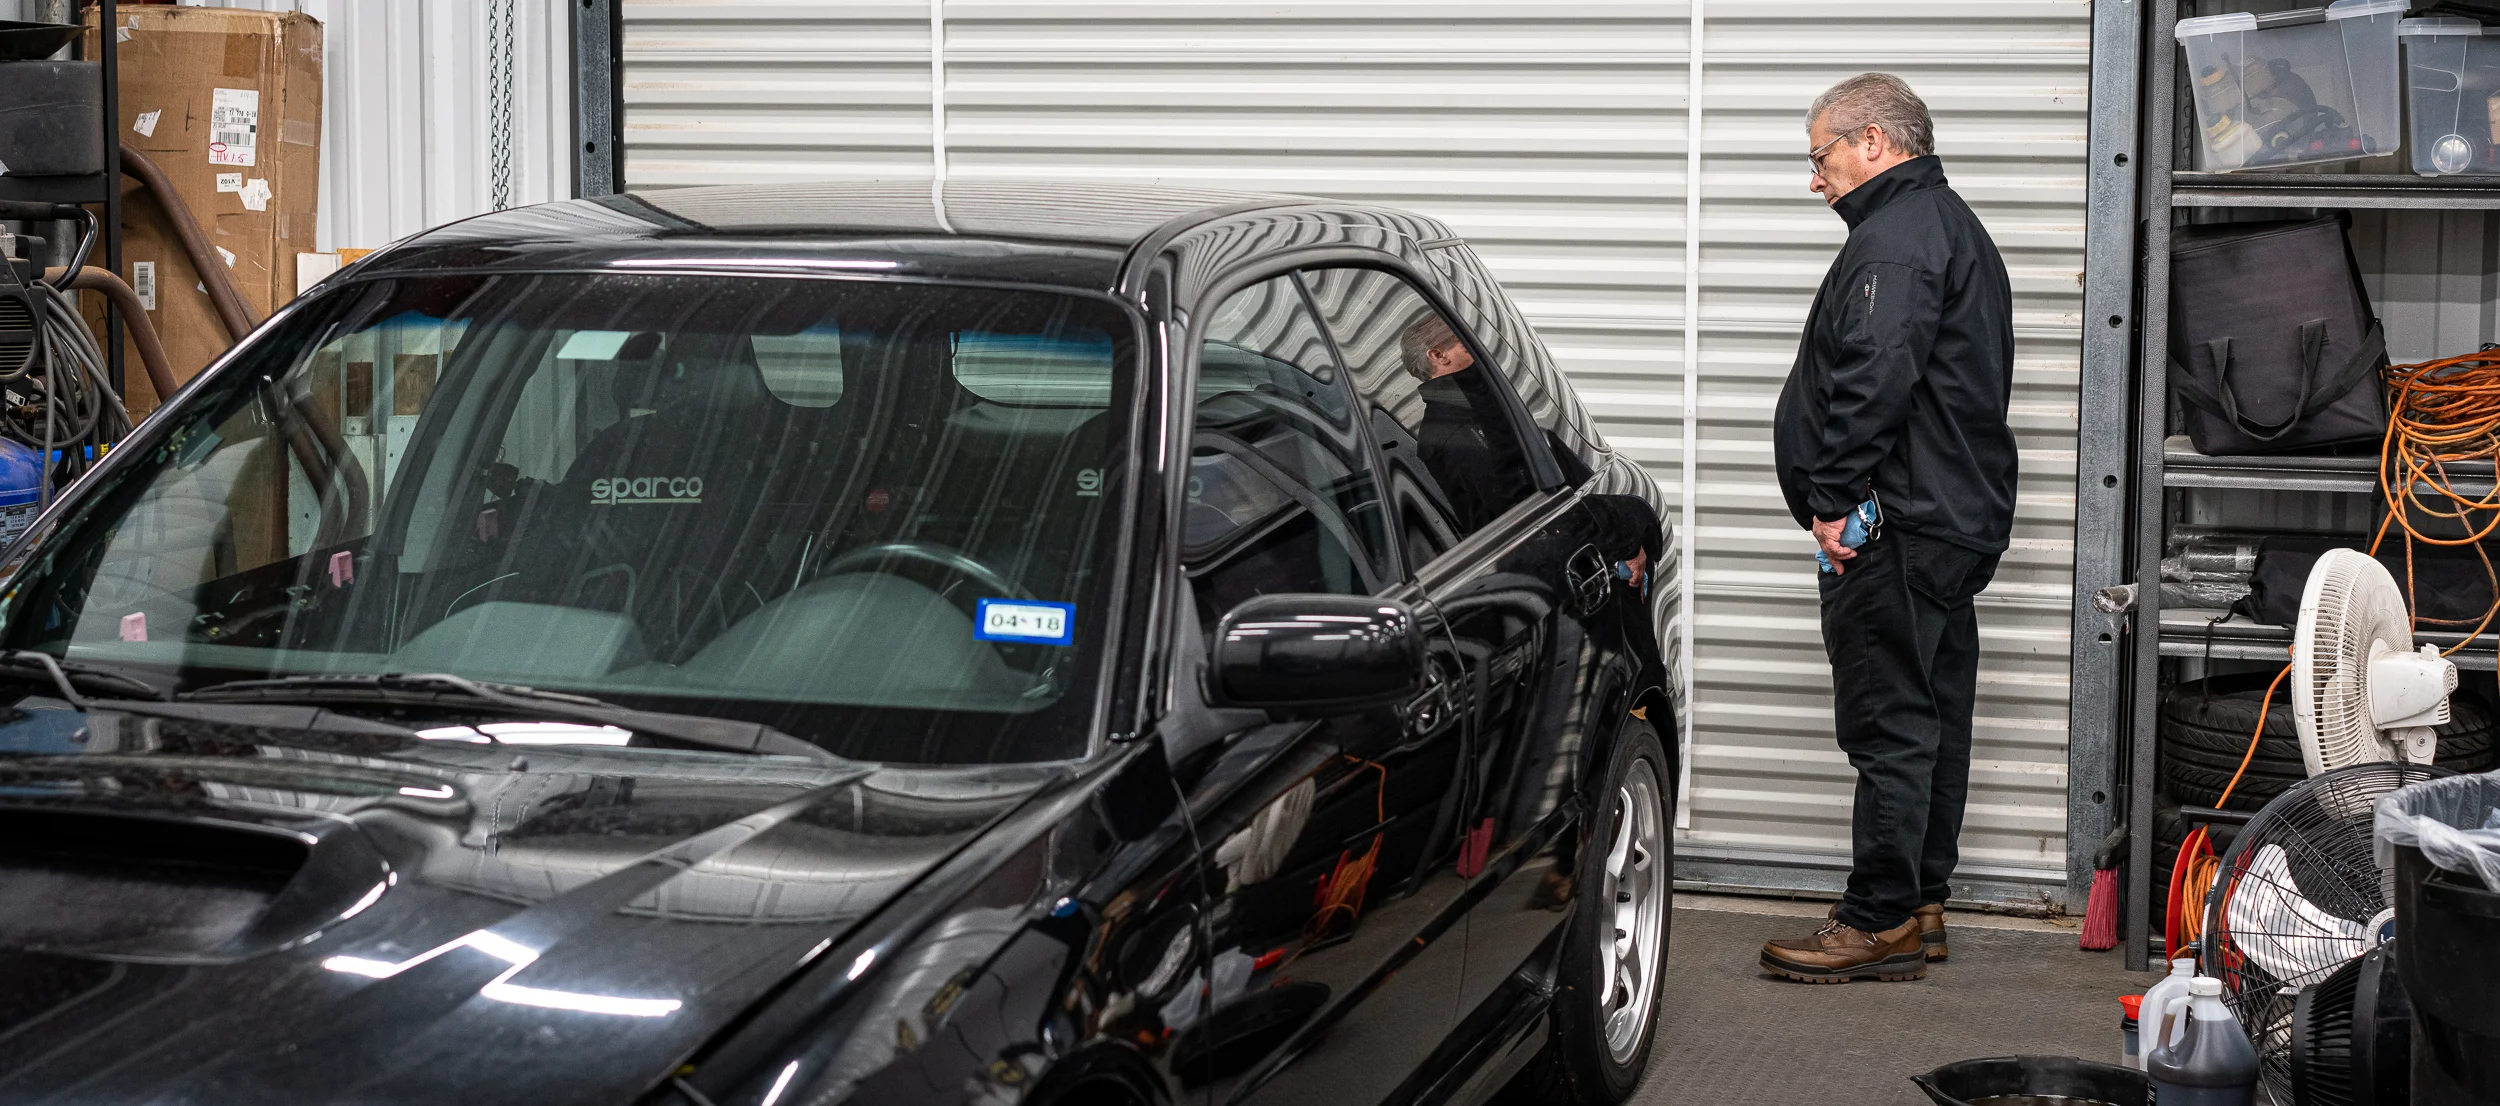
My parents came to town to visit, so I dragged Dad out to the shop while I tested the rears.

I dug out all four corners of hardware. Some of it was looking pretty rough.
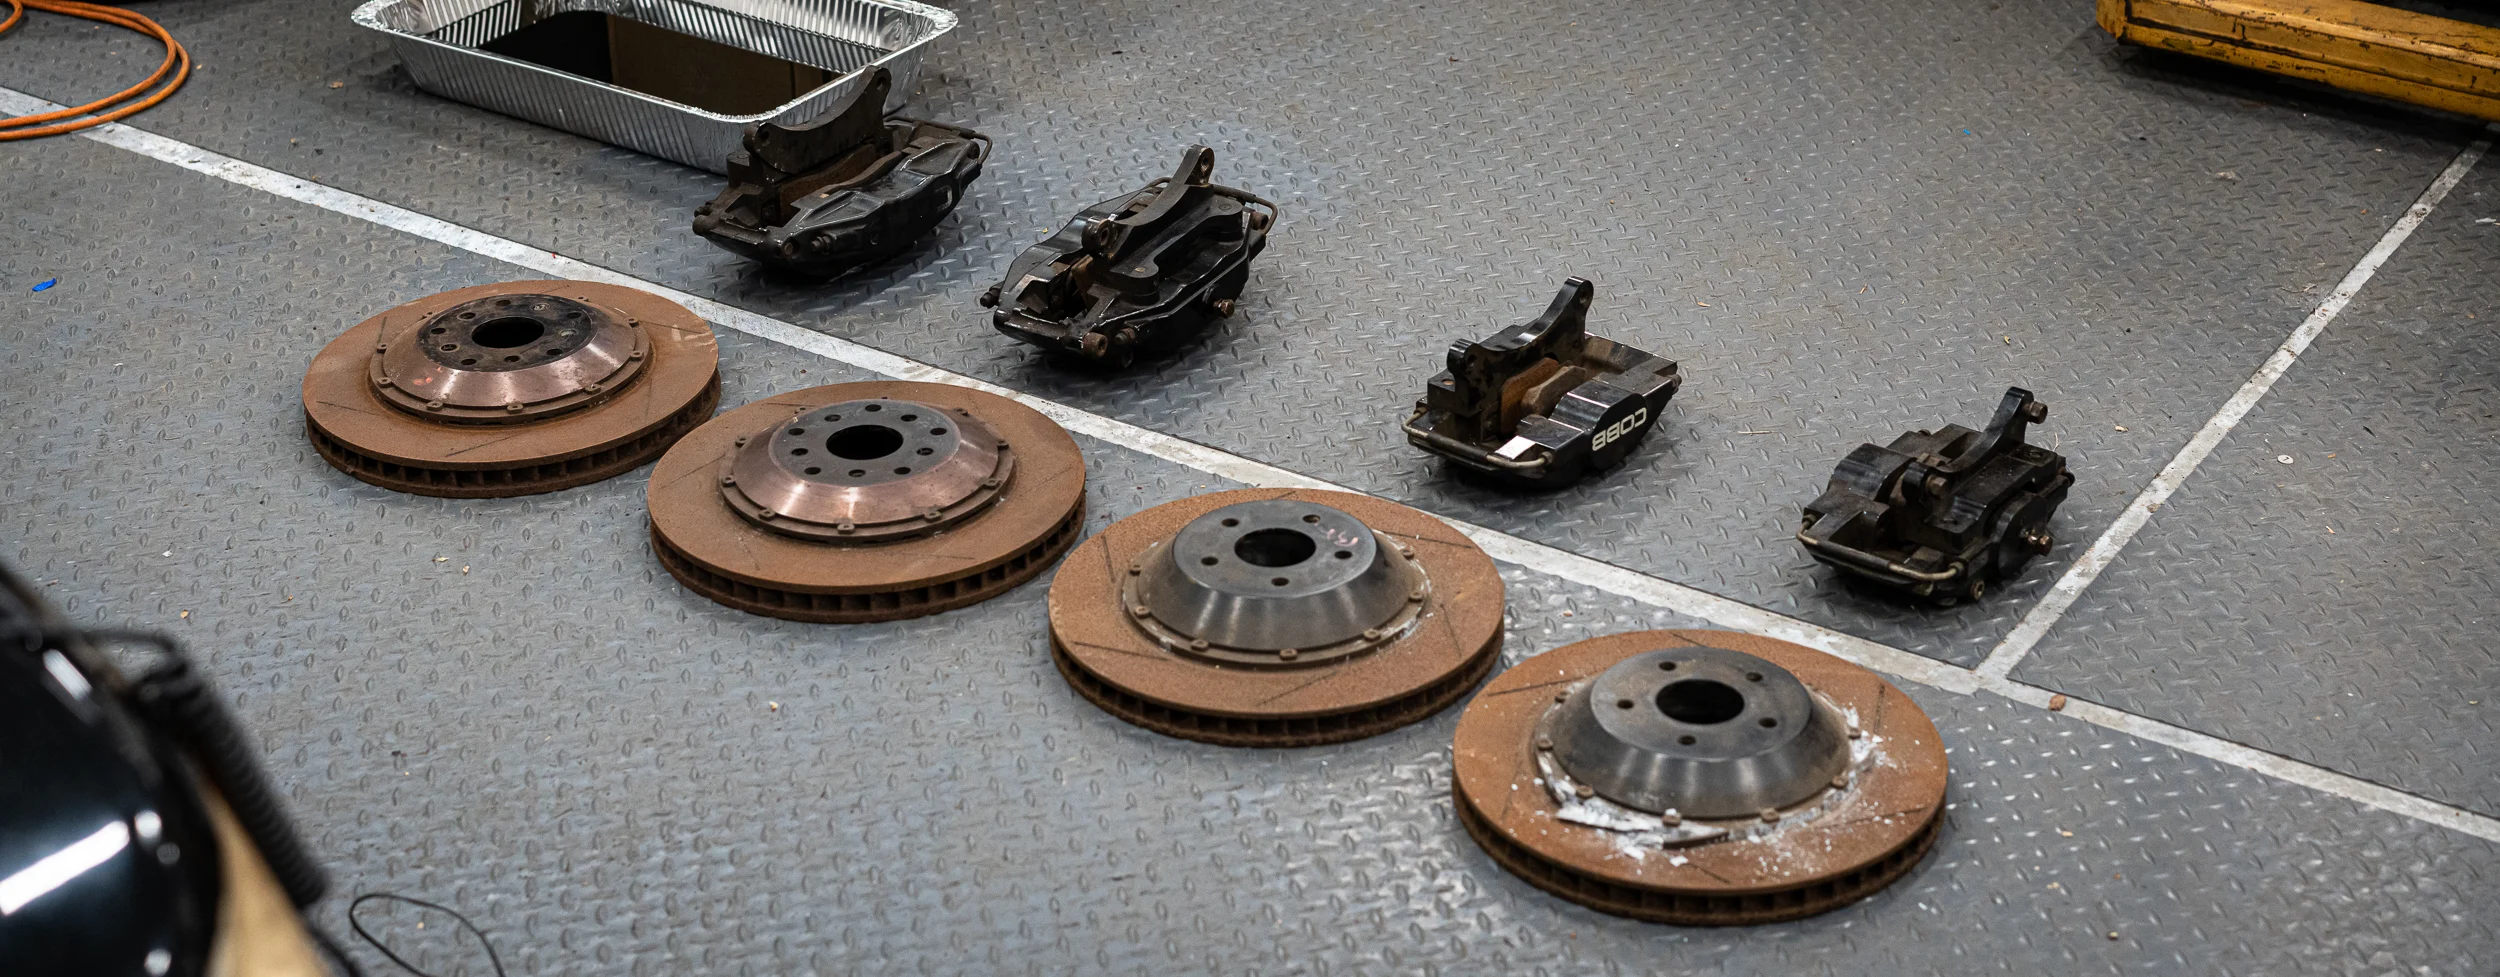
Test fit for the caliper on the rears was all good. No interference. These are re-branded Stoptech ST-22, while the fronts are the ubiquitous ST-40.
I had some concerns about the state of these hats and rotors, so I took measurements to try to find the exact model so I could track down minimum thicknesses.
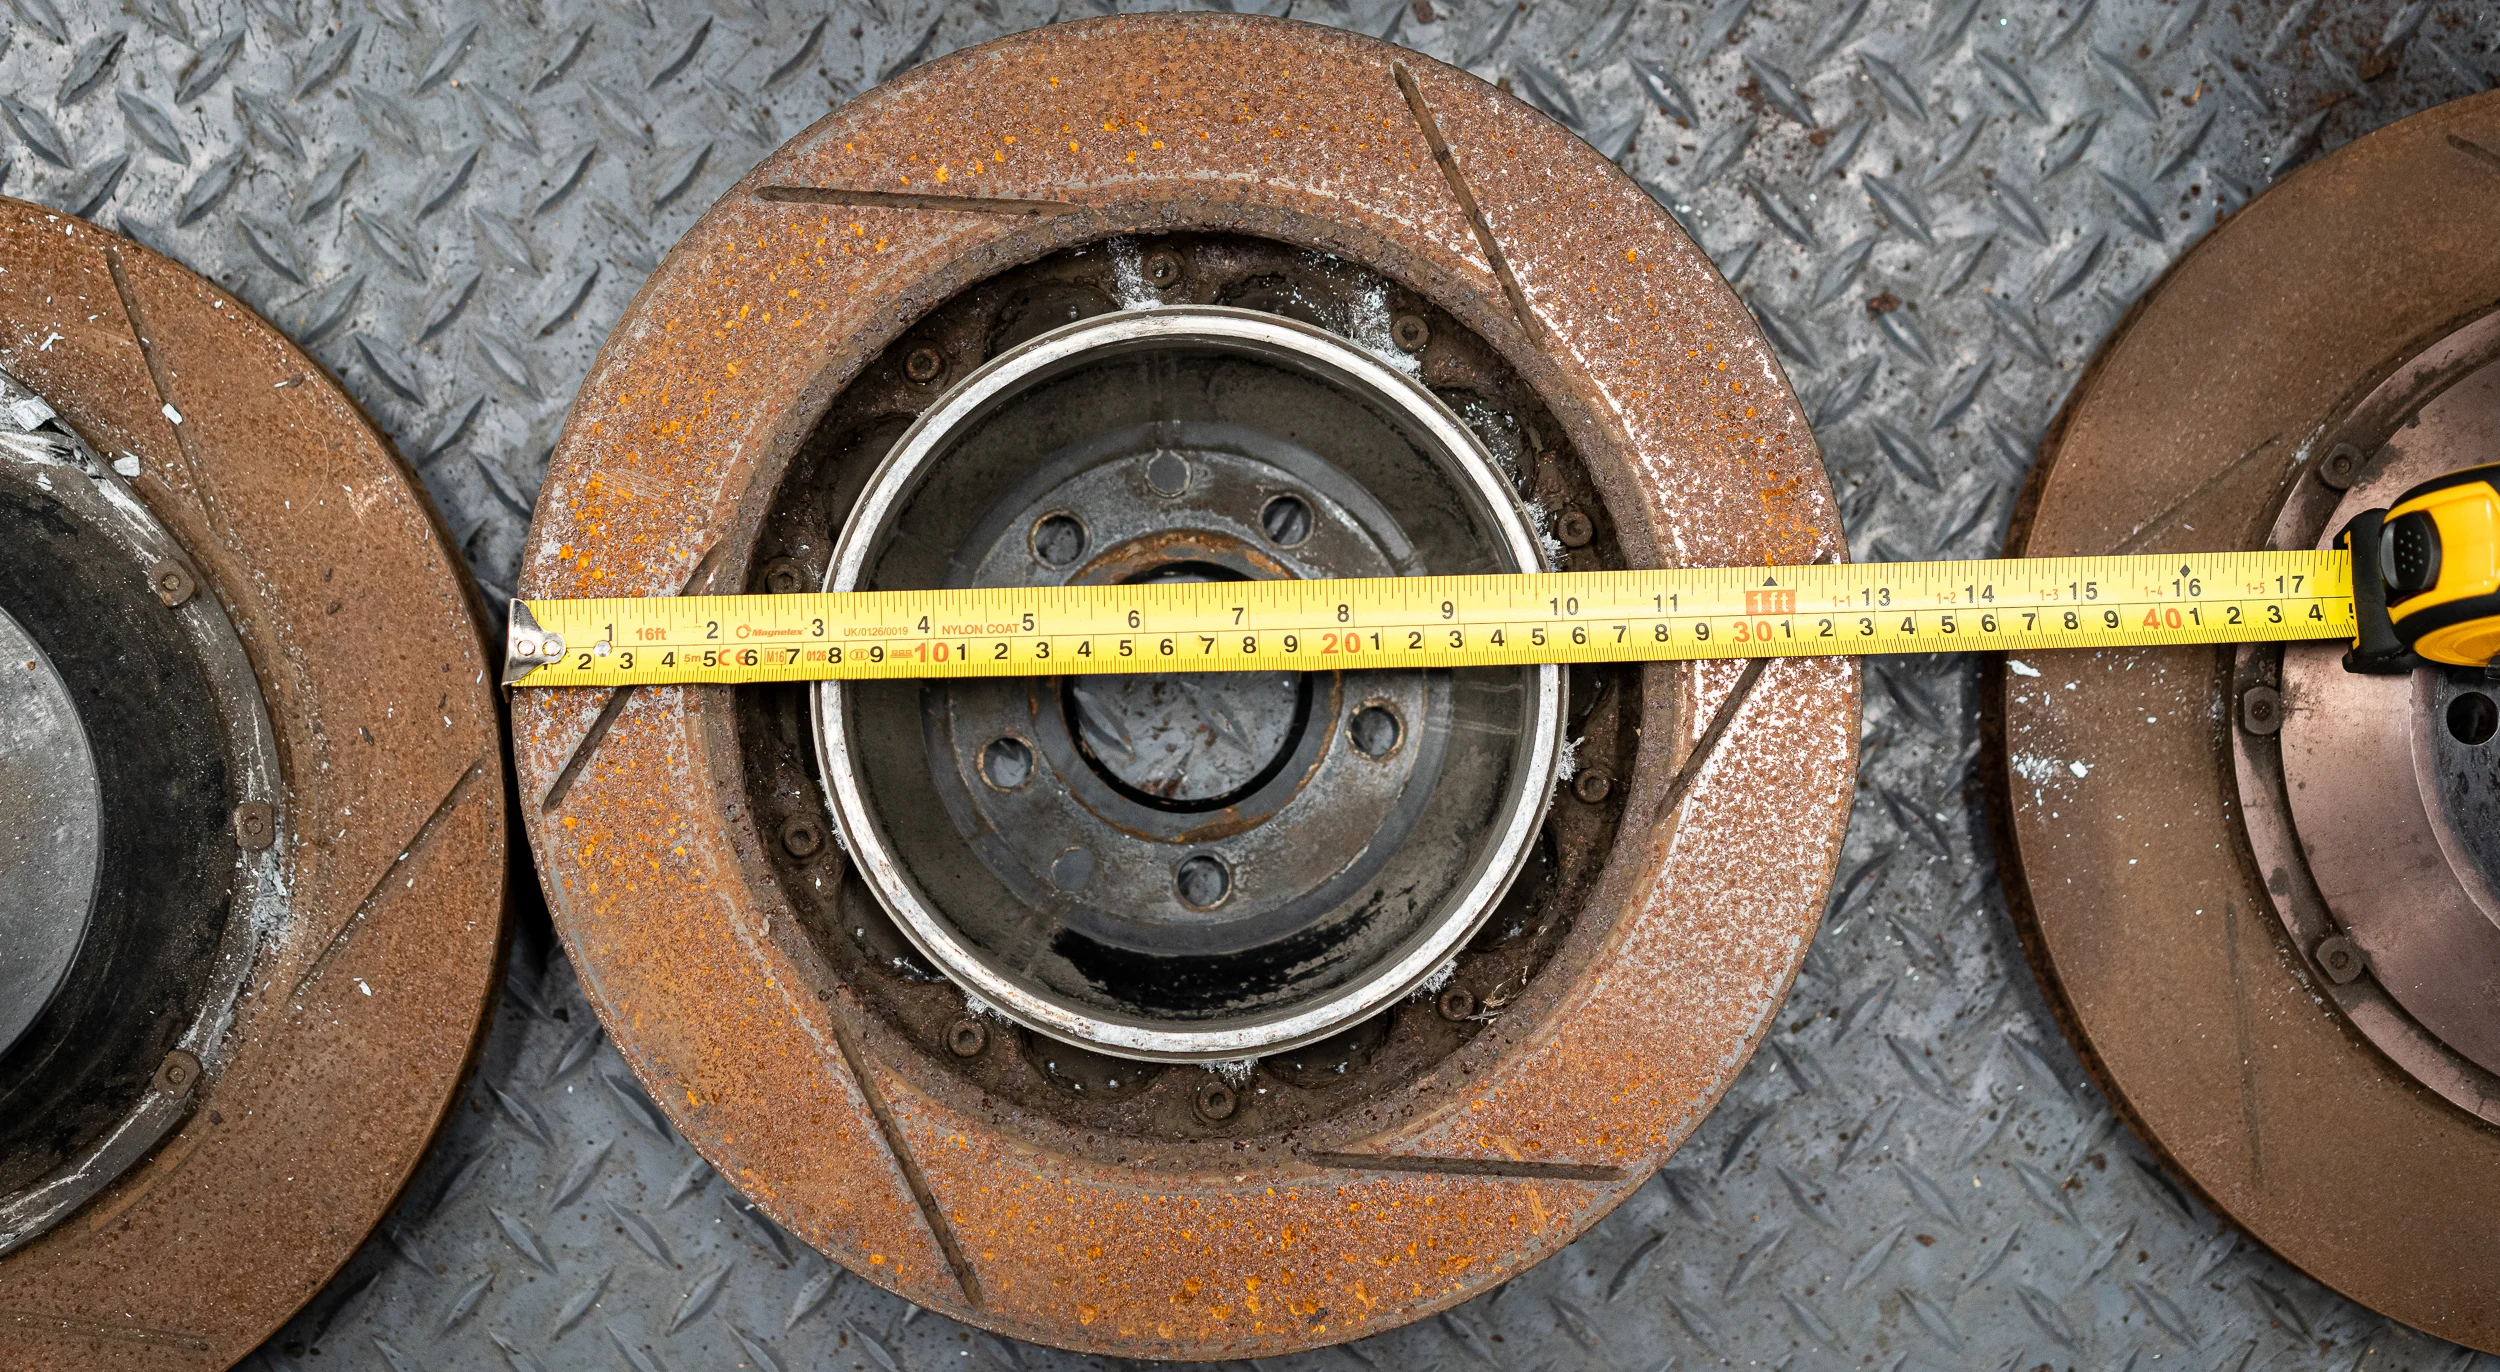
All the rotors checked out as plenty thick, so my next task was to see about reconditioning the pieces and making sure there weren’t any problems.

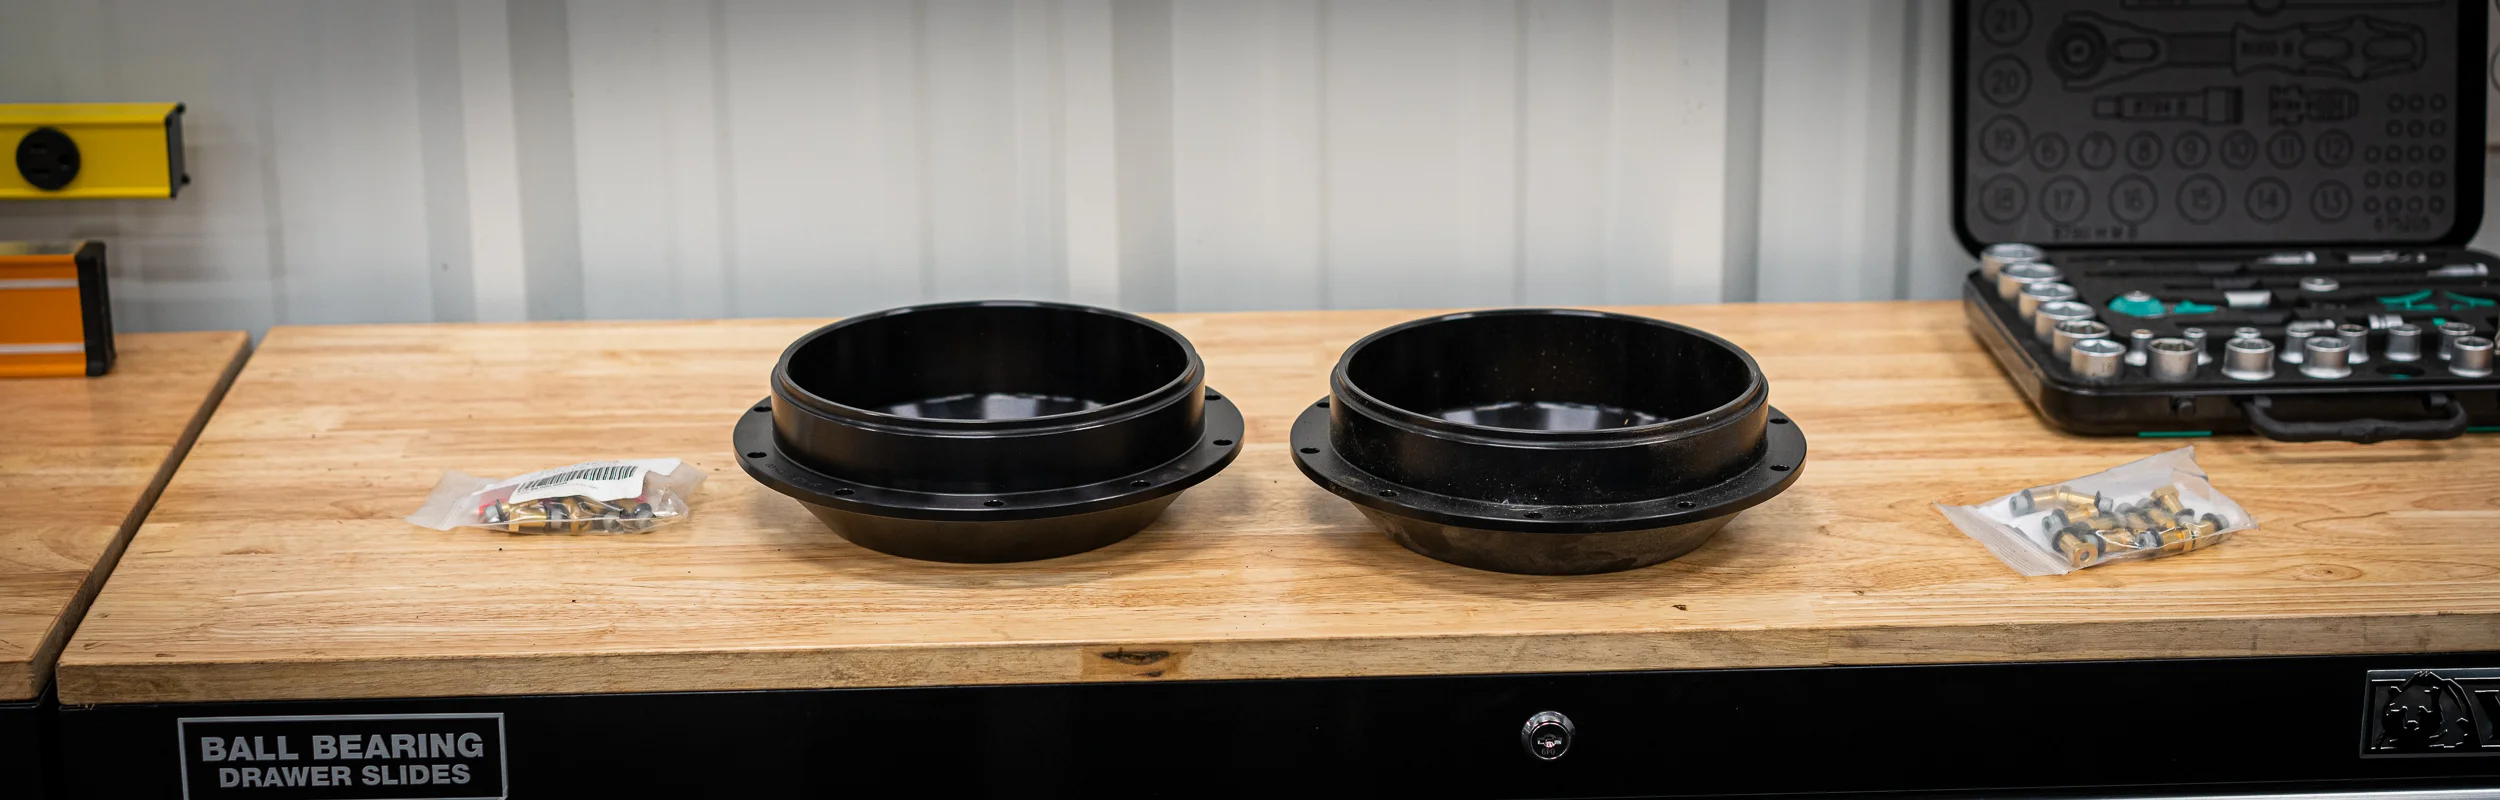
The rear hats were totally fubar’d from corrosion, so Nik had already tracked down and purchased the parts to replace those.
I watched some YouTube comparisons of rust removal products and Evapo-Rust seemed to fare pretty well in the effectiveness/low-risk/value balance, so I bought a couple gallons to submerge the rotor assemblies for a bit. I wire wheeled a bunch of the junk off the surface first to speed up the process.

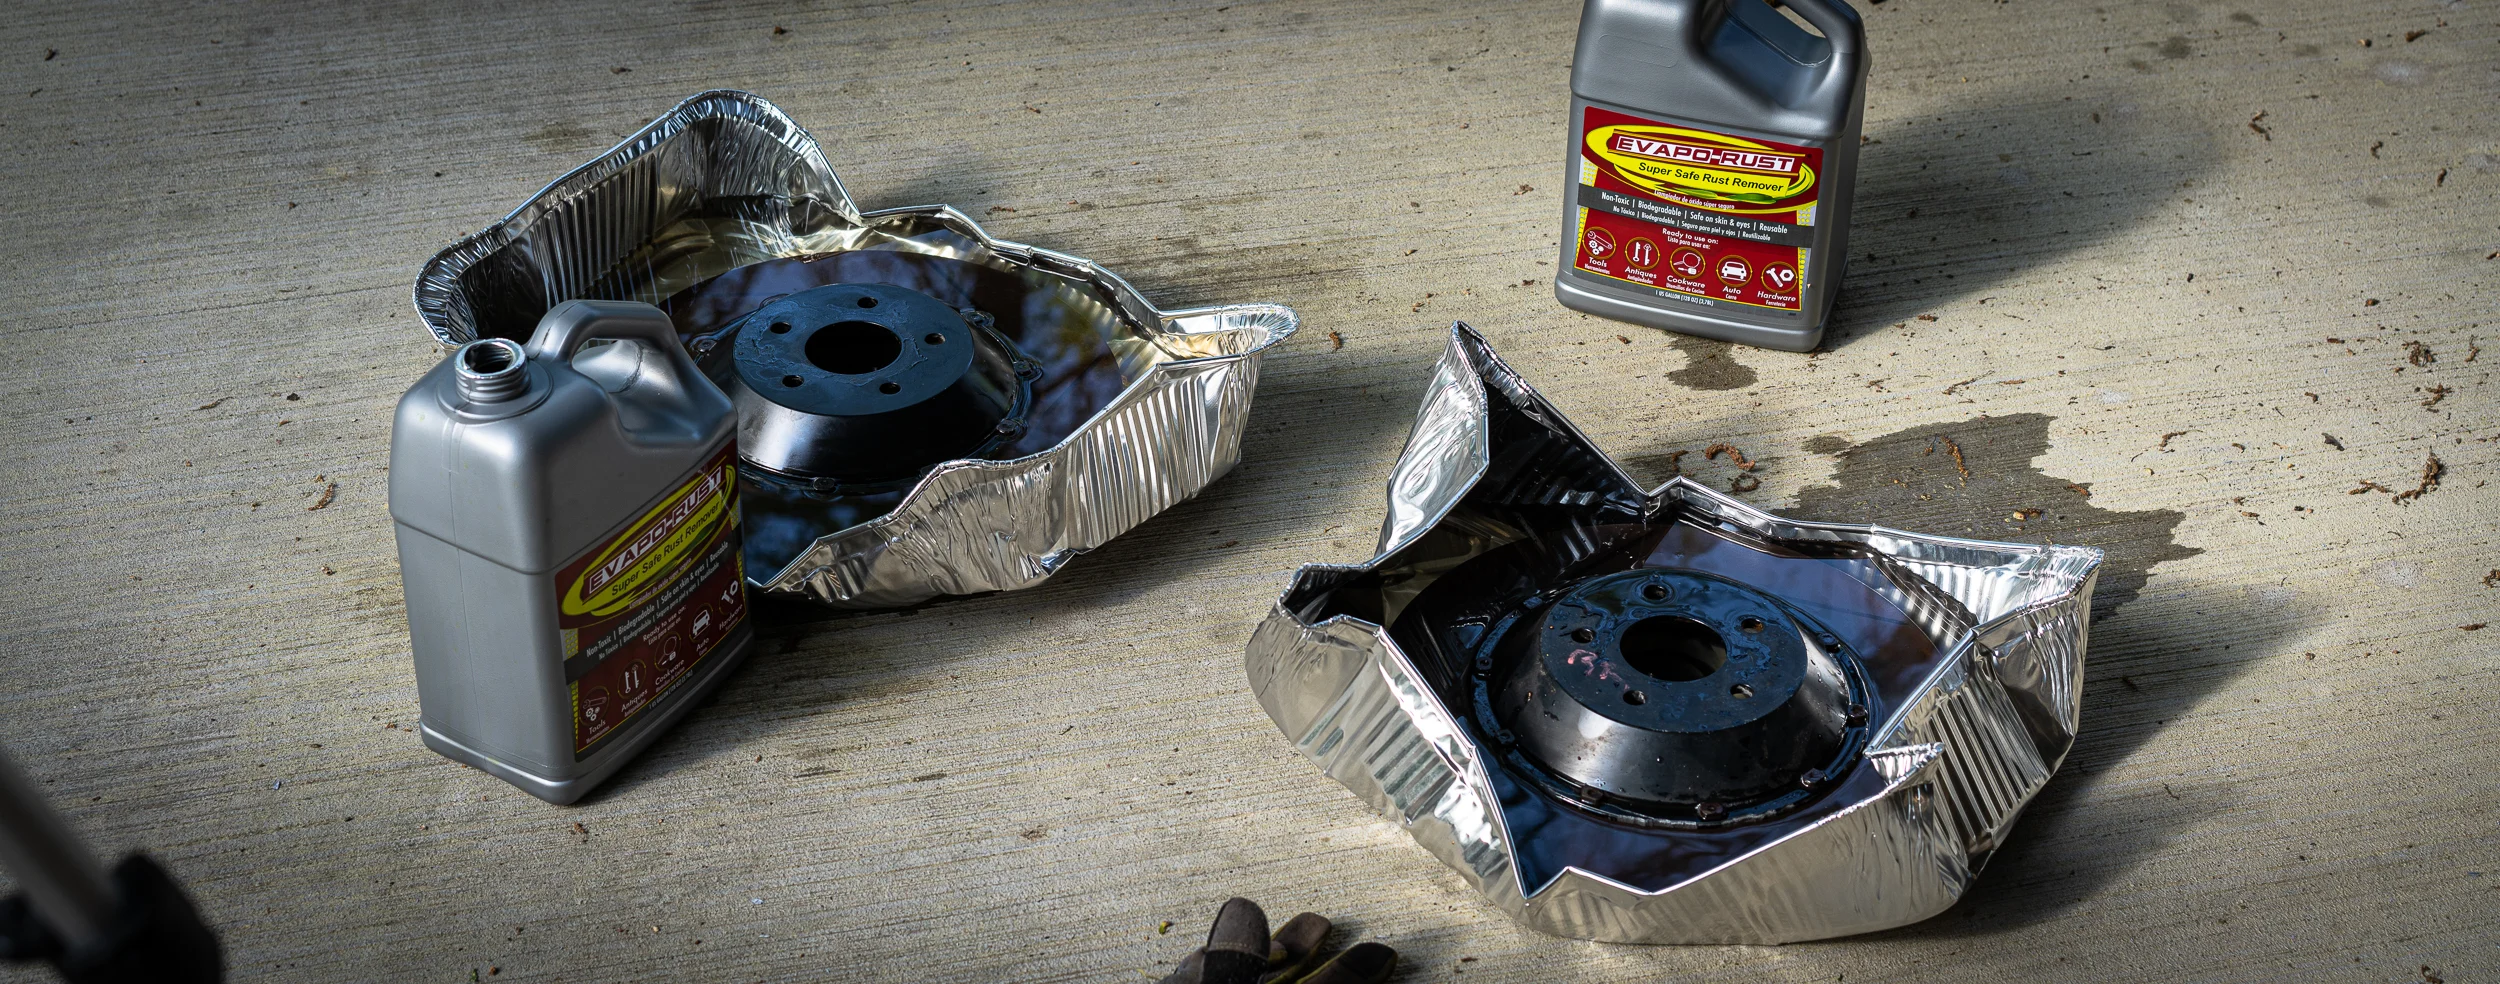
And after soaking for 6 hours, they looked significantly better. Yay.

I soaked the rears for multiple days and was finally able to hammer the rotors off the hats for replacement. The rotors are ~$315/ea, so I was happy to at least try them before buying new.
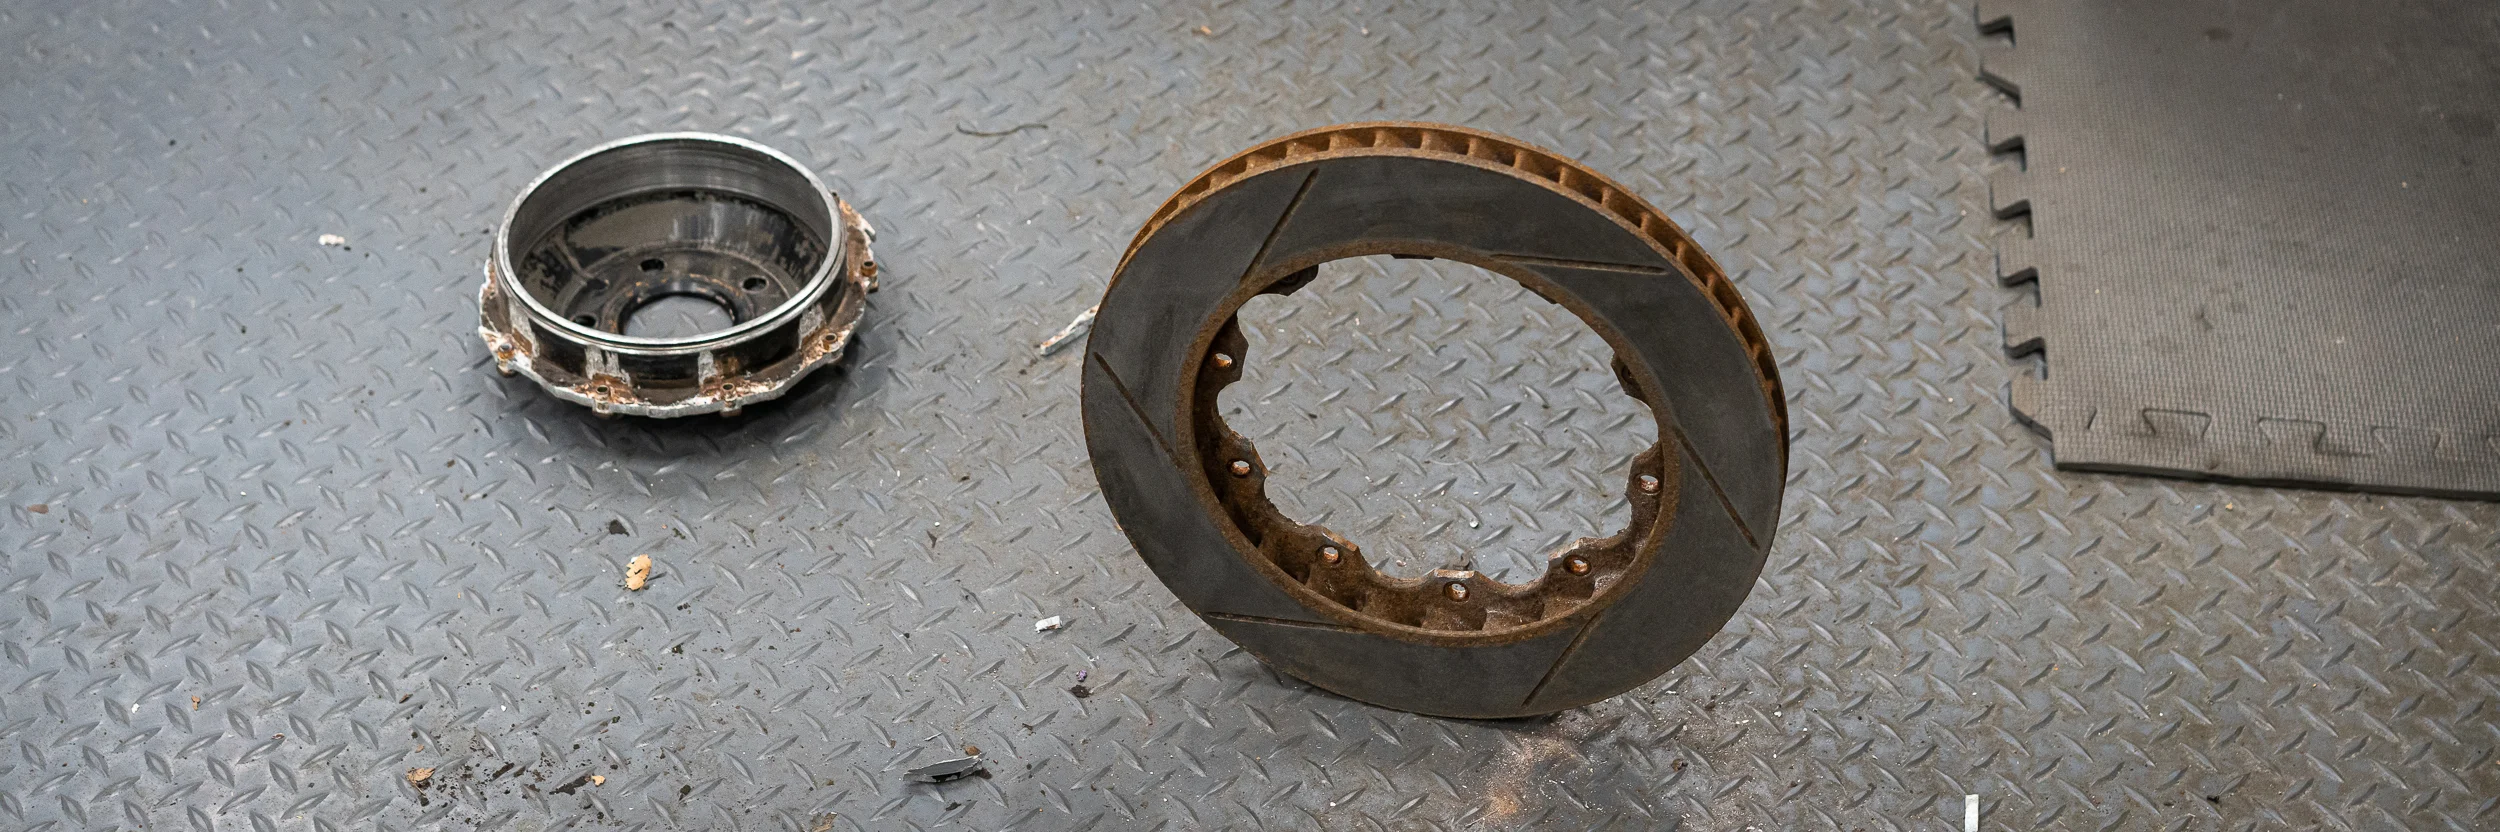
Something bad happened at the steel rotor / aluminum hat junction.

These are floating assemblies, so I followed the instructions that came with the inconel bellville washer, nut, and bolt pack. It came with Loctite 290, which you apply after assembly.

Looking fresh.
The rear brakes had a dust shield the needed removed (they interfered with the much-larger new rotors), so I used a spot-weld-drill-bit to remove those. You can see the spots where the bit just kissed the backing plate here after drilling through the dust shield spot welds. The dust shield is removed already.

With that done, it was a pretty simple bolt-on affair to get them installed.
I took time to properly adjust the parking brake since this will be driven on the street as well.

On to the fronts.
Here’s a size comparison between the stock front caliper and the new one. The photo doesn’t really do it justice; the new calipers are huge.

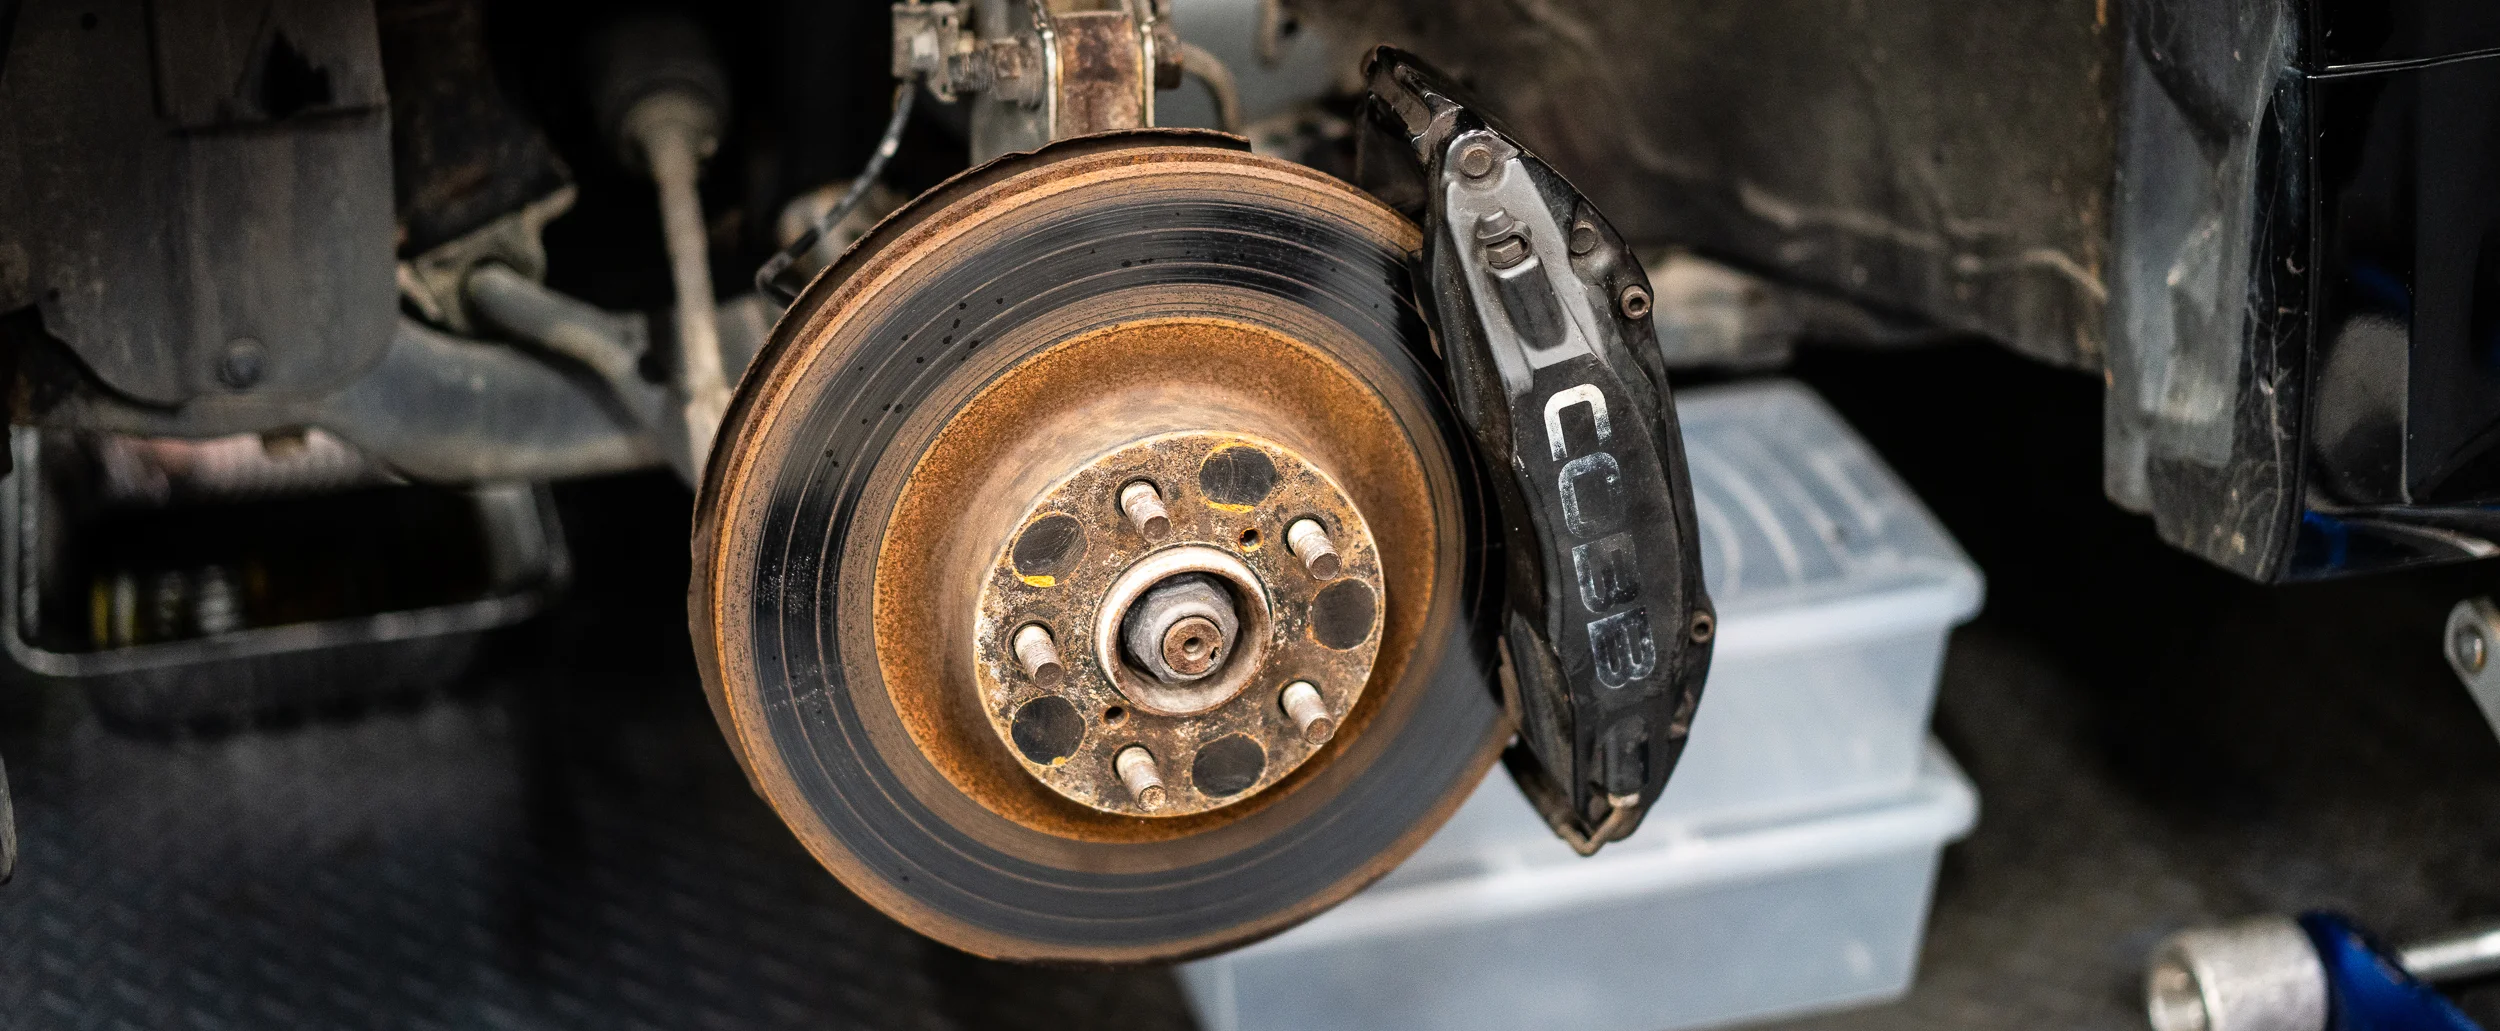
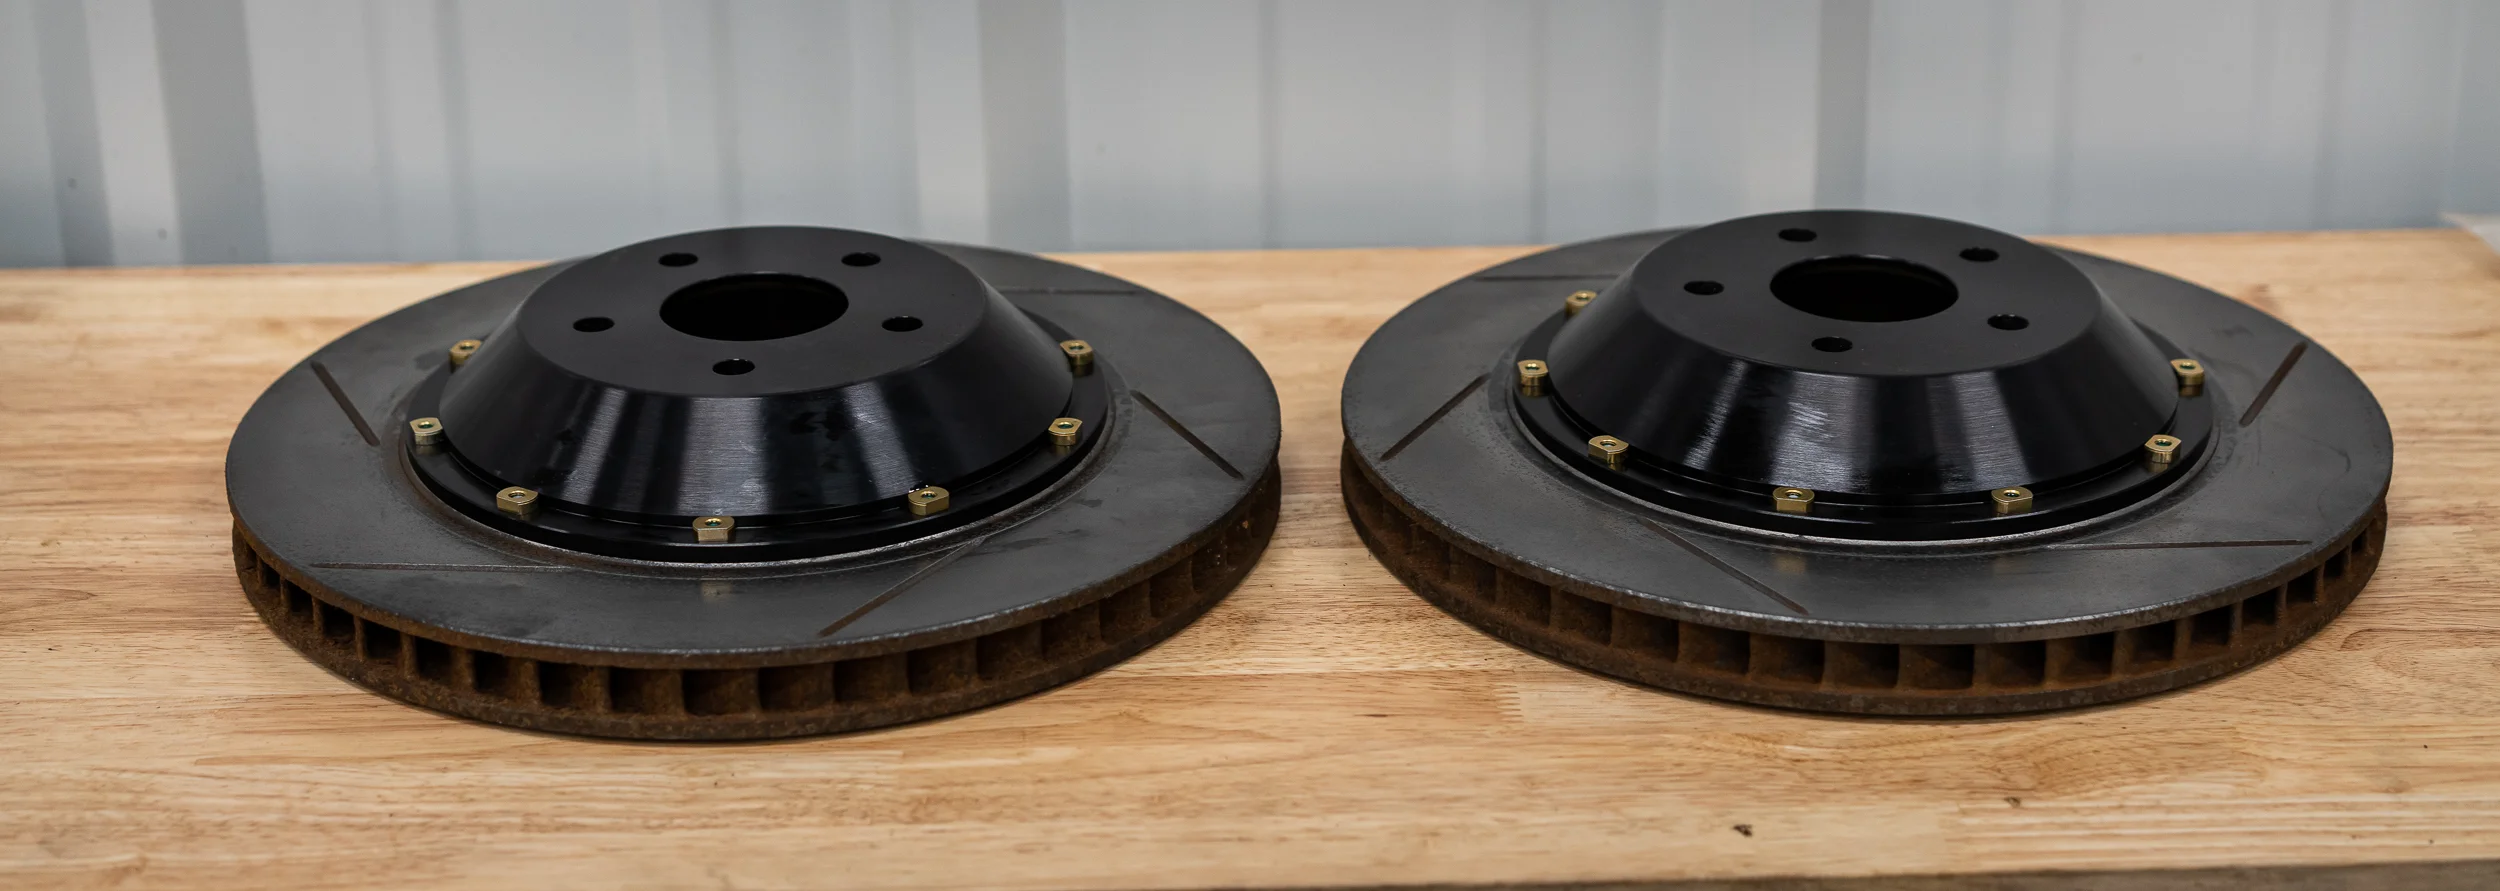
And then a comparison of the rotors.

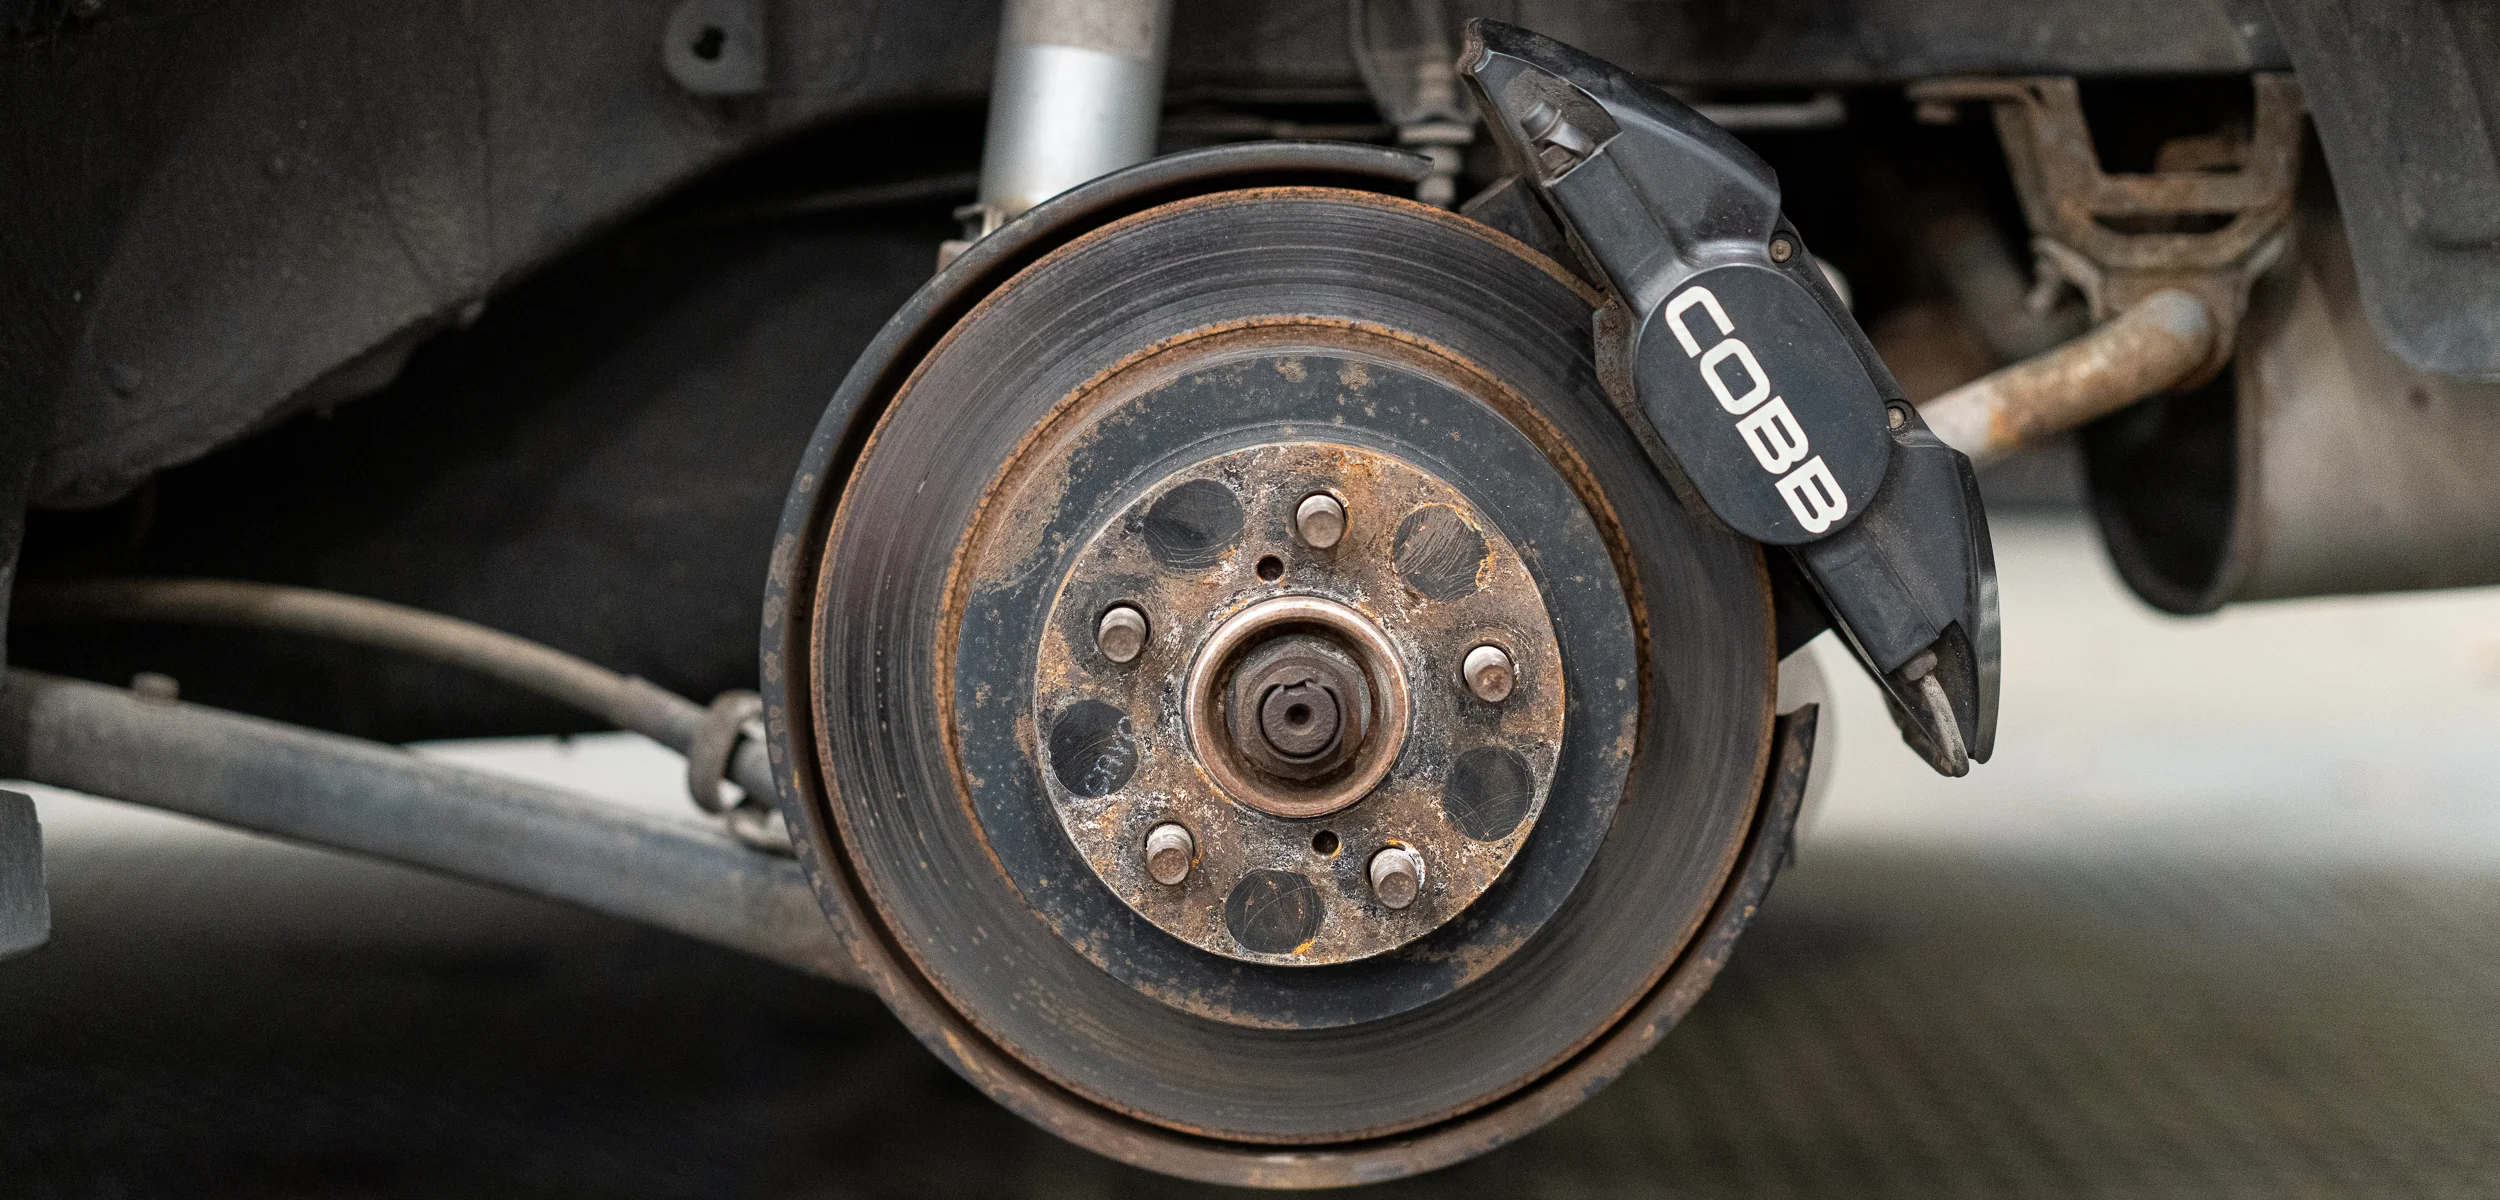
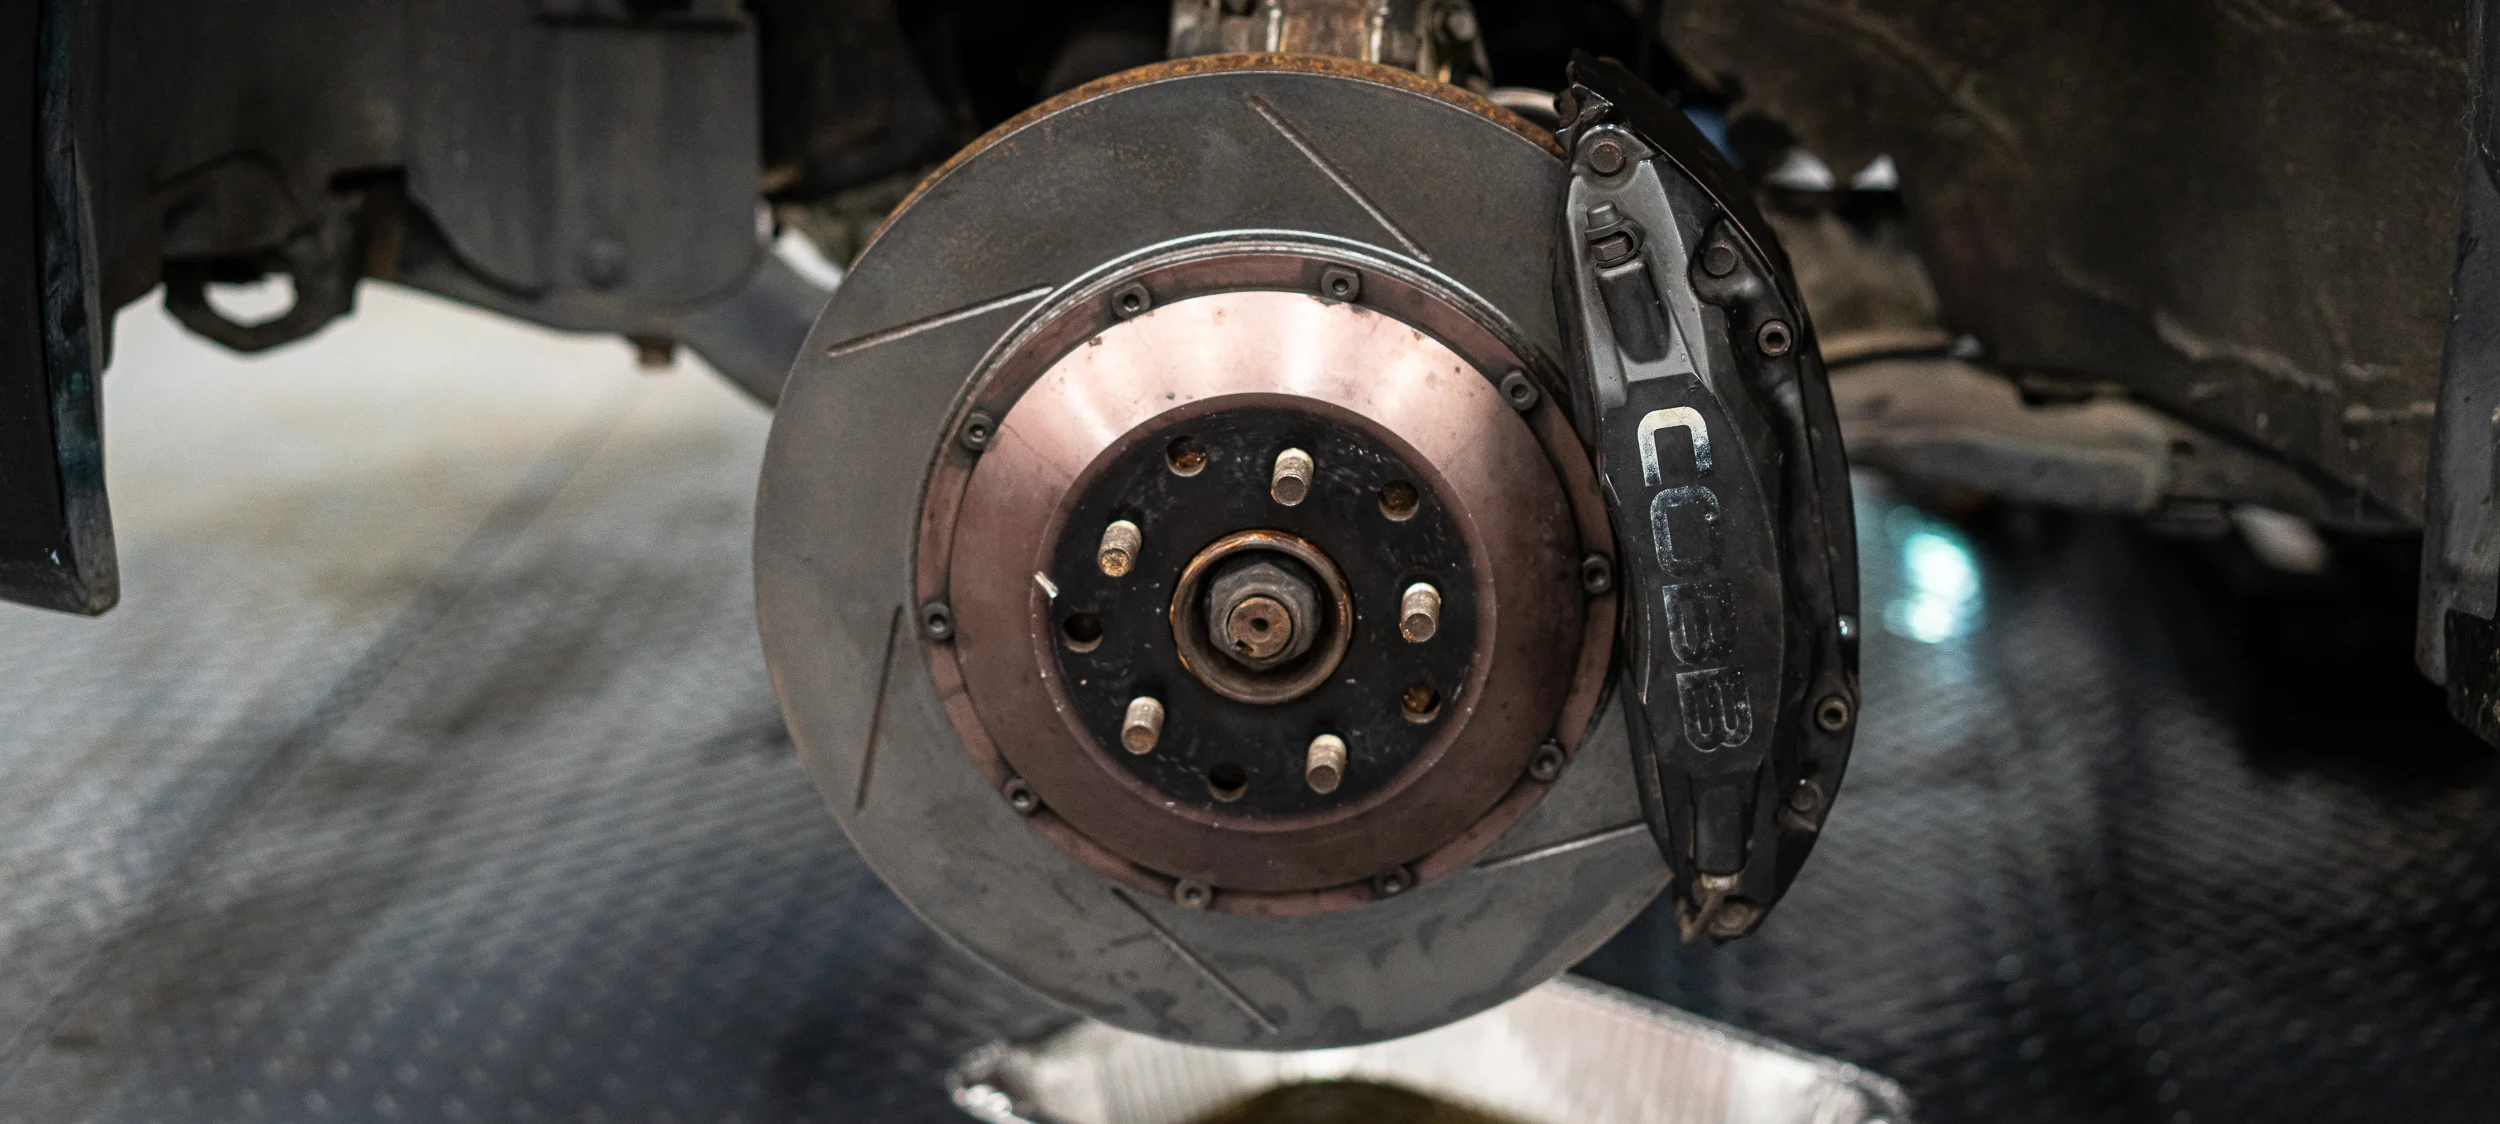
Fronts installed.
I swapped out the old rubber OEM brake lines for some Stoptech Stainless lines while we were in there.
I just stuck the pads in that were already with the kit. I wanted to make sure it all worked before ordering race pads, which are not free.
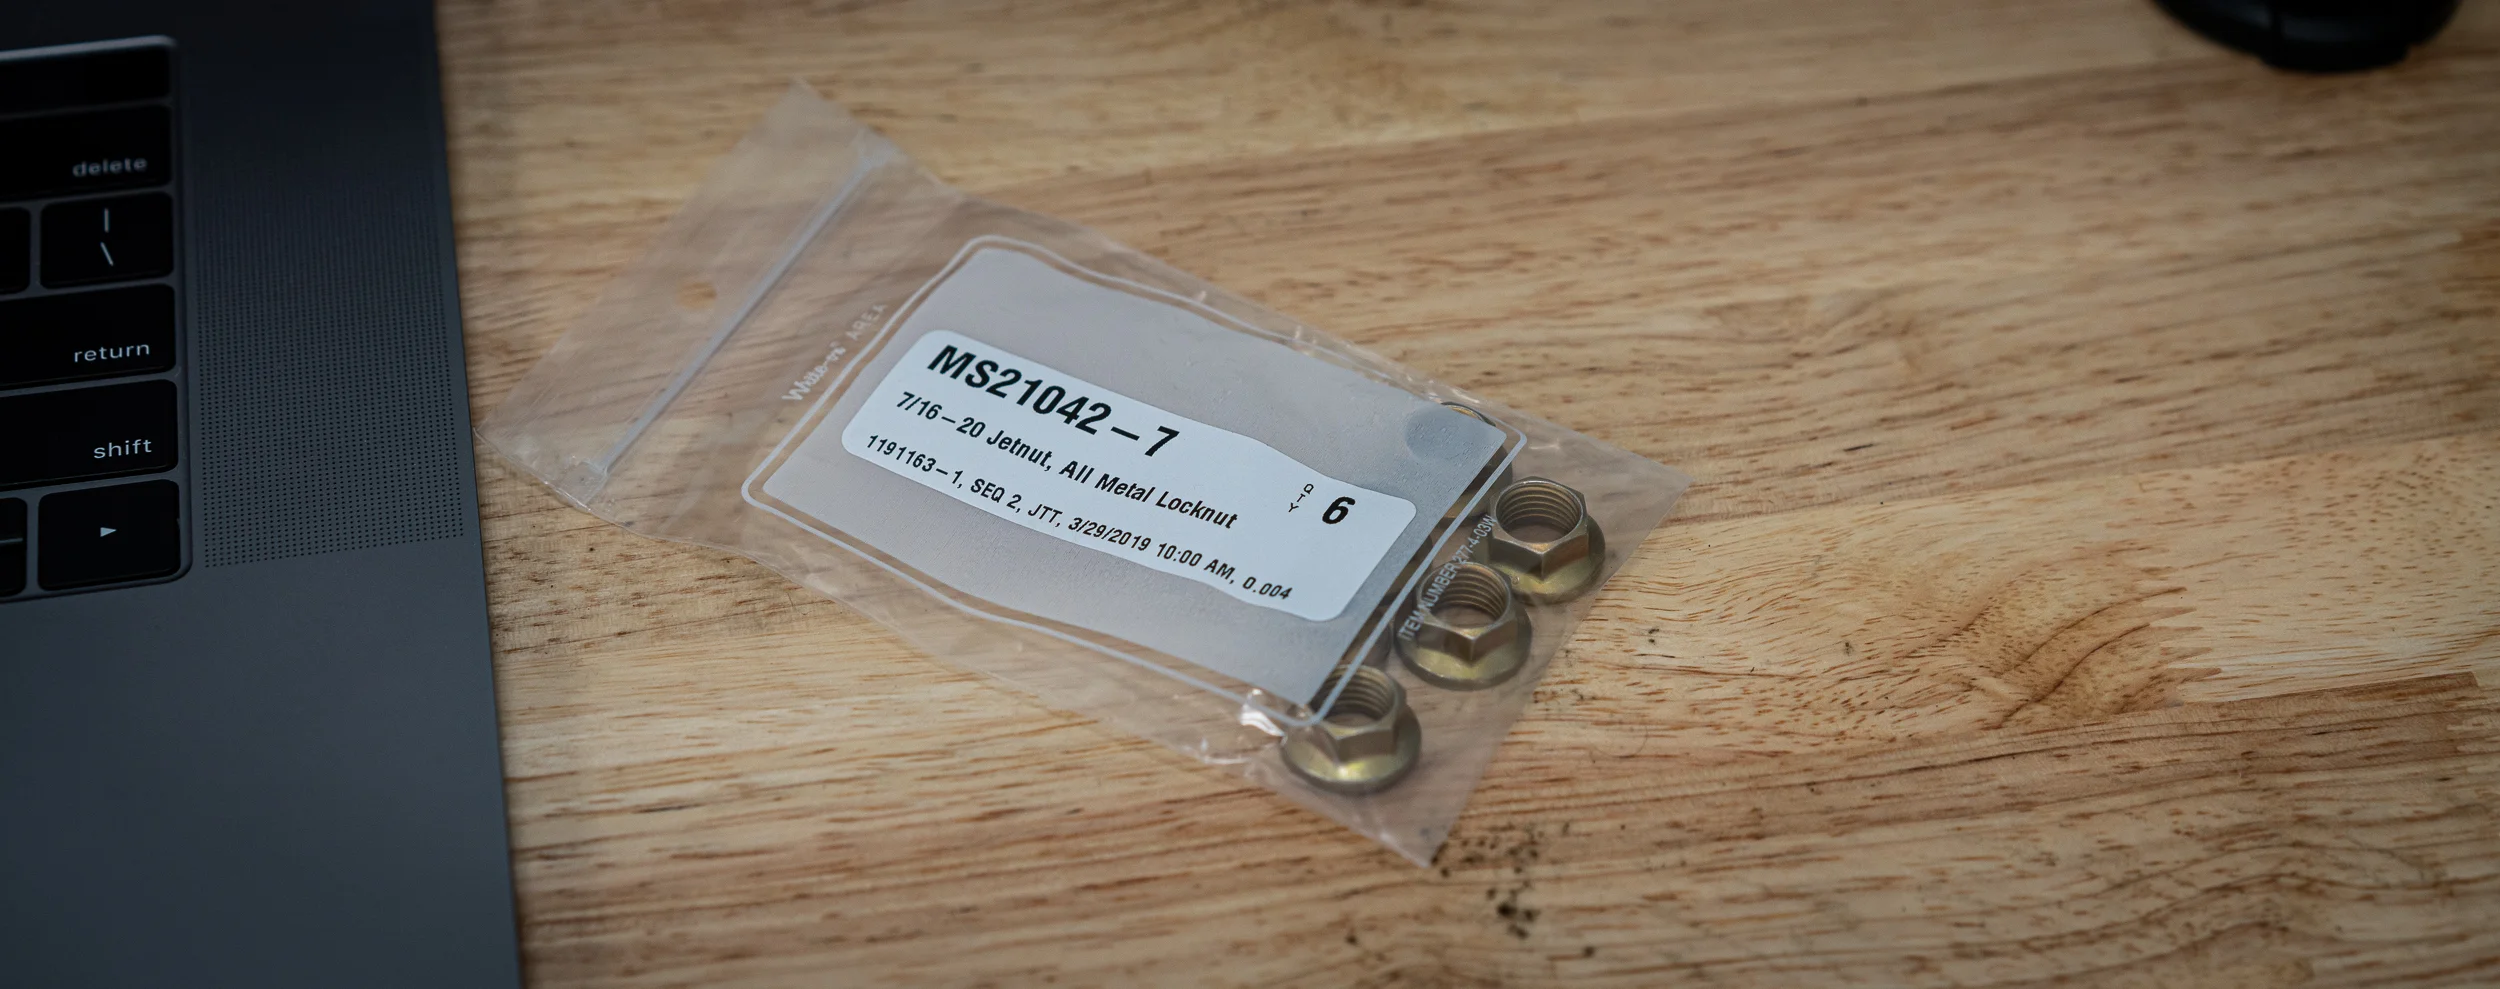
The caliper is held onto the mounting bracket with a nut. It was a goofy looking nut, so I did some more research before replacing one of the missing ones.

And I’m glad I did. This is called a “Jet Nut”, or “K-nut”, and they’re a little oval shaped (sorry, “elliptical offset”), which makes them a locknut. In fact, these were also 7/16-20 thread, which was unexpected, so, yay for reading the manual.
I ordered all new ones from Pegasus Racing and torqued the calipers down. All good.

Nik helped me bleed the new setup to get at least a bit of pedal before a test drive.
There was some air in the system still, so it was pretty mushy, but after a short drive, we confirmed that the brakes do work!
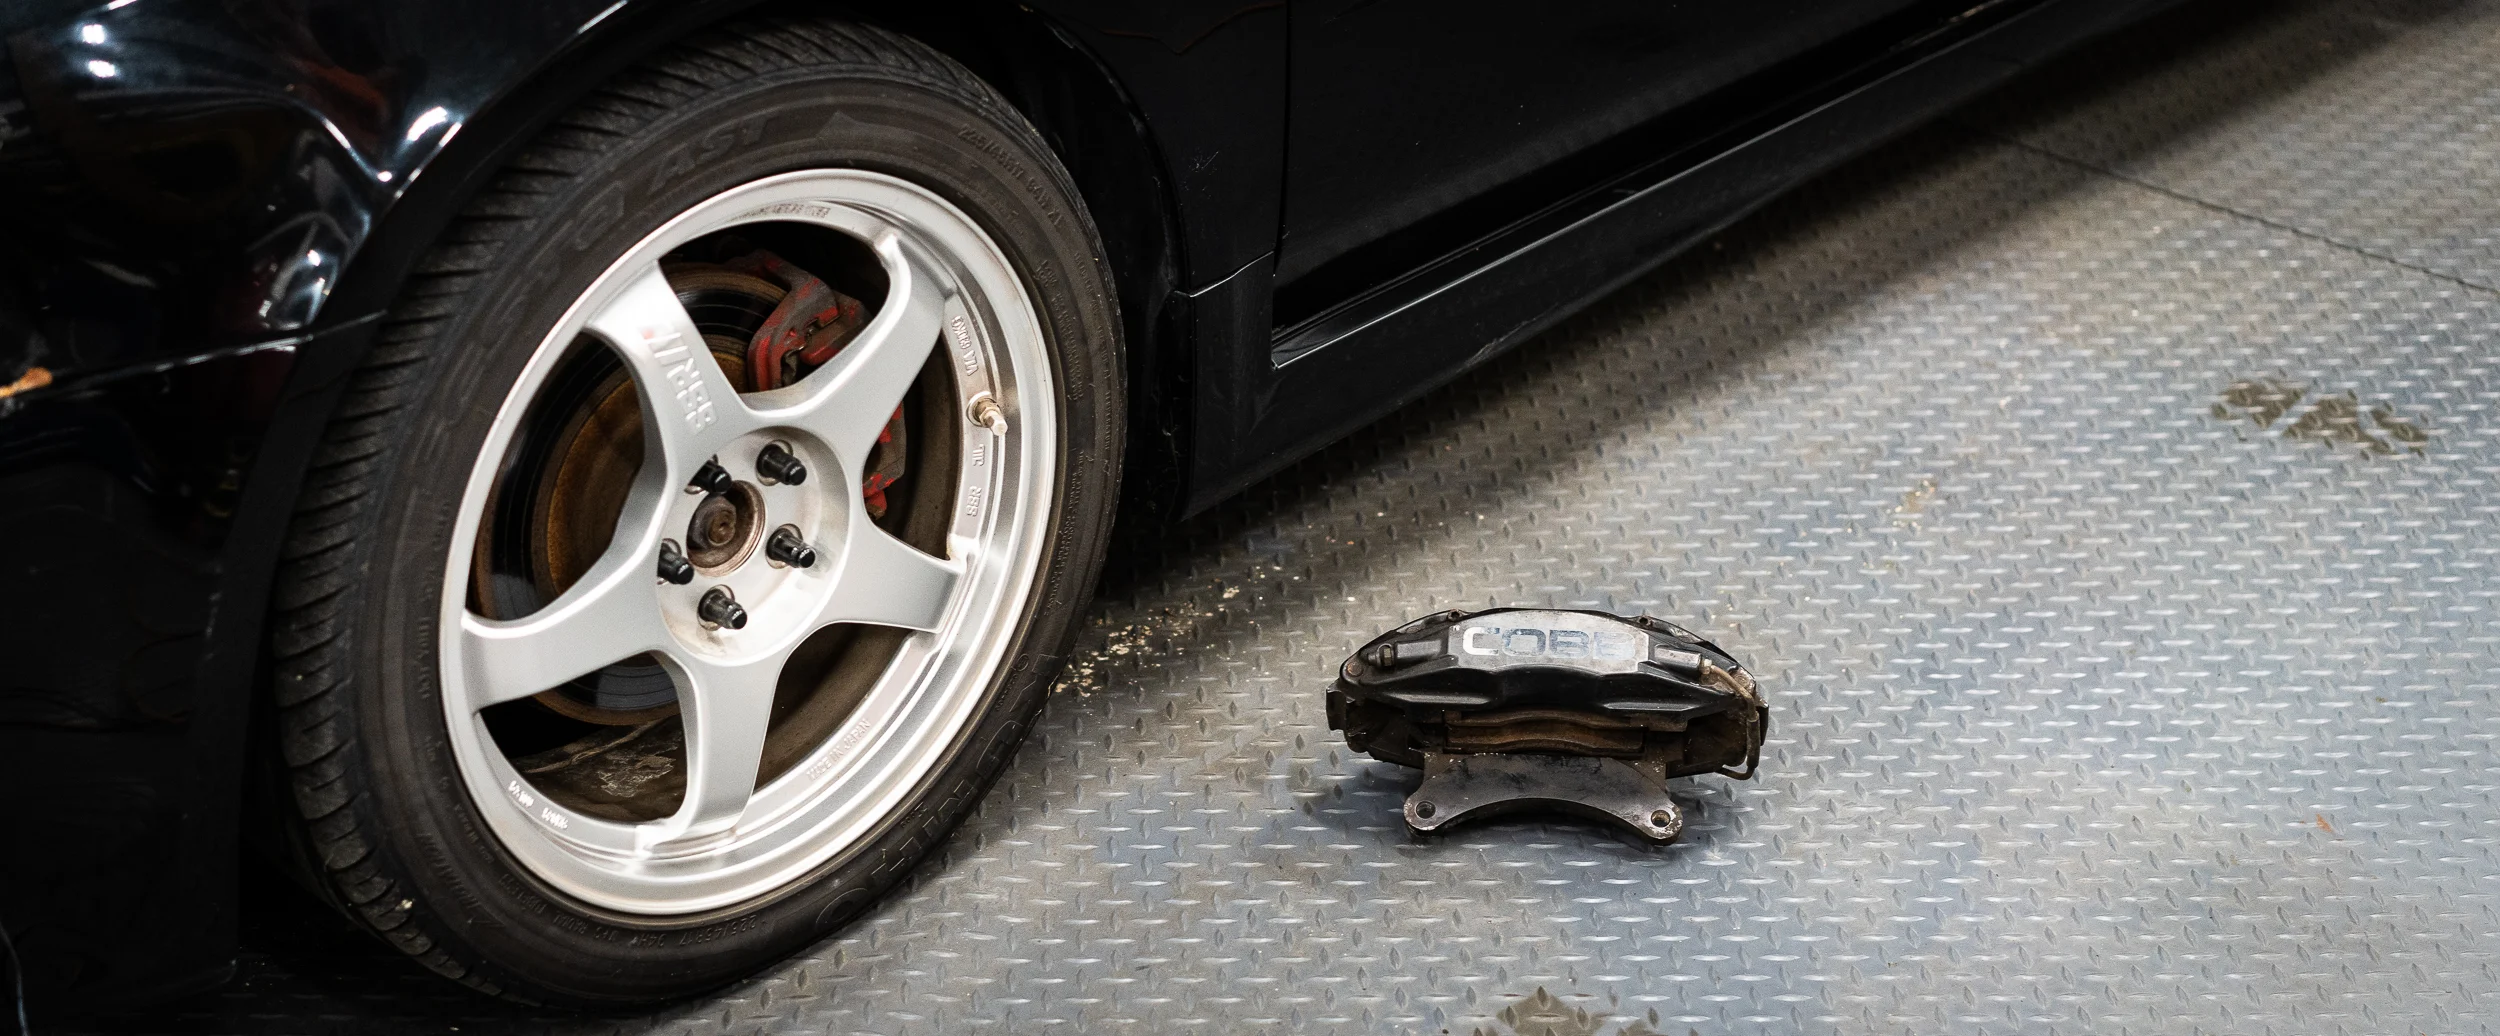
Comfortable moving forward, I officially bought the brakes from Nik, so now I’m the proud owner of a serious brake kit! Woo!
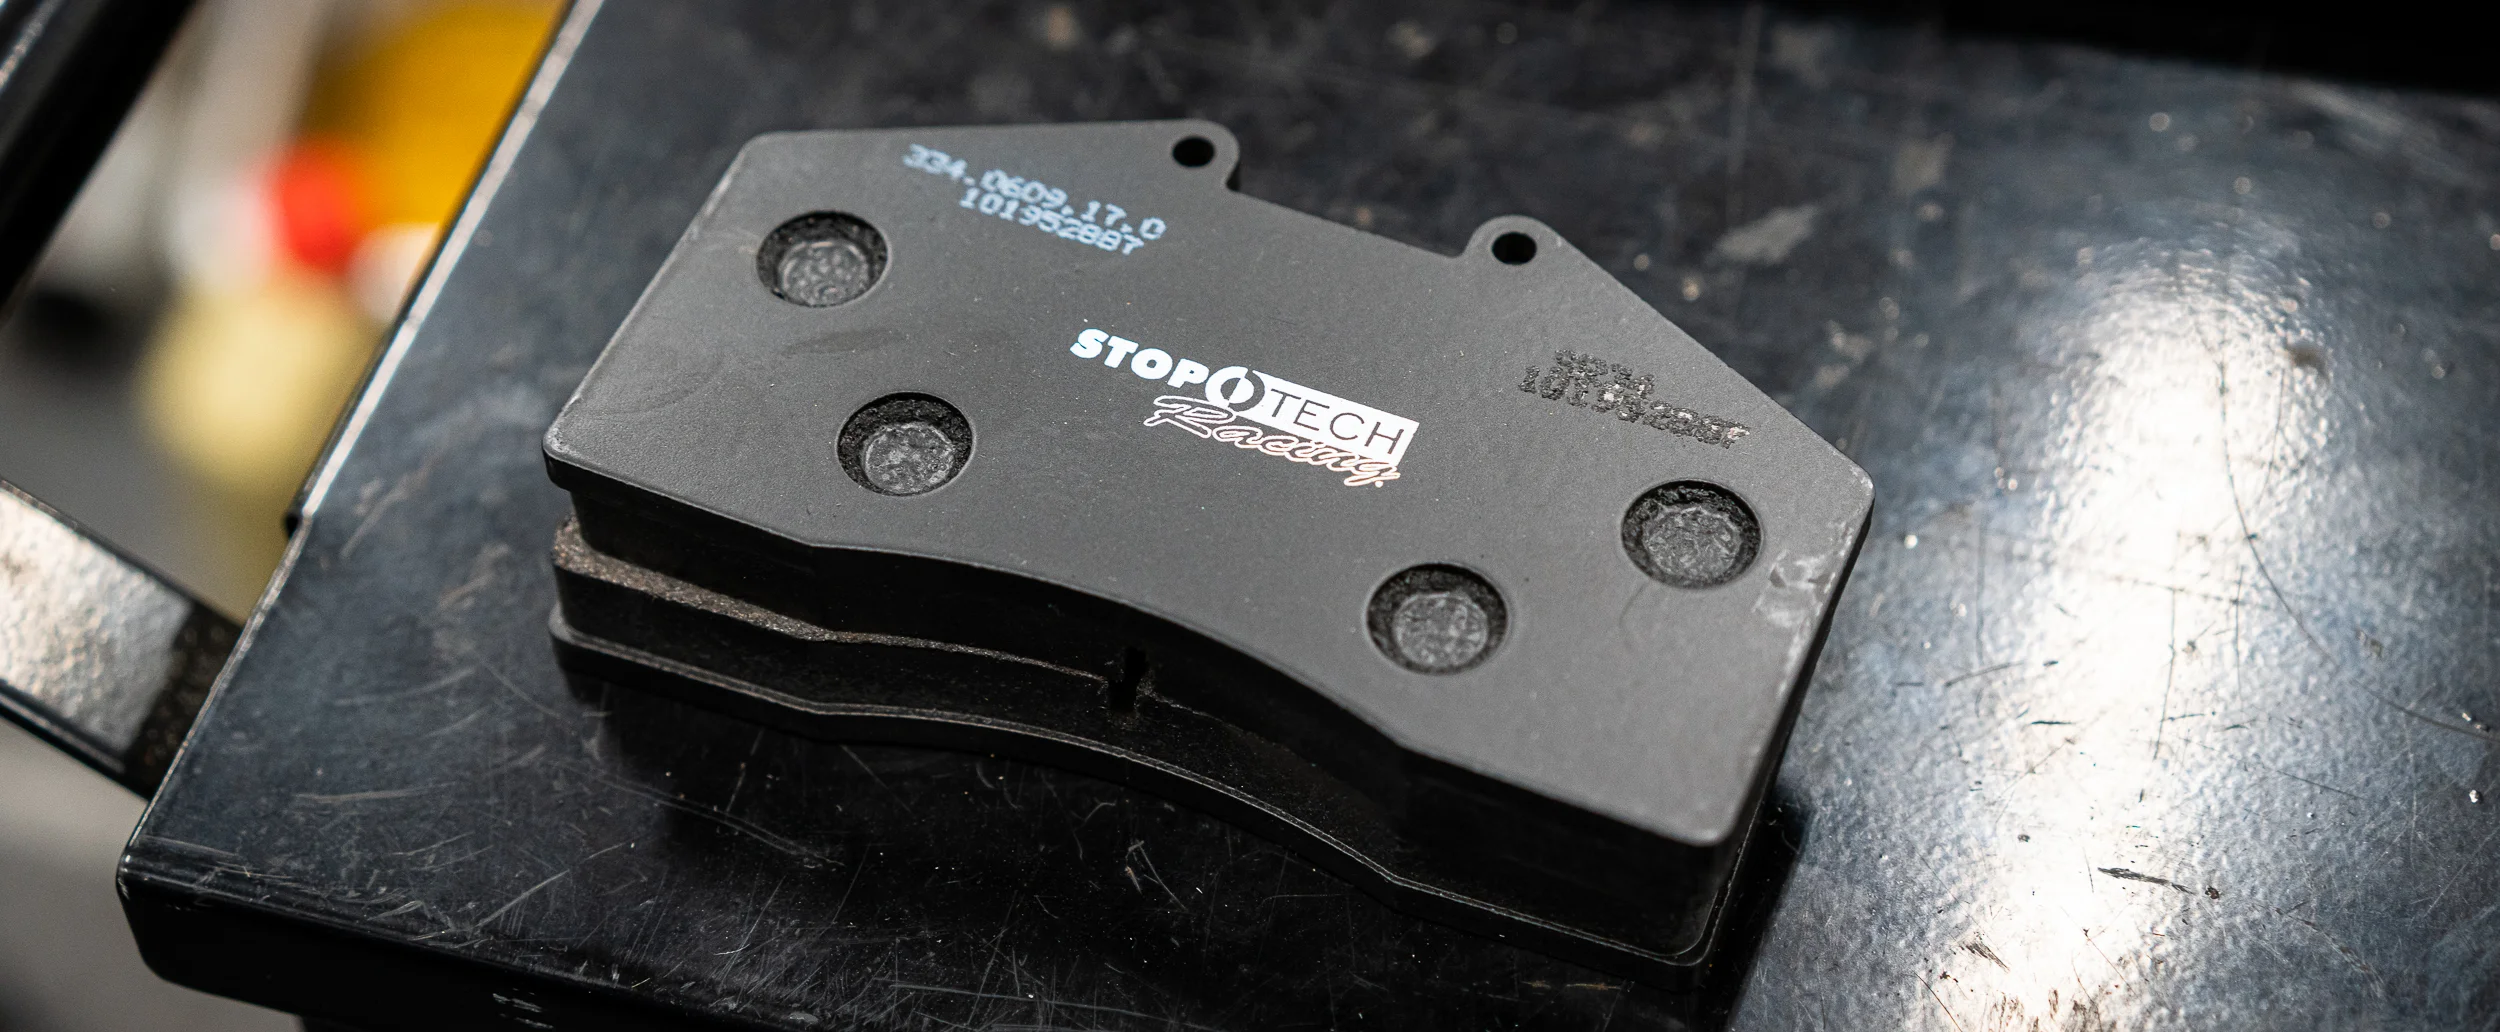
I celebrated by ordering race pads: Stoptech SR-34 all the way around. I found some goofy wheel sales place in Miami that had a crazy good deal on them, so I ordered through there.
I didn’t really believe in the deal until the pads were all in my hand. It took about 5 calls over 3 weeks to get them actually shipped to me, but I eventually got ‘em. I’m not super happy with the pad thickness, say, compared to the AP-racing CP8350 pads that I used to run on a Z06 back in the day (those were 20mm thickness, vs these 12mm), but oh well.
It was a mad dash to get the car ready for the track, which I’ll go over in another post, but we did make it to the track.
The brakes were totally amazing all weekend.
Unreal stopping power and absolutely 0 fade during 25 minute sessions in 90+ degree heat at Circuit of the Americas. There was a bit of pad knockback during turns 3-4-5, so braking into 6 required a short pedal application before getting the real braking done, but no drama once we figured that out.
Admittedly, the car is not terribly fast, so maybe it’s not the most rigorous on brakes, but it was really awesome to not give the brakes a second thought other than, whoa, this thing can stop!
After fretting about brakes for 6 months, I’m one happy camper.
Thanks for reading!
damen
Next Saabaru Post: ….coming soon
Previous Saabaru Post: Saabaru: New Brakes?
All Saabaru Posts: Flooded Saabaru Racecar Project


