On my way home from the first failed start attempt, I made a mental note to double check the position of the trigger wheel, the missing tooth, and the sensor, relative to TDC. Now it’s not supposed to matter, as there’s a “wizard” in the AEM Infinity setup that helps you sync all that up with the help of a timing light. You crank it over, watch the timing light, and adjust the Infinity “Trigger Offset” until the marks on the crank pulley match up with the Infinity, which is flashing the light.
No problem, I did that previously, and came up with an offset of 12 degrees. Although, the timing light seemed like it was flashing an awful lot.
The next day I spent some time scouring the internet for clues about what might be going wrong. Too rich? Timing too advanced? Timing too retarded? Finally, I hit a big clue on the AEM Support Forum.
“In semi-sequential mode, the ECU will fire Cylinder 1 when the first tooth after the missing tooth passes the sensor”
!!!
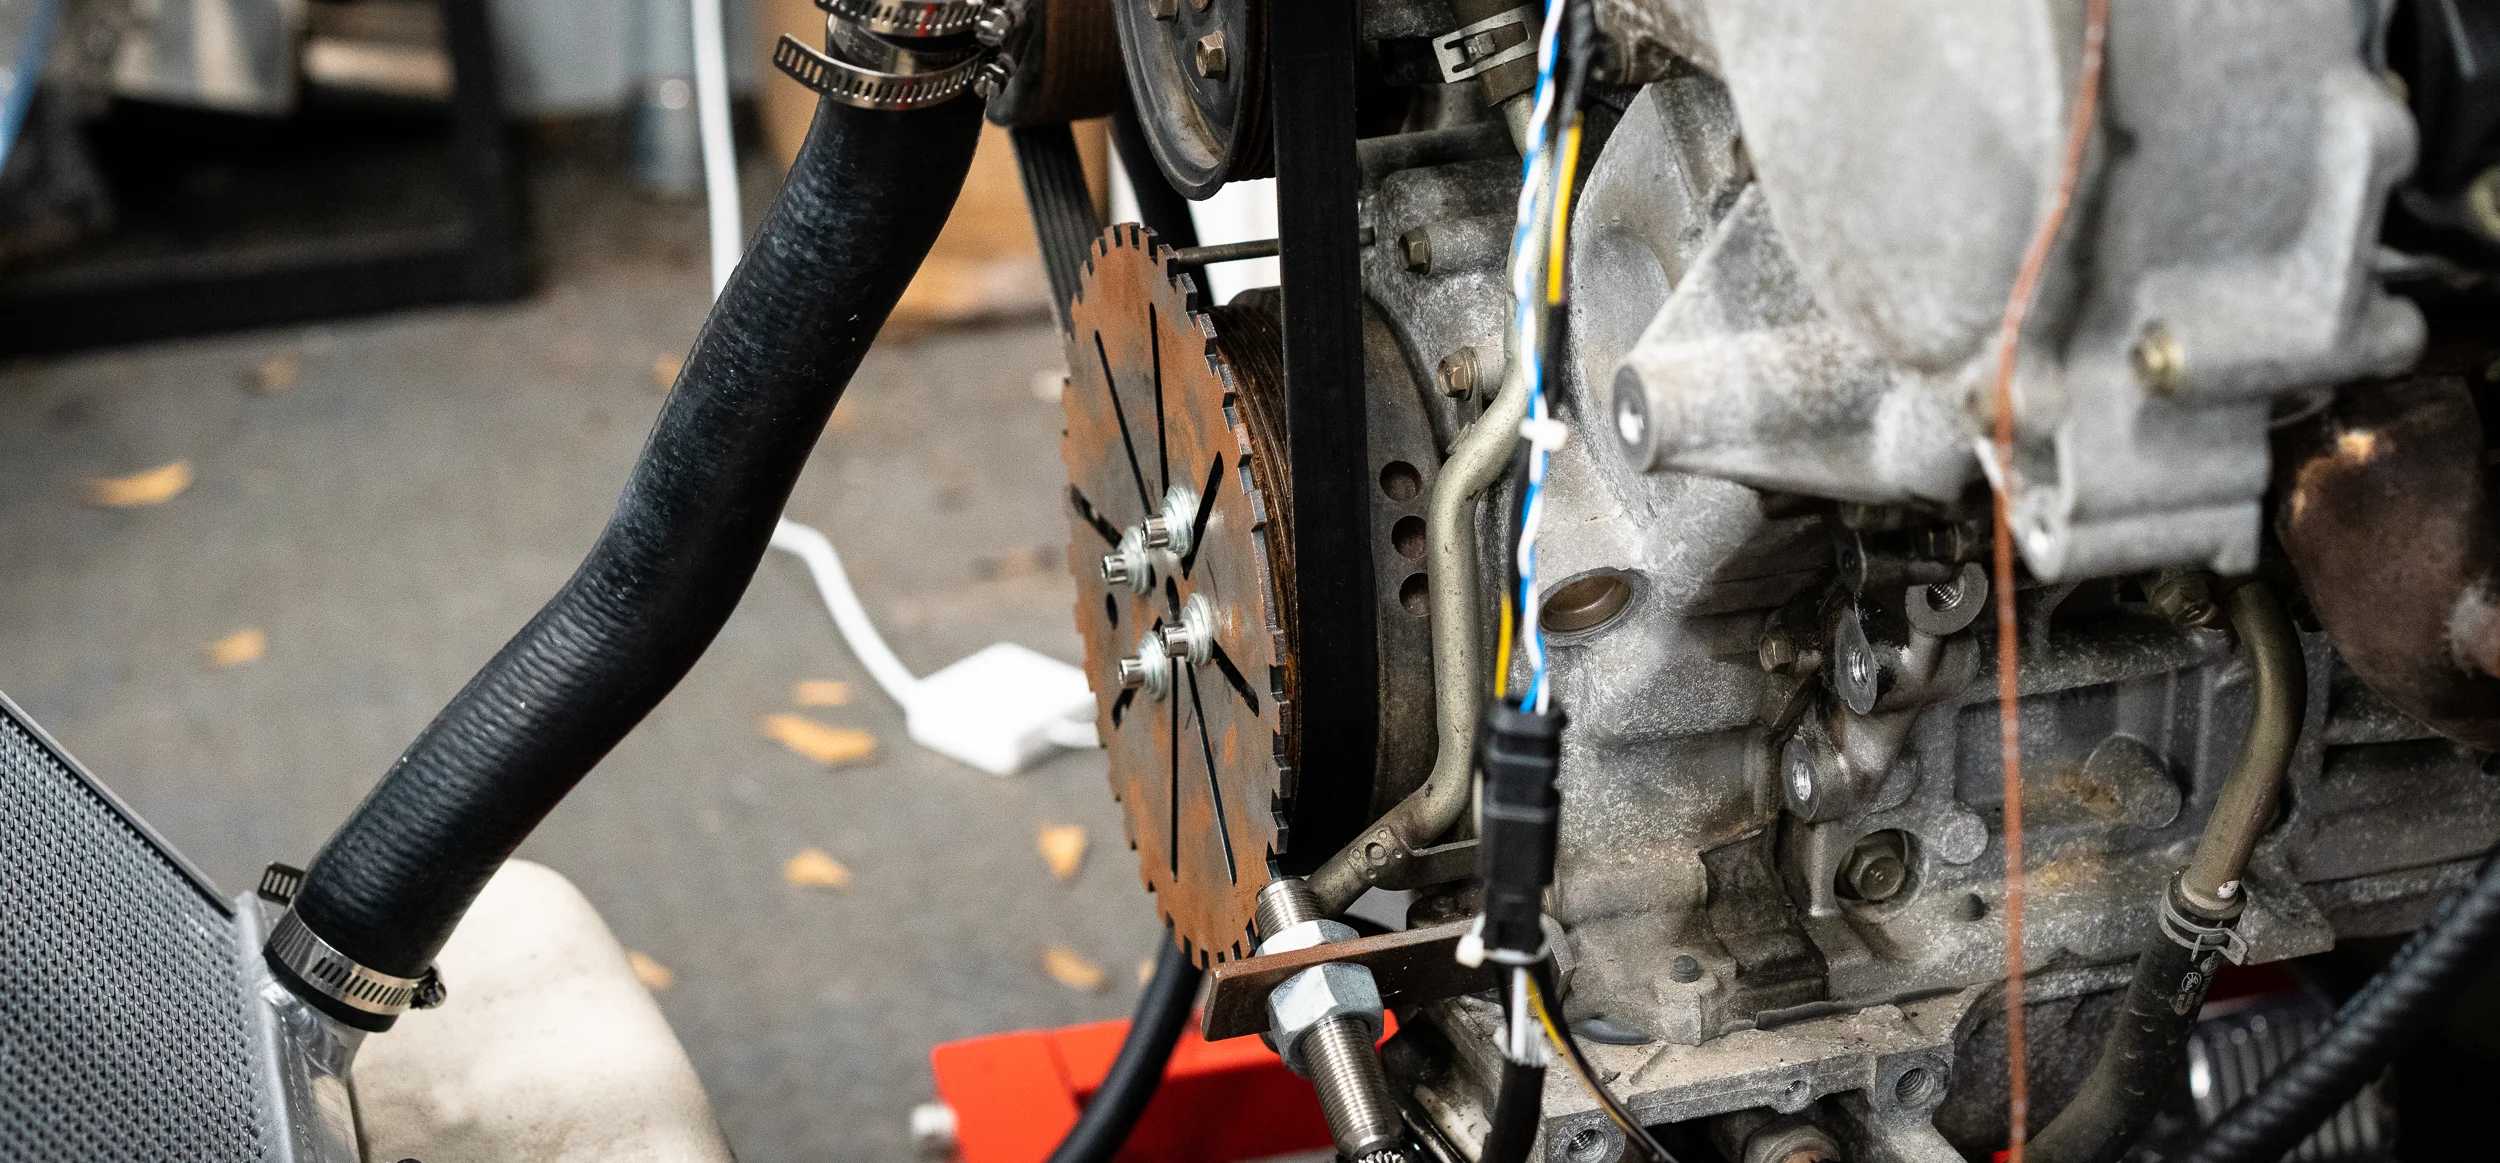
I had no idea how mine was setup, but knowing this would allow me to double check my “timing offset”. if 12 degrees was actually correct, then the gap on the trigger wheel should be within a tooth of the sensor at TDC. If it was not, it would explain my problems, I think. So I was really hoping it was wrong.
I was so anxious to know, I had Nik go out to the shop and take a picture of the orientation of the trigger wheel and check out how close the gap/sensor was to TDC.
Answer: Not very close. Like 100 degrees off or so. The engine is near TDC in the photo below, and you can see the gap is pretty far from the sensor.
That was actually a perfect answer. Here’s why:
I had trouble getting the timing light to work with the coil-on-plug setup. The light wouldn’t flash at all when clamped around the signal wire. I messed around with it a bit and found that it would flash when clamped around the ground wire. However, it was flashing a lot more than I expected. One of the flashes matched up closely with the TDC mark, so I adjusted the Infinity to get that flash right on the TDC mark. And I moved on.
I think what was happening is, because the ground is shared among ALL the coils connecting at the same bolt in the back of the right cylinder head, the inductive “kick” the light was triggering on was actually when EVERY coil fired. So whatever random cylinder’s coil was firing close to the TDC mark on the crank pulley, I synced the ECU timing to that.
Well, if you back out the “12 degrees” offset I came up with from the actual ~100 degrees, you get ~90 degrees. Which means I had TDC about 90 degrees too late, or, retarded. Given the 1-8-7-3-6-5-4-2 firing order, that means I was firing cylinder 1 when cylinder 8 should have been firing. And lighting fires in the intake manifold.
Problem solved.
When I got to the shop for the next shop night, I was able to confirm this whole story. Yay! A relatively easy fix.
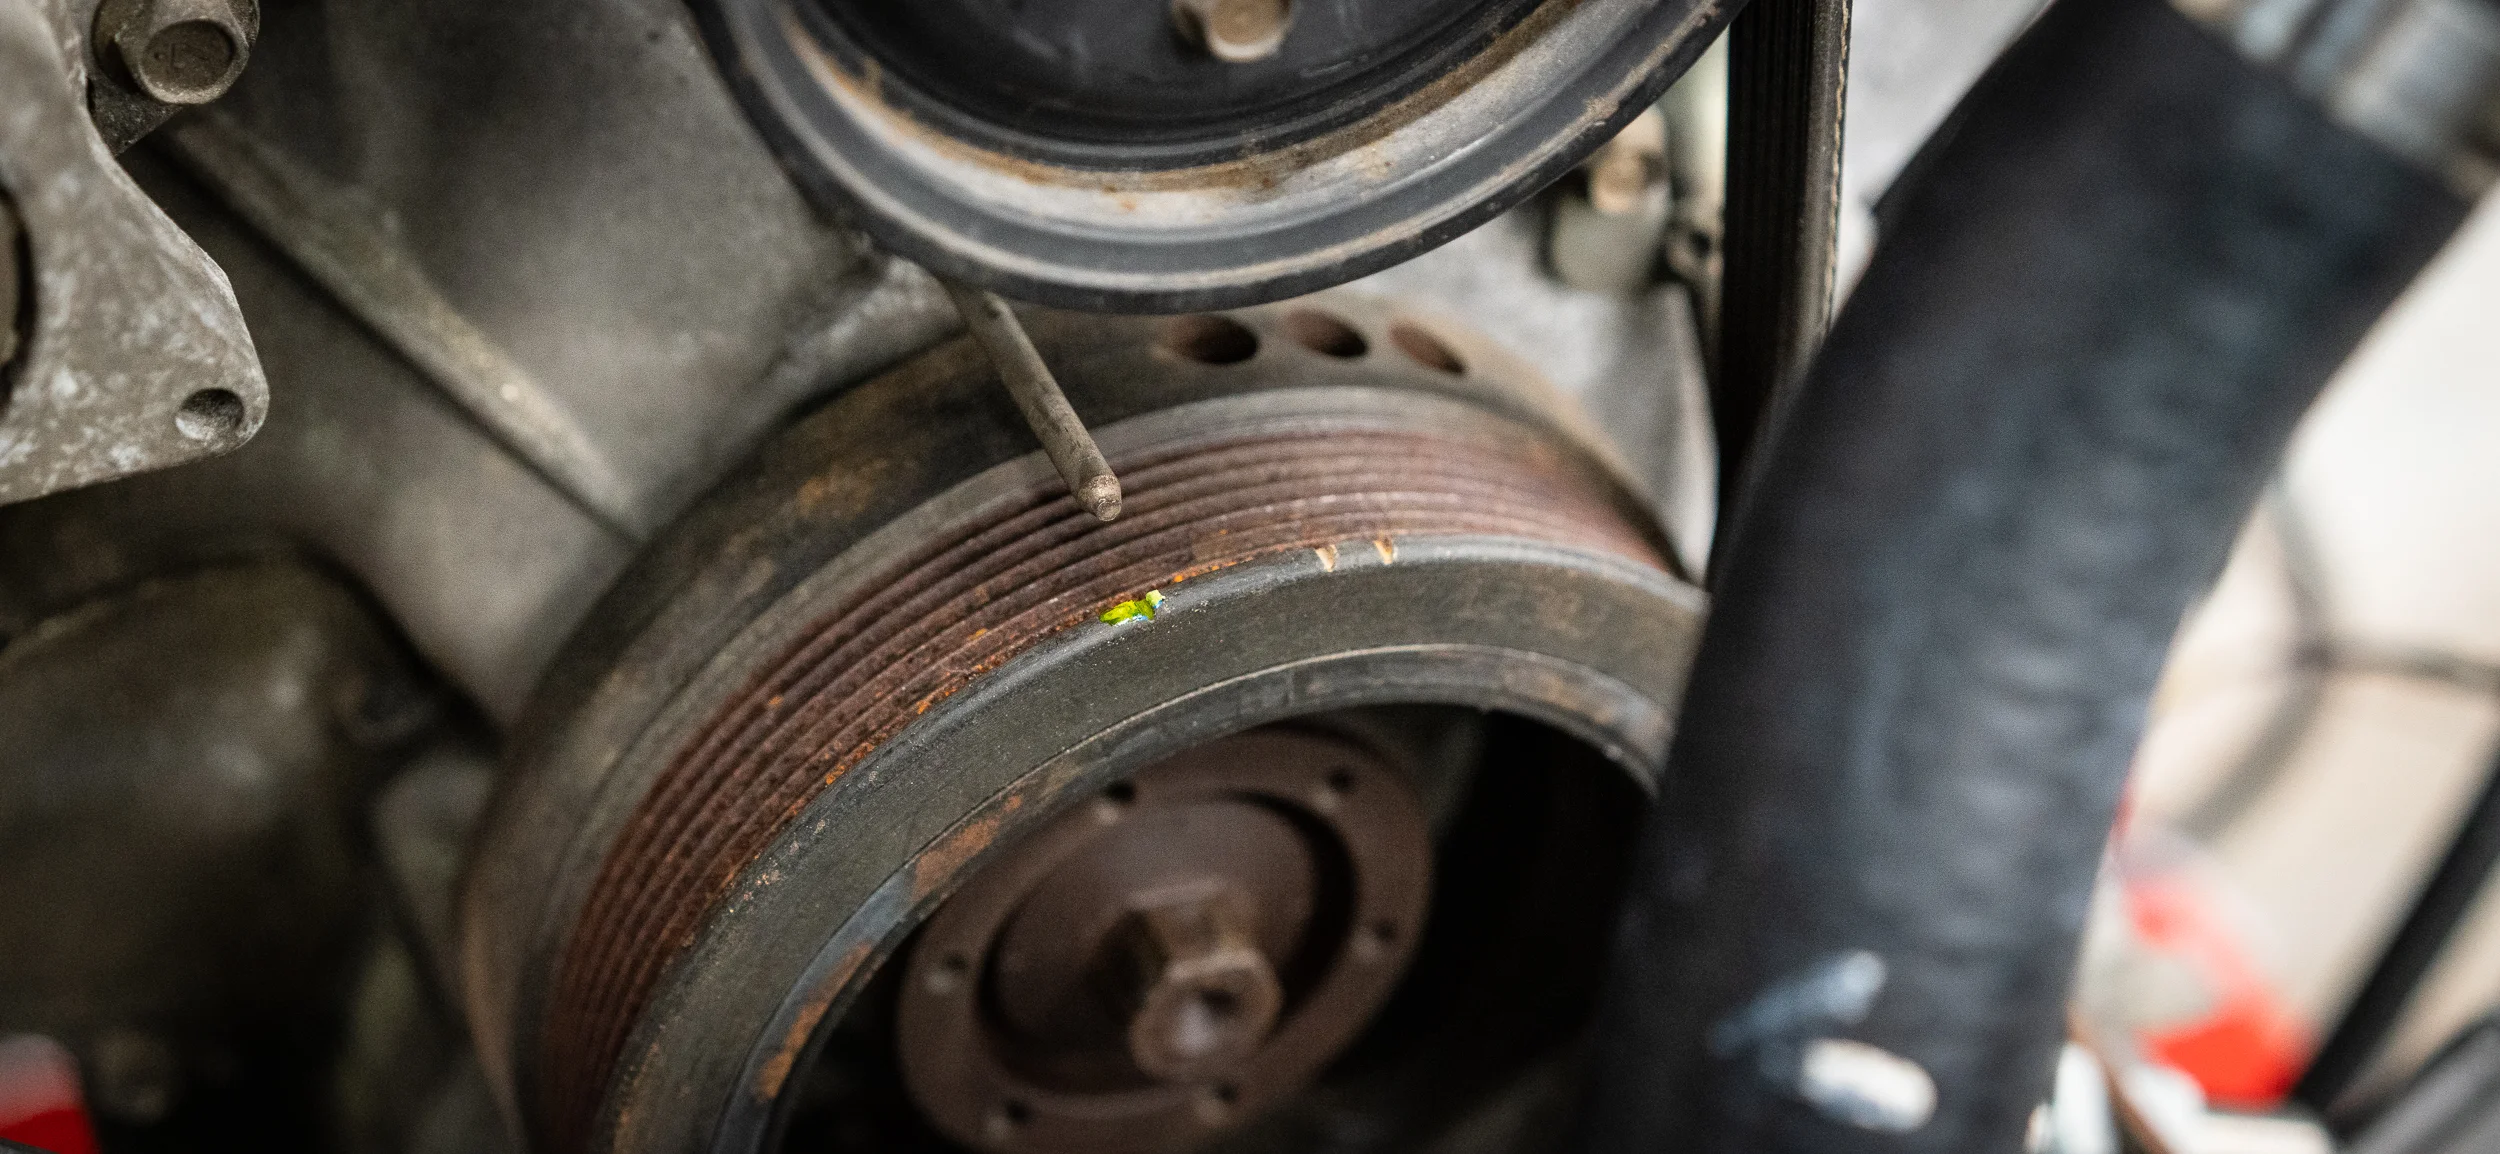
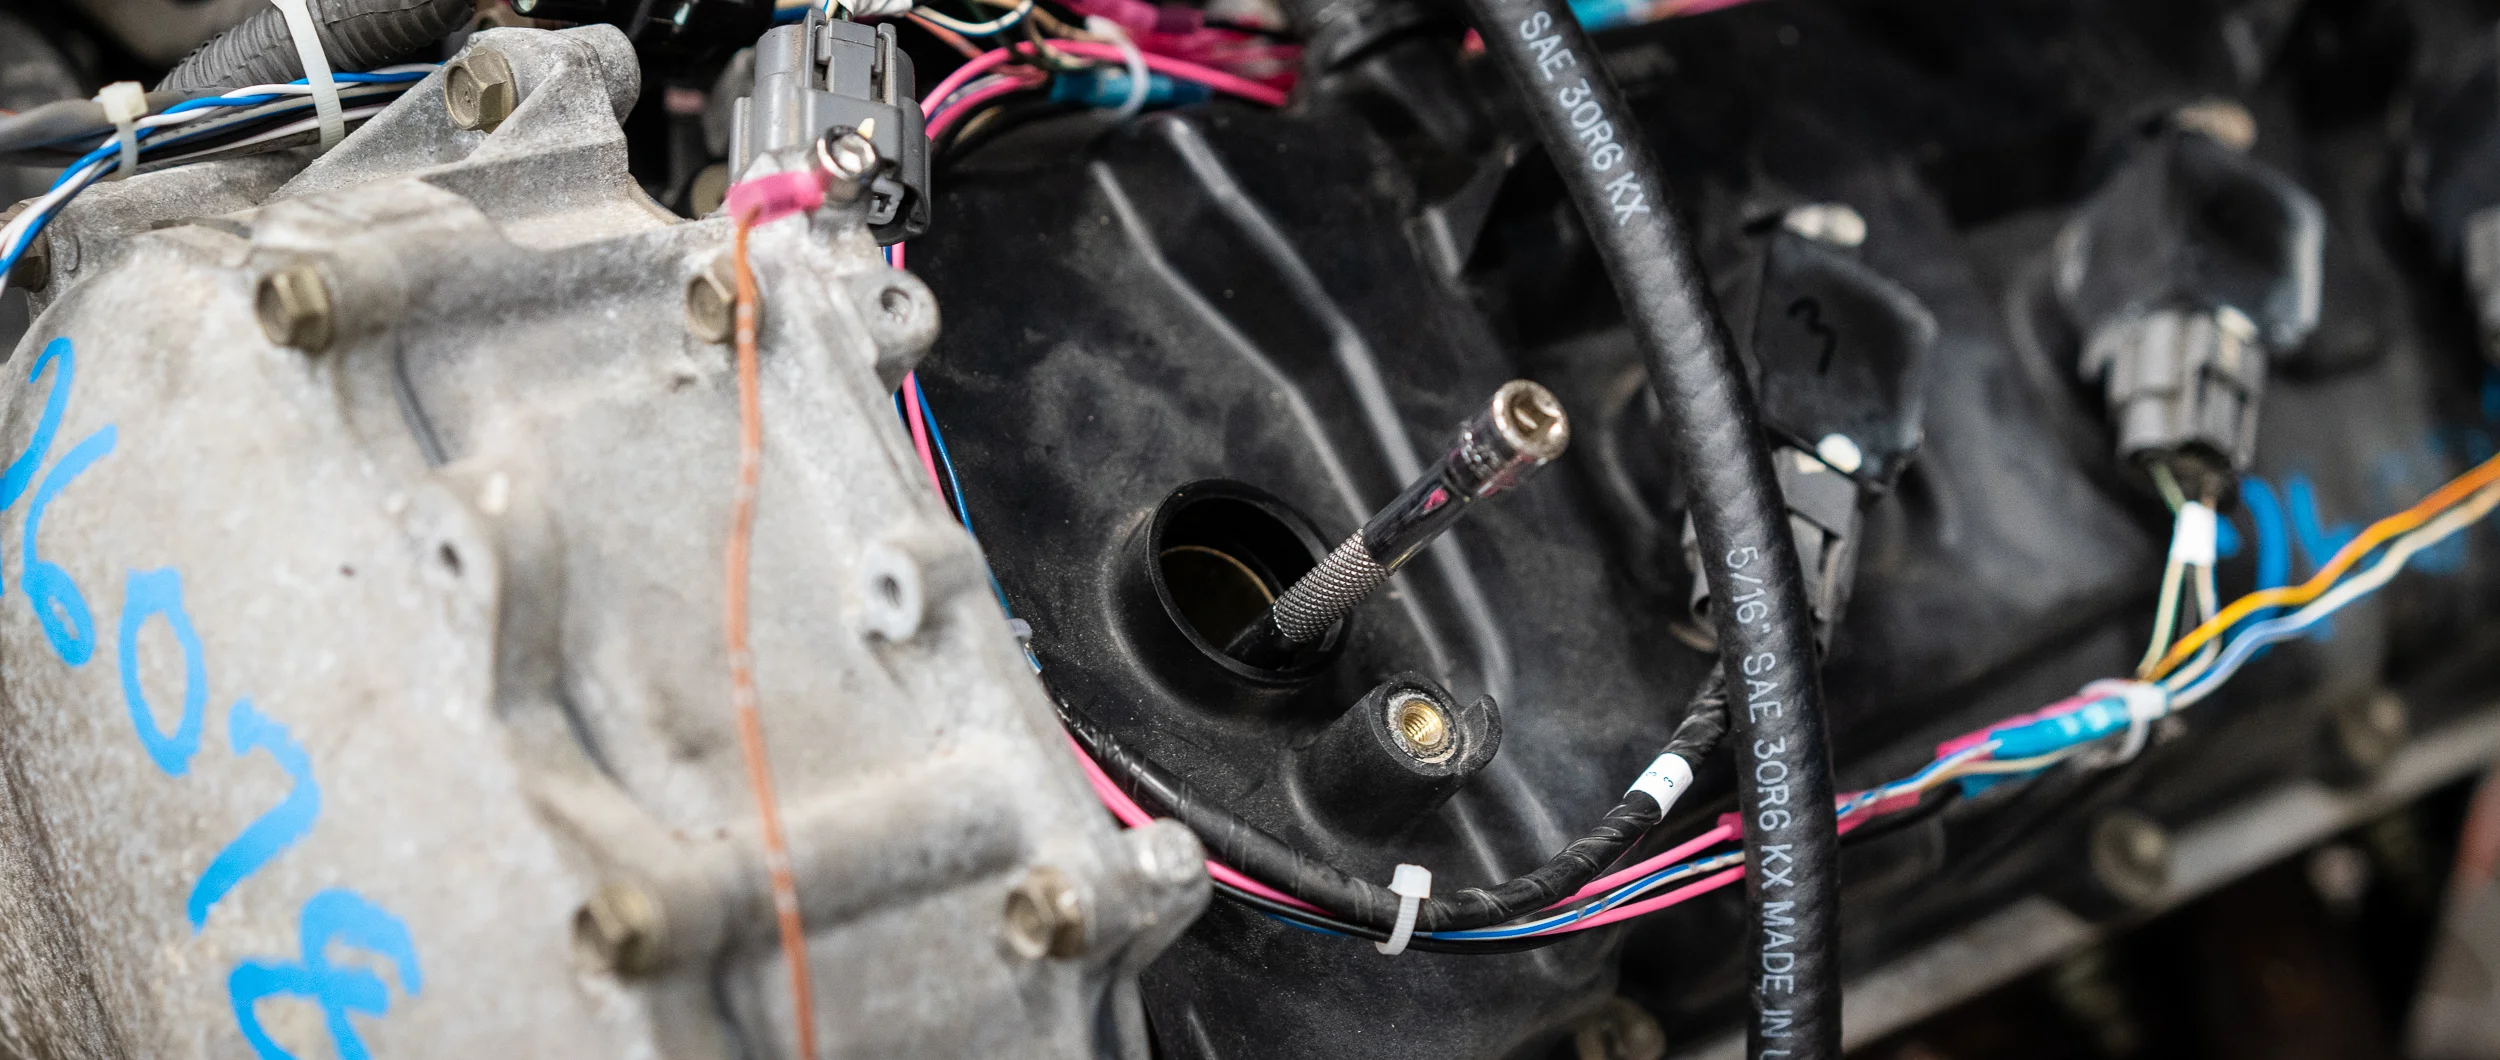
So I removed the trigger wheel to confirm the mark on the pulley I was using was actually TDC Cyl 1.
Ye olde “long thing in the spark plug hole” TDC finder.
Then I put the trigger wheel back on with the missing tooth much closer to the sensor. I didn’t have total flexibility because of the hole and slot placements of the crank pulley and trigger wheel, but I got it within 2 teeth. This time I skipped the wizard completely and directly accessed the “CrankTriggerOffset” value in a table. I used the timing light to get a value of 22 degrees after TDC, which matched up with my “about 2 teeth” real world observation. Yay.
Let’s try this again.
I had to jack around with the ECU software a bit because it dropped my crank trigger configuration (I guess the wizard is forgetful?), but as I was confirming the setups and all the sensors while cranking, IT FIRED UP!
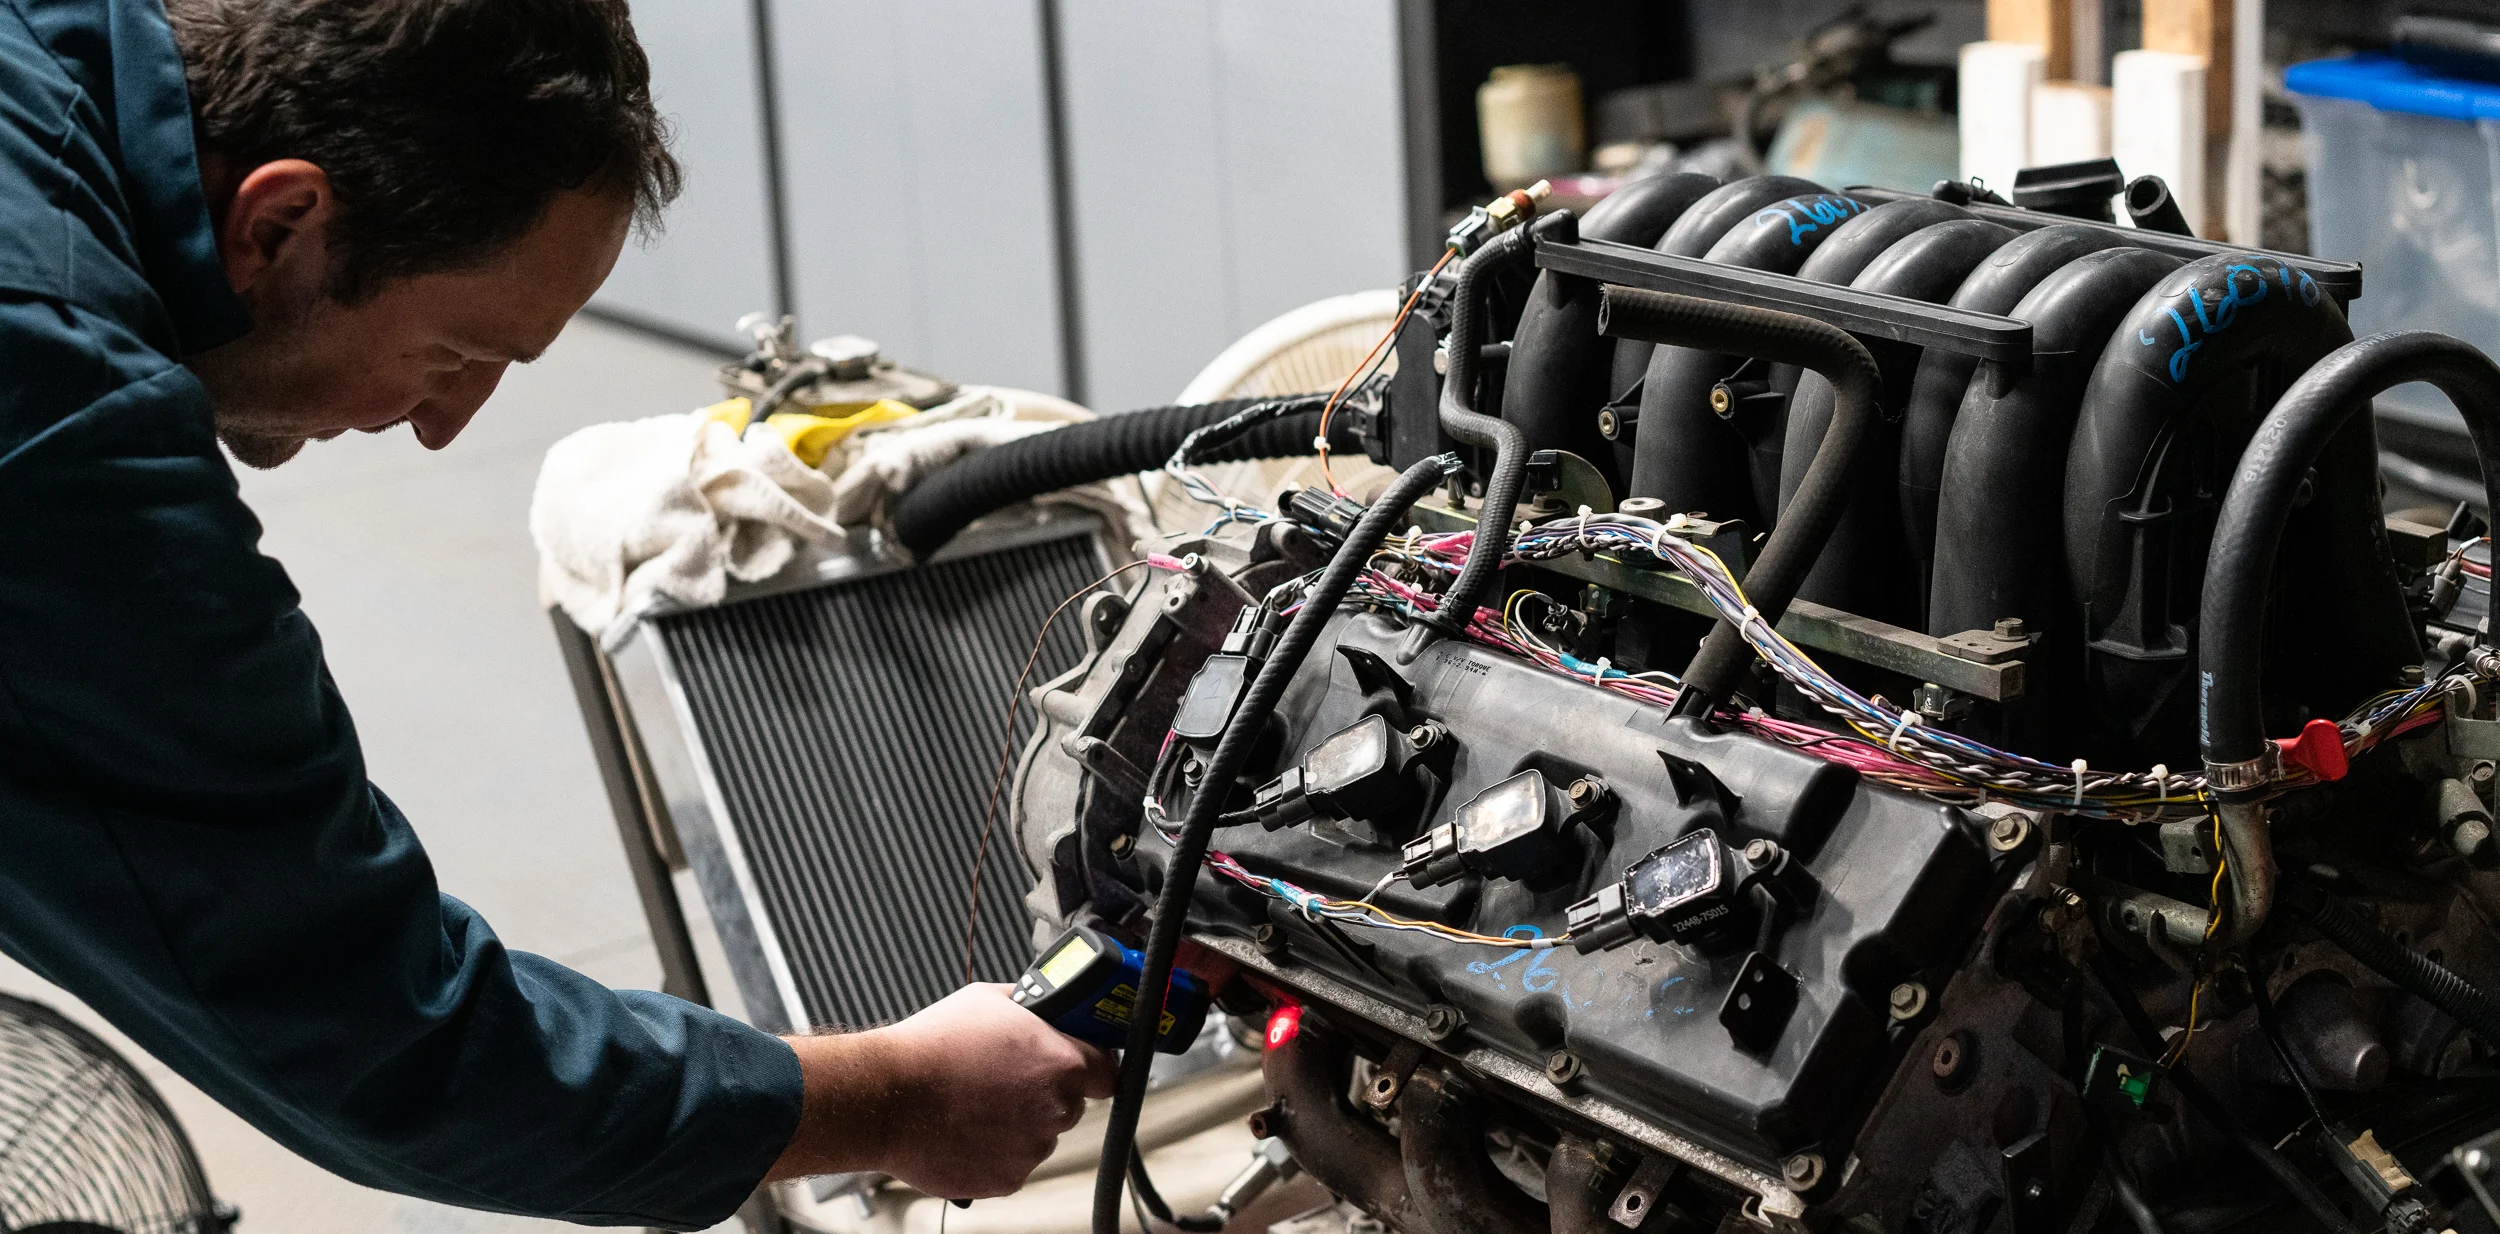
Nik grabbed an IR temp gun to double check that all the cylinders were firing, and they were.
WOOOOOO!!!!
I immediately spiked the football and told Nik we were leaving to celebrate with fajitas y cervezas. It feels like I worked on this a long time.
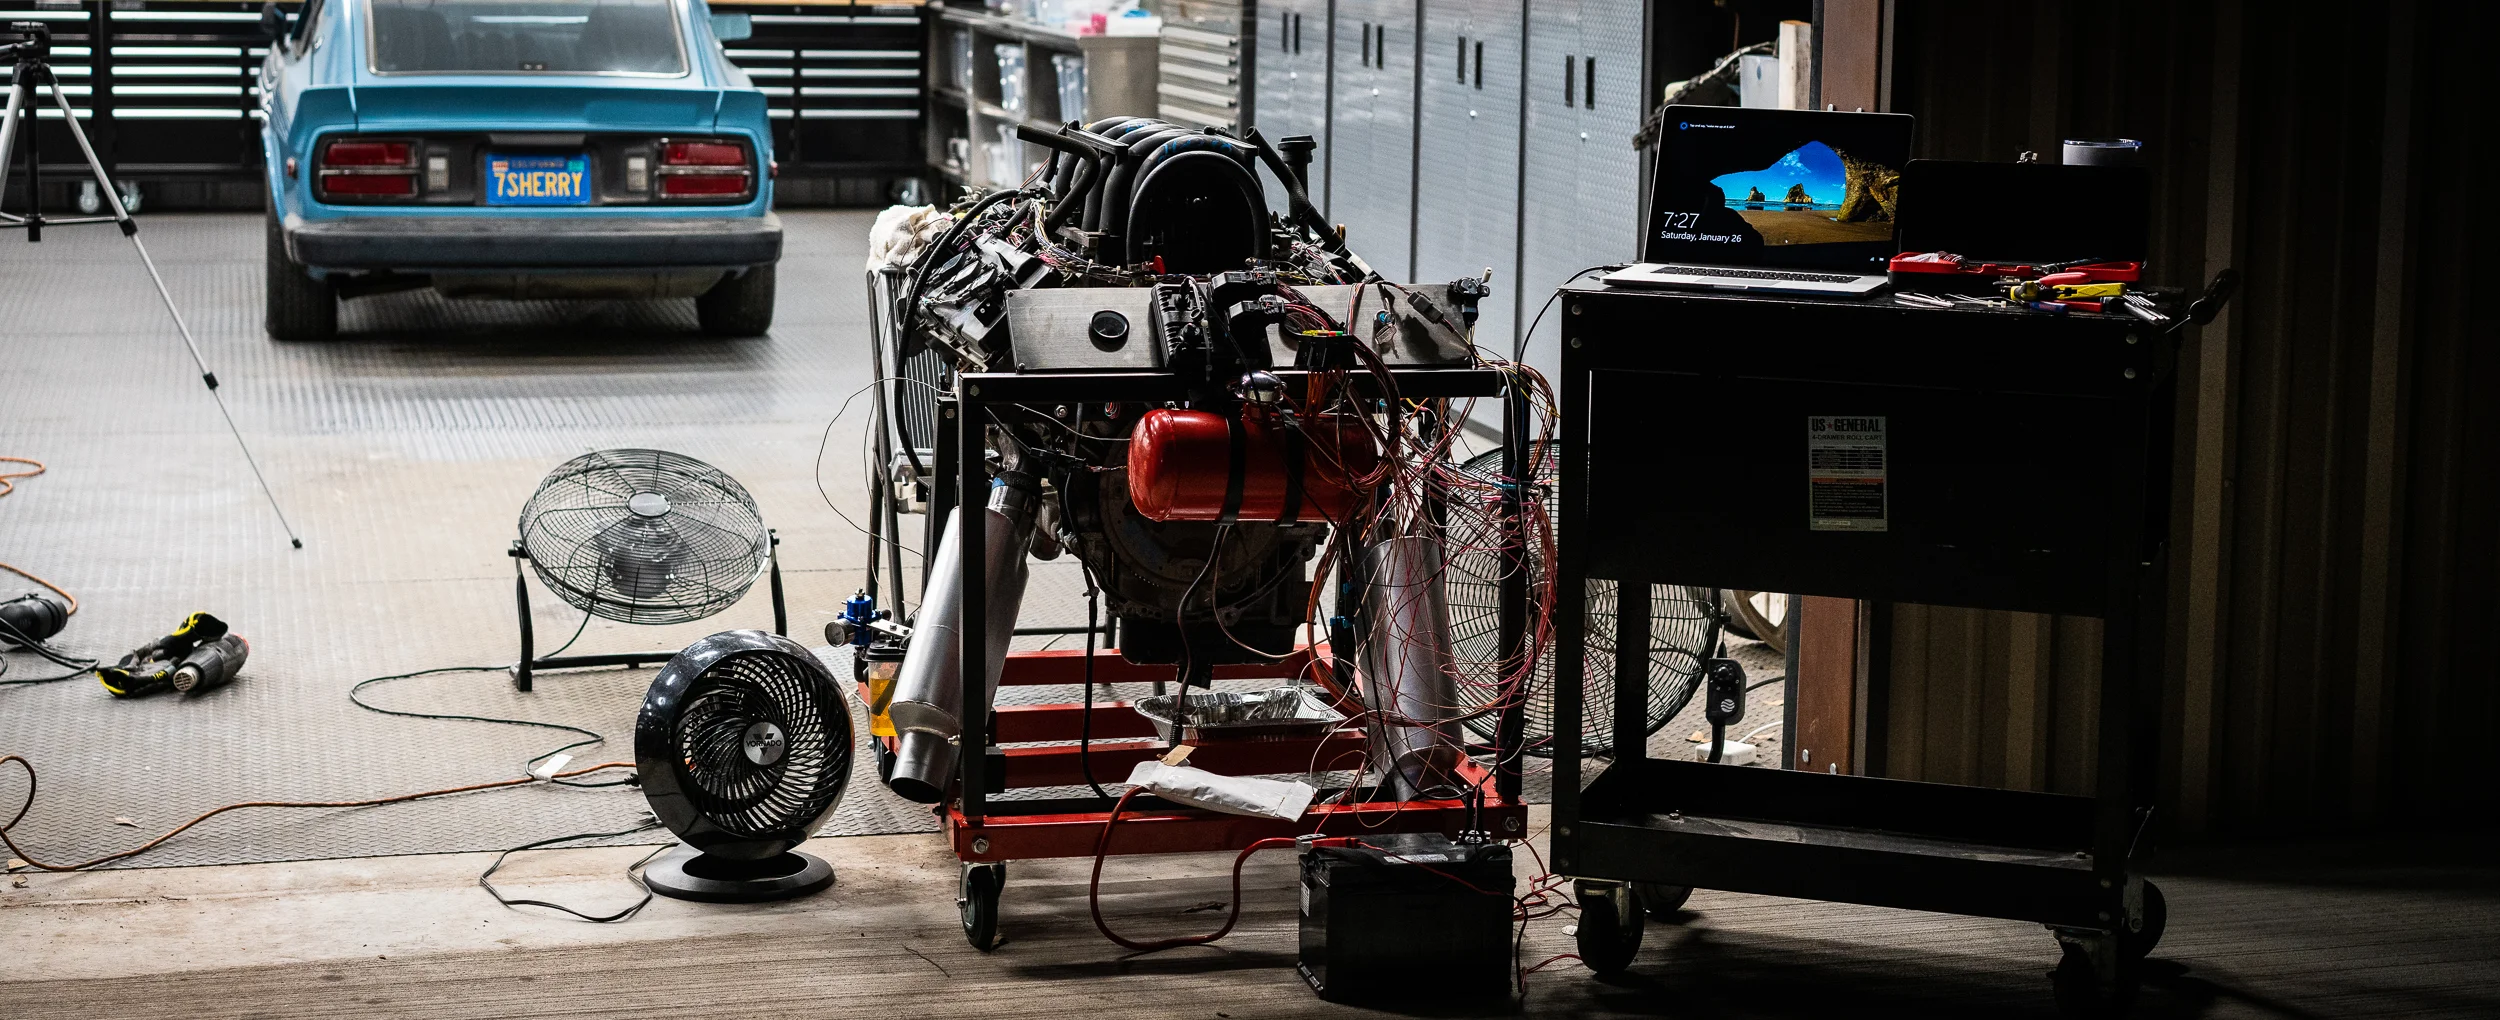
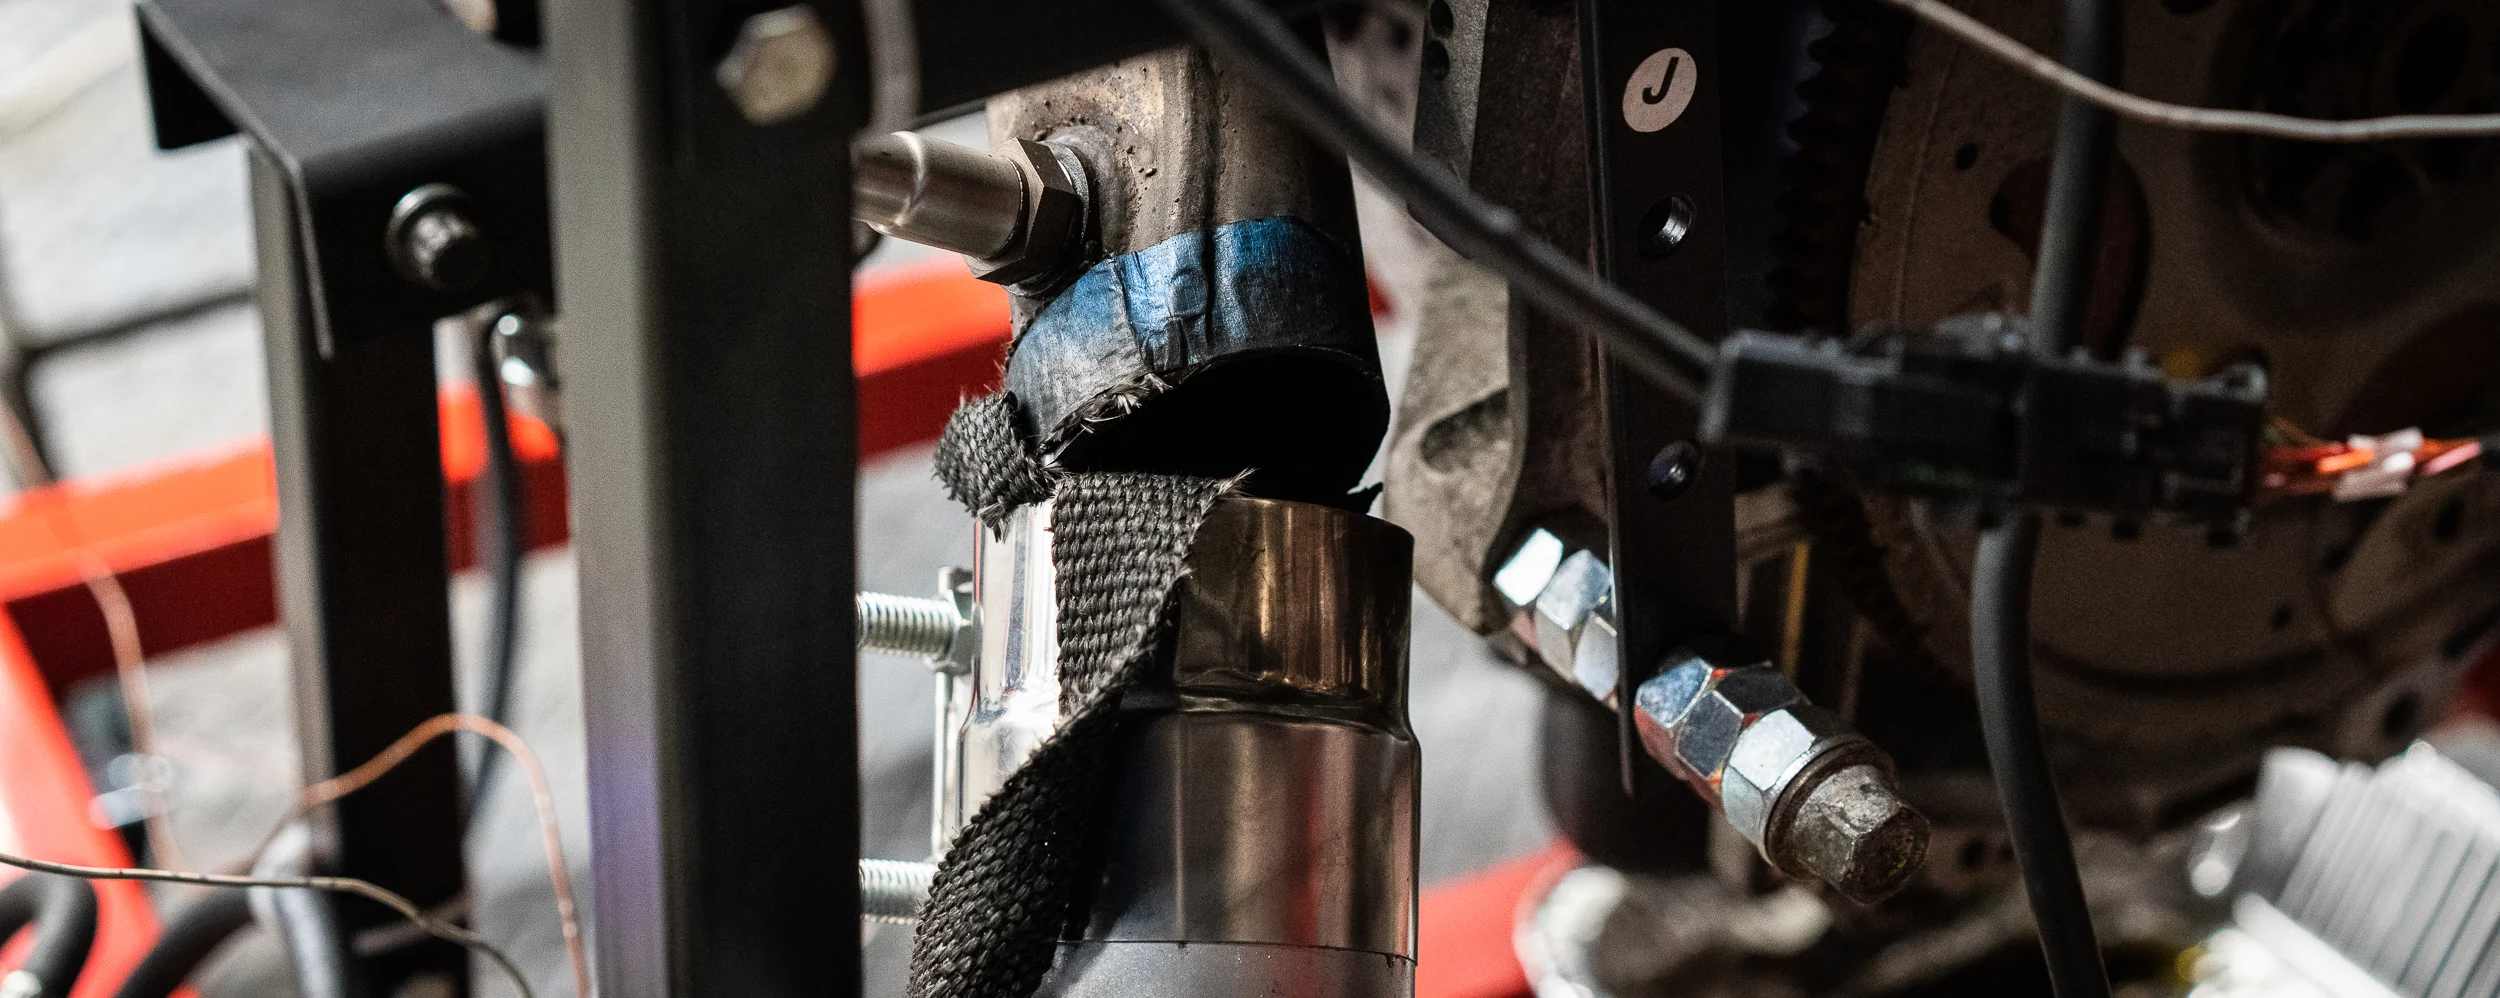
We came back a bit later and I did some more starts and a liiiittle bit of tuning, but it had gotten late and although I had some mufflers on it, it’s still really loud, so I made a couple changes and called it a night. I actually had to find a better way to keep the mufflers in place; my band clamps and header wrap lasted about 1 stab of the throttle.
That was one issue to solve.
Another issue was that although the throttle was set very low, like 4% open, the idle runs away and I have to turn off the key at around 3500RPM. Maybe a vacuum leak somewhere? I couldn’t find how to close the throttle more through the drive-by-wire setup, but surely it’s there.
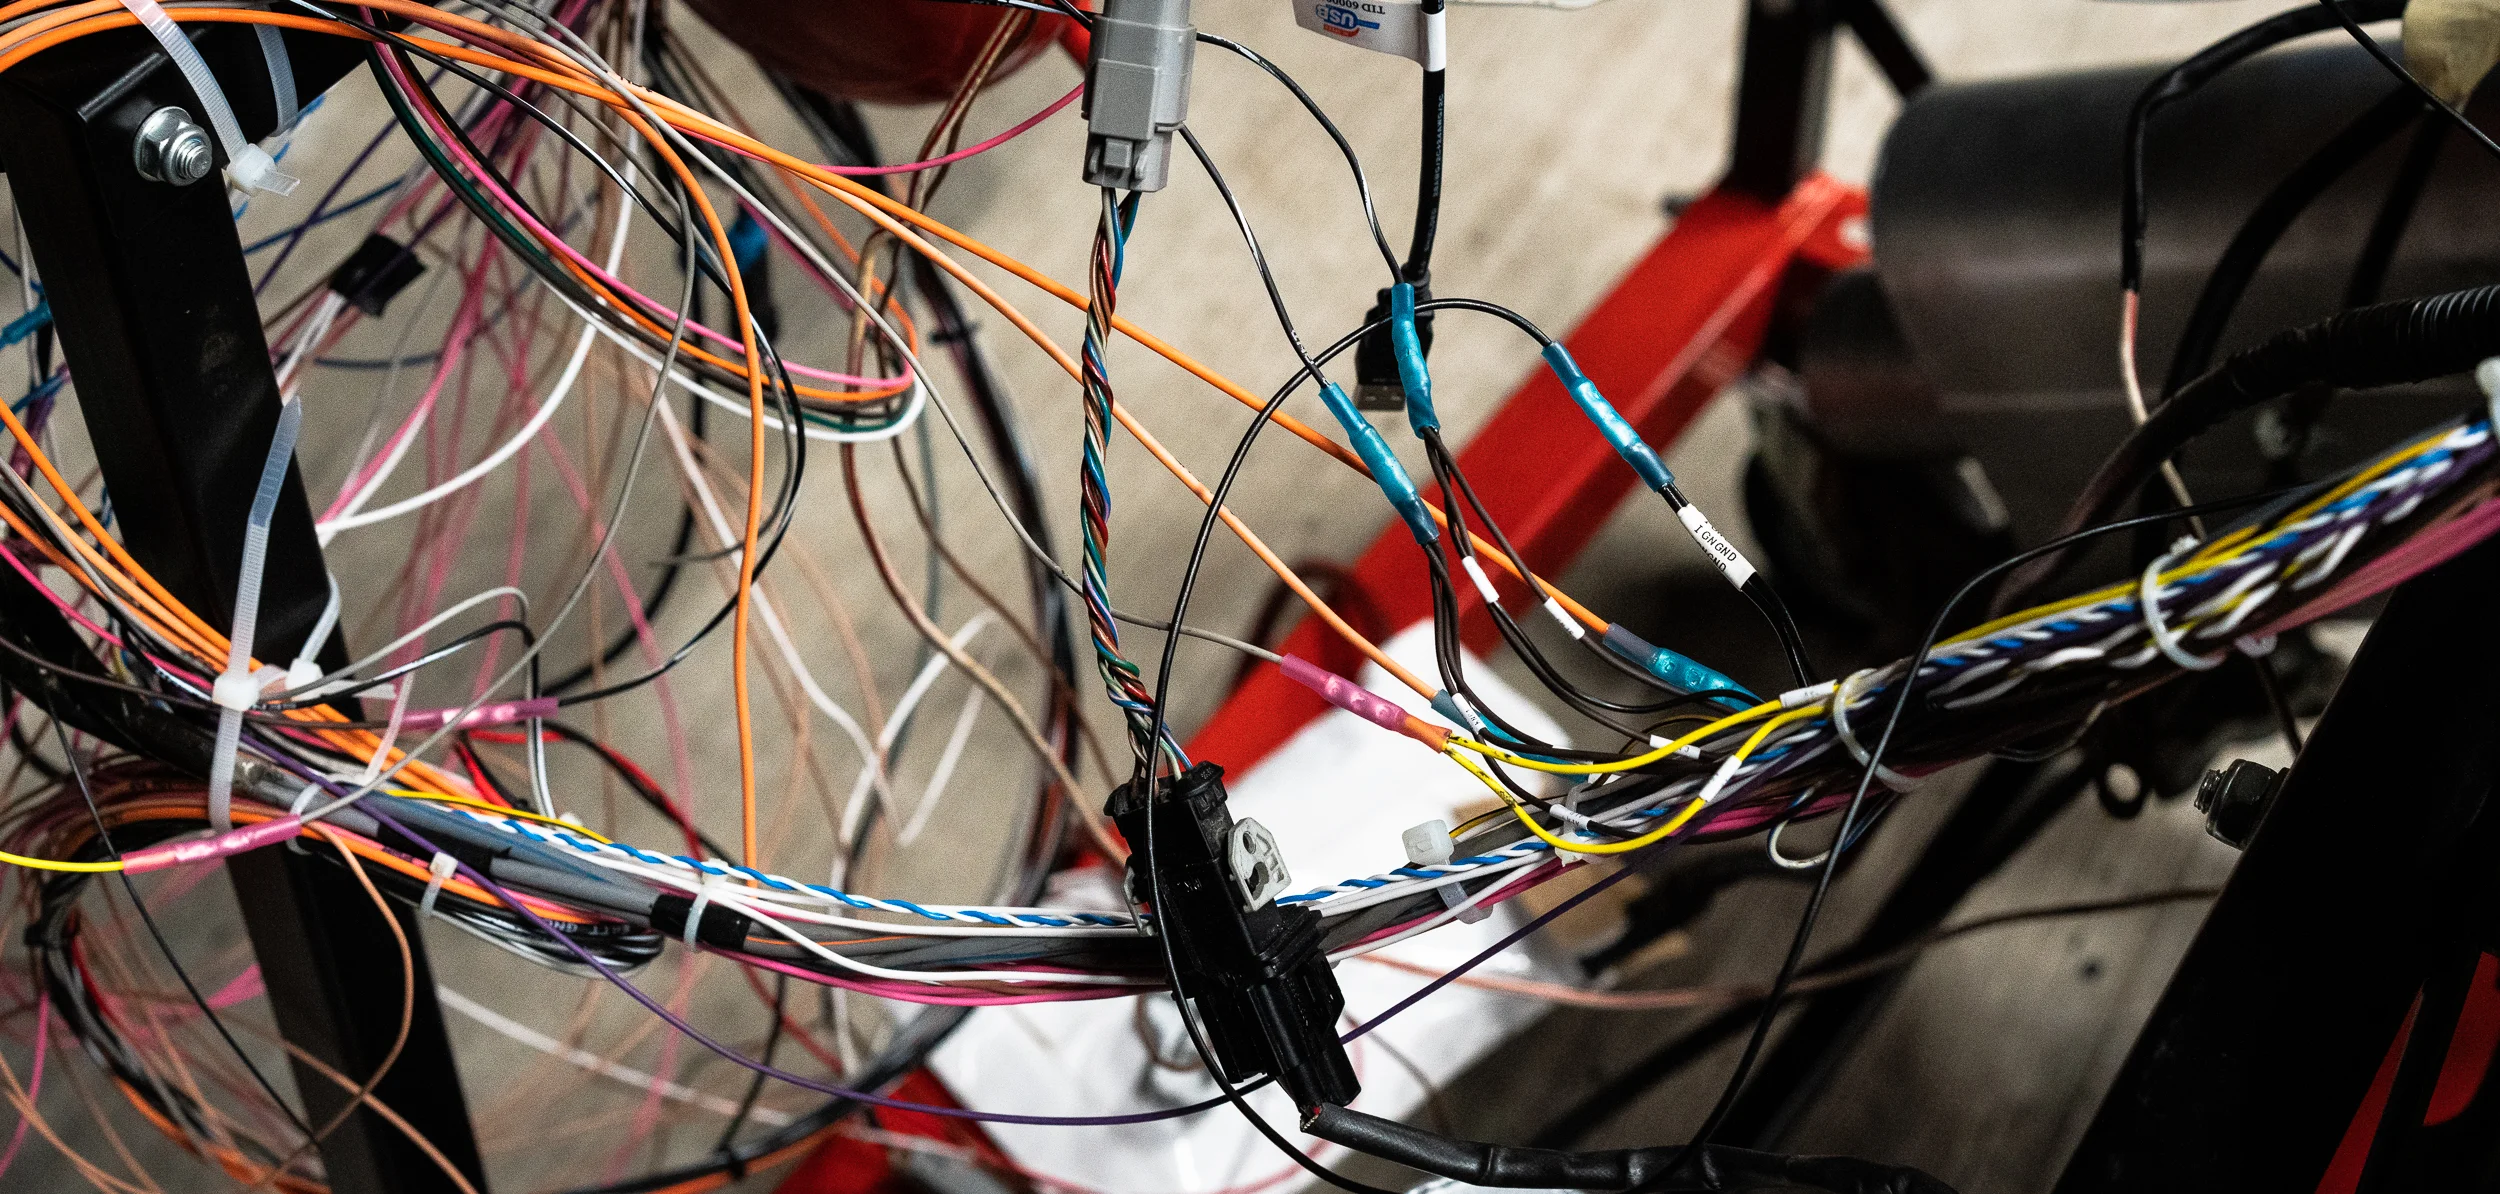
I’d also like to clean up the wiring just a little bit. Shame.
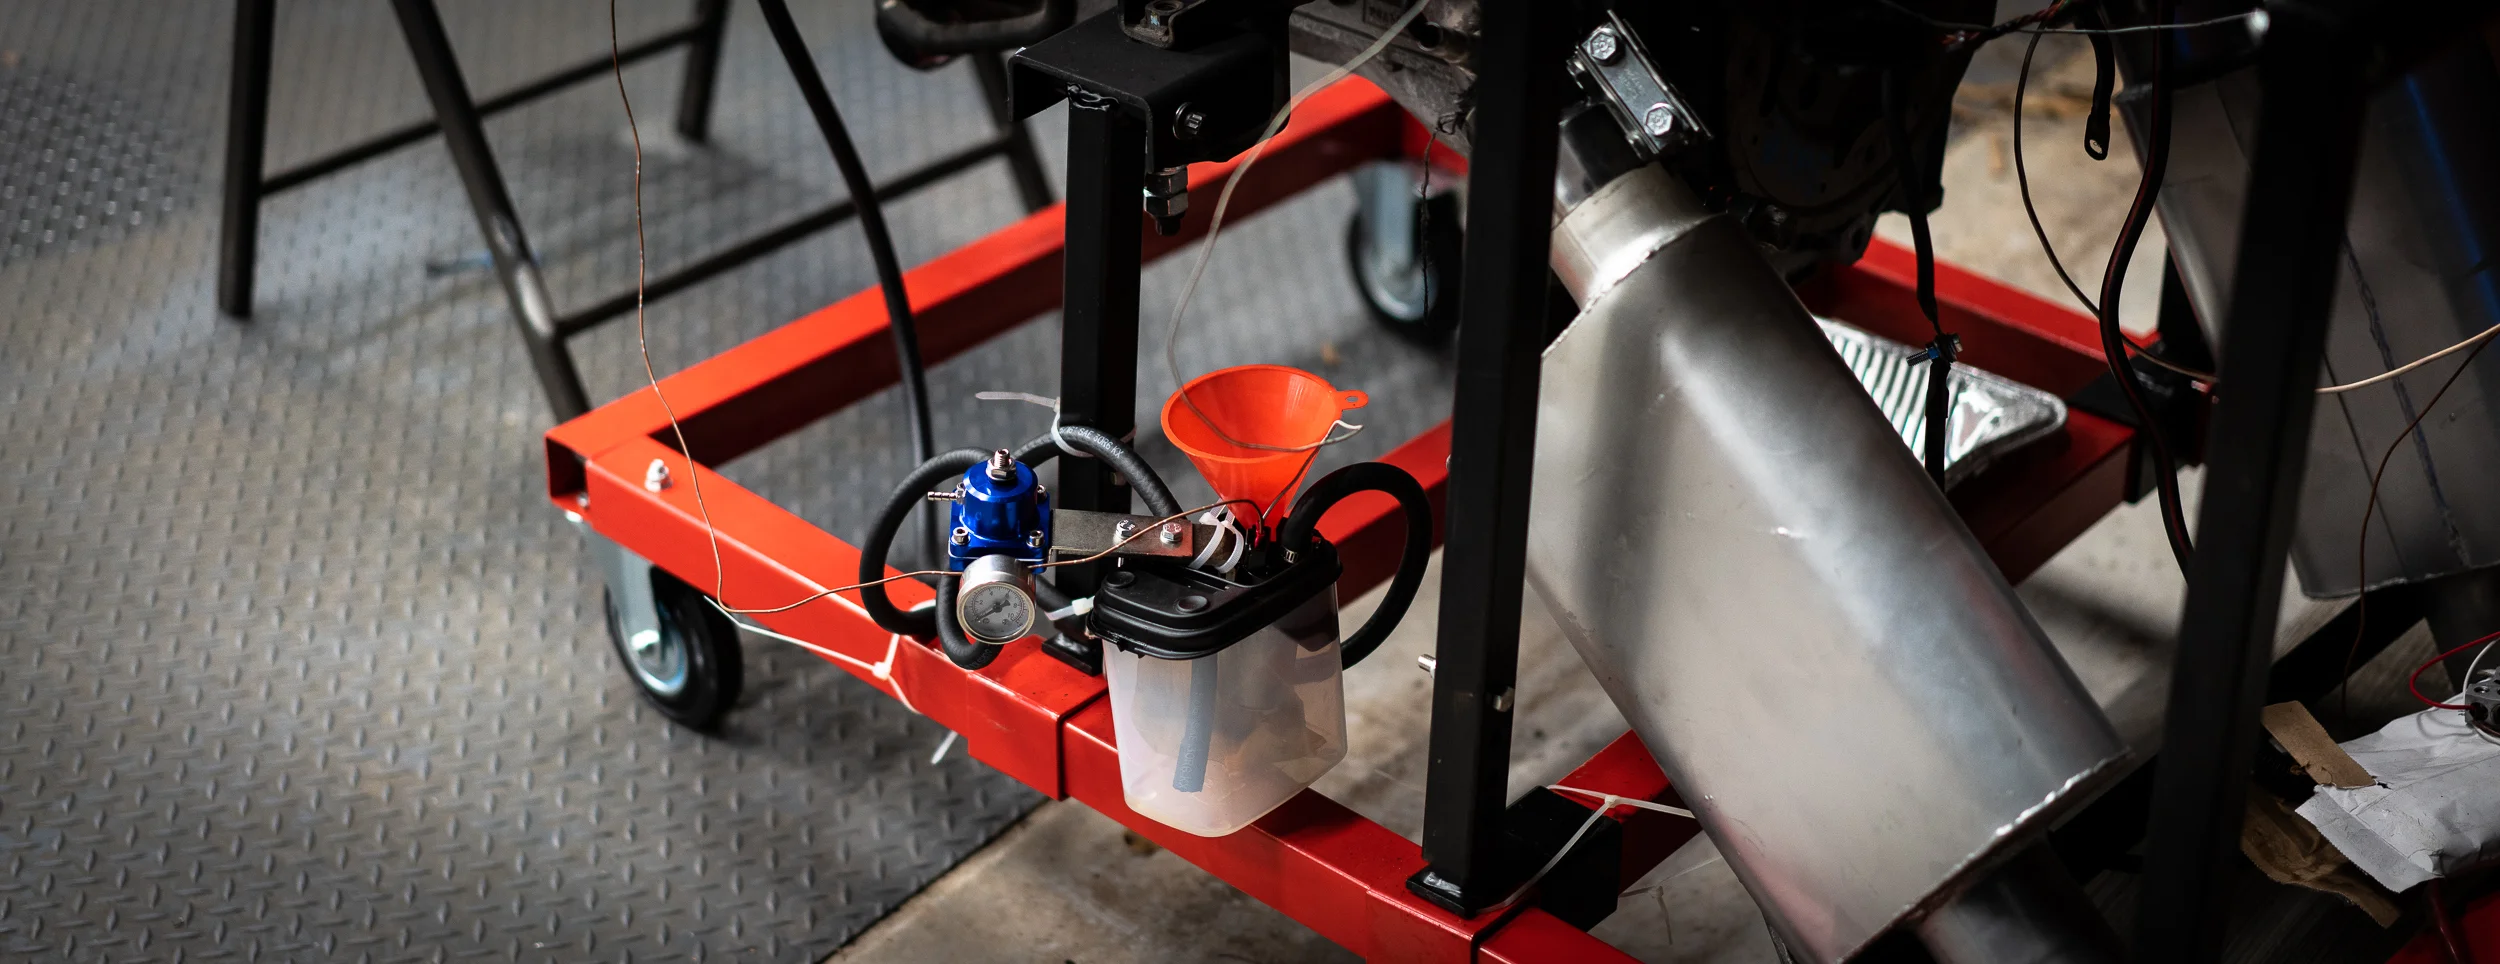
Oh, and I had about 30 seconds of tuning time before my “fuel tank” went dry. So you could say it was running a bit rich.
Anyhow, I wrapped it up for the night with a plan to return in a couple days.
Which I did, and I dove back into the tuning.
I got some guidance from RYEPhil, watched some AEM tutorials, and went about trying to get it to idle nicely.
I finally was able to get it to idle right by finding the correct control tables to force the throttle plate to 0.3% open, reducing the timing advance from 20 to 10 (20 was set by default), and disabling the closed-loop idle feedback controls. The tutorials all say to get it idling nicely without feedback first, so I did.
I changed the VE table from 55% to 20% in the idle range, which obviously dropped the fuel consumption way down and got the idle lambda to 1.0. Yay. The injector pulse width is around 7ms now with it idling happy. RYEPhil was right, 75ms doesn’t make any sense. 10x too rich? Whoops.
I then fiddled with the wall wetting settings to get it to blip nicely and took a video!
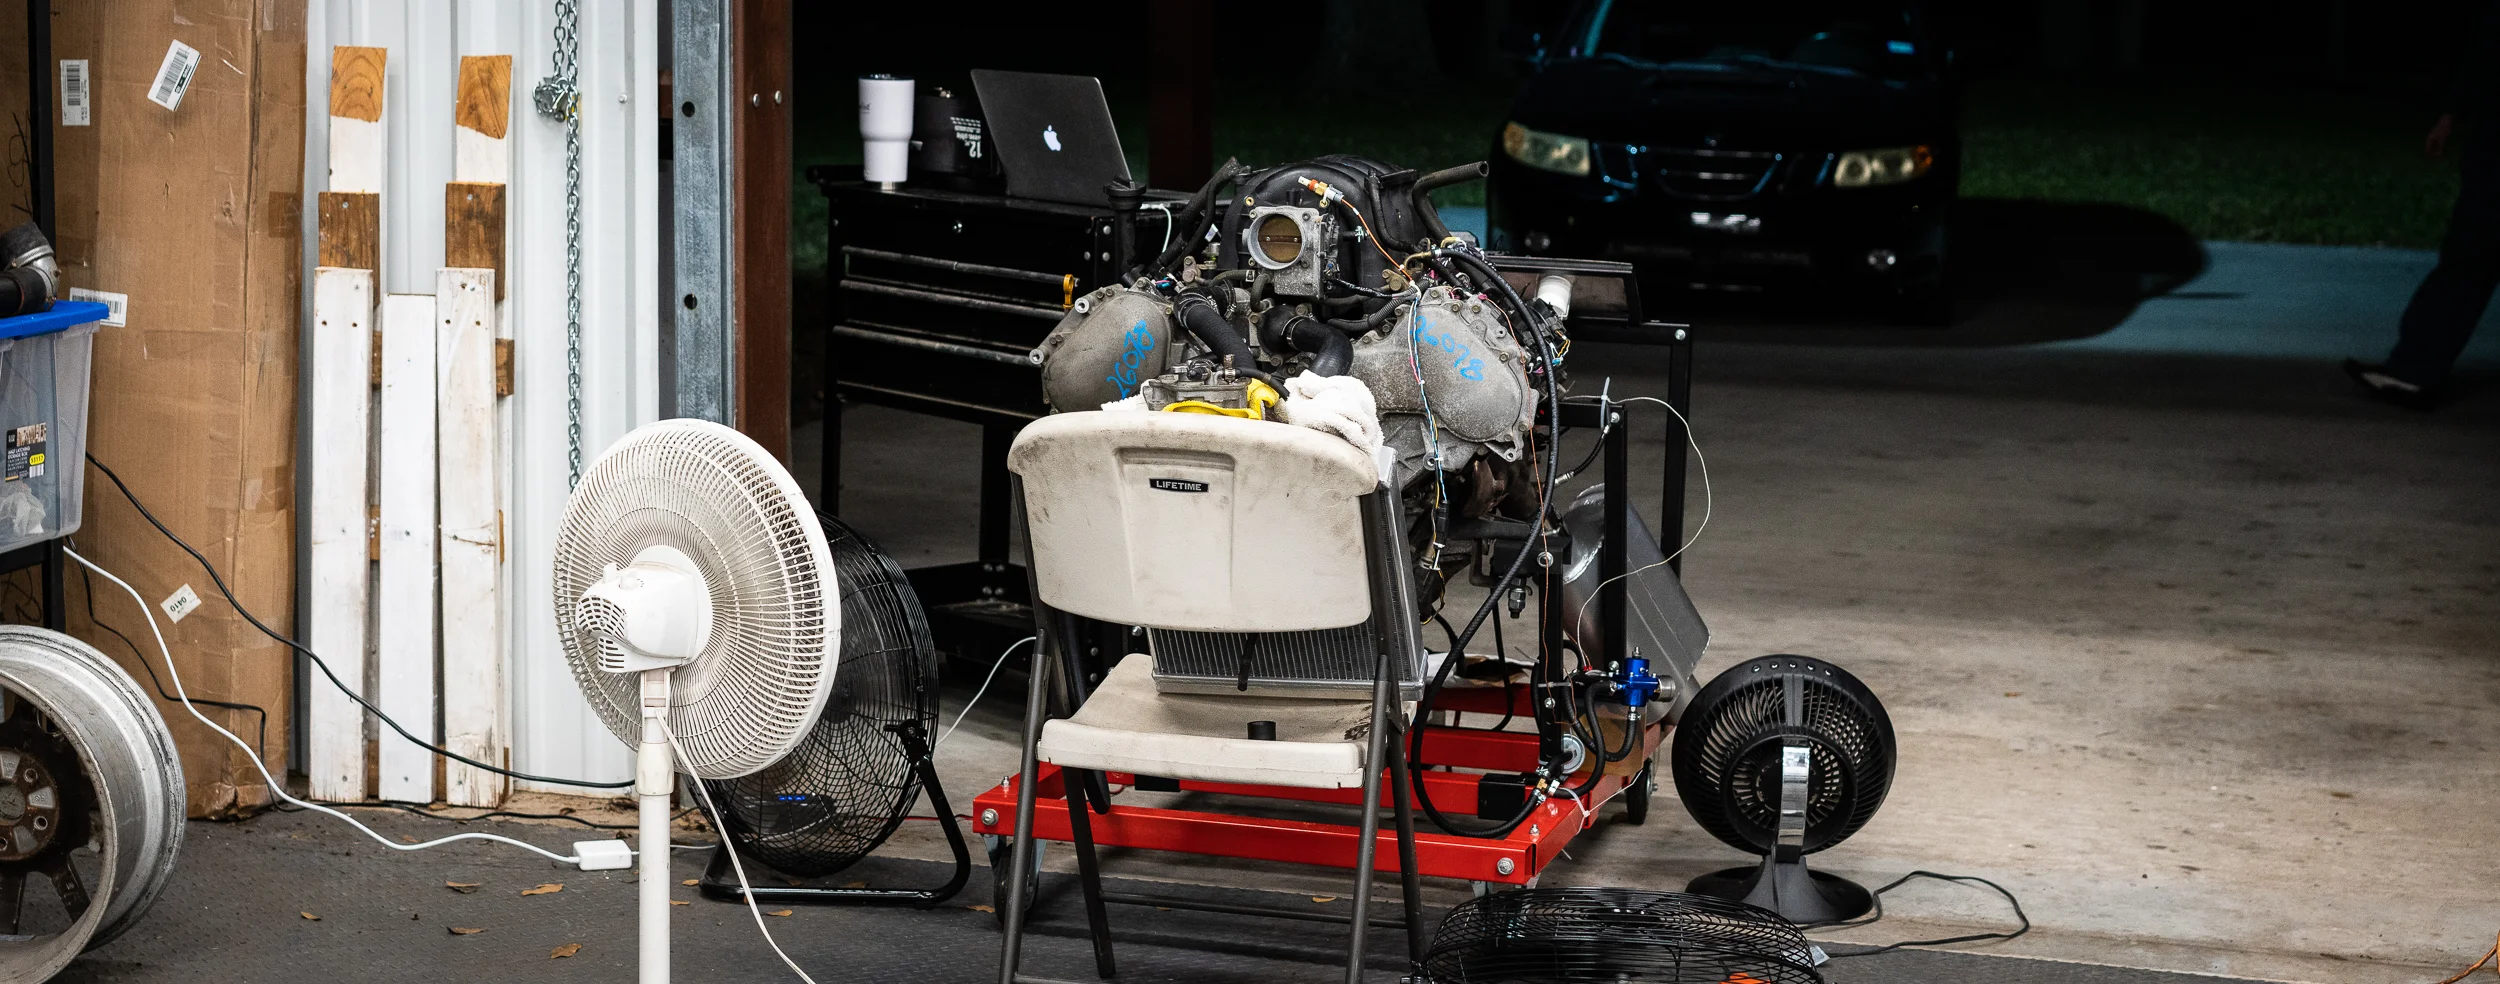
I guess that wraps up the test stand saga?
It was a lot of work, but as I’d hoped, I learned a lot that would have been much more difficult with the engine in the car, not to mention quite risky on a heavily tuned engine.
And now I’ll take it all apart.
Thanks for reading!
damen
Next Datsun Post: … coming soon …
Previous Datsun Post: Will It Start?
All Datsun Posts: 600HP V8 Datsun 280Z
