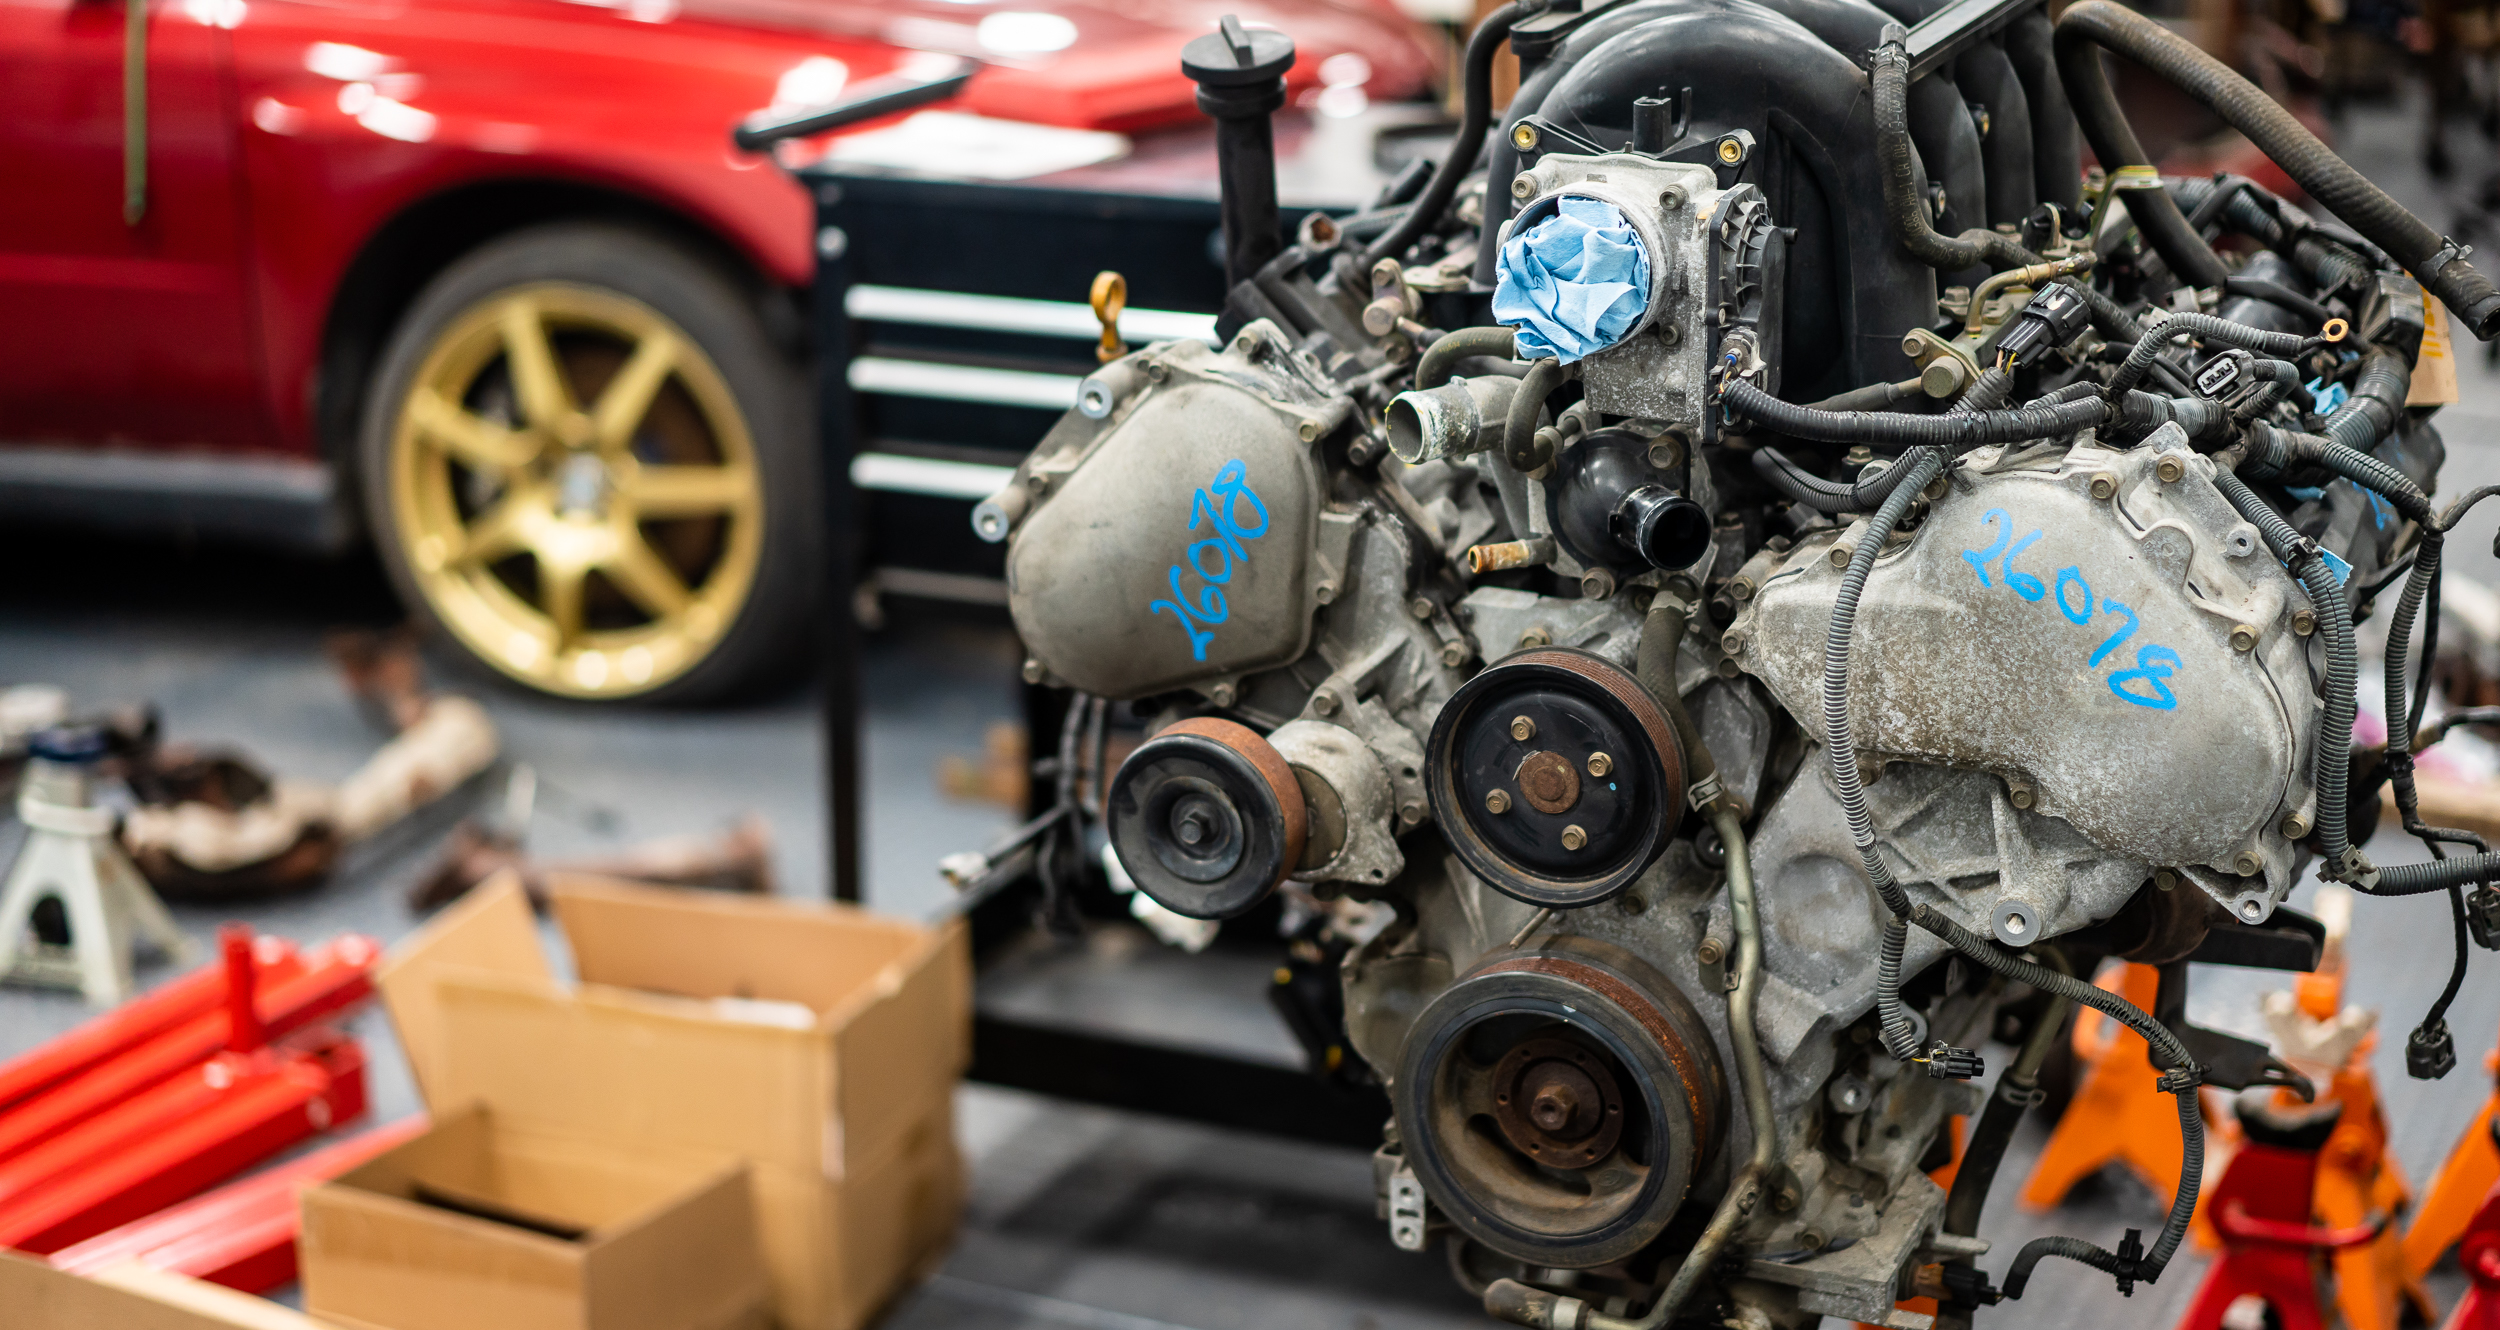
I’ve been feeling a bit overwhelmed by this project recently; it’s simply so large. I’ll start these work nights with a huge amount of enthusiasm, then just be grumpy by the end. I’m moving so slowly and there’s so much to do.
Existential crisis aside, I bought a "Mobile Engine Testing Station" from Walmart. I would like to try to get the stock engine running on the AEM Infinity ECU with a yet-to-be-made wiring harness, using the 36-1 trigger wheel and VR sensor, on an alpha-N / VE map. And I've never done any of that. But it'll be fine, right?
Anyhow, the testing station/engine stand came in a lot of pieces with very little documentation. Like IKEA, except with no directions. Just a photo of the finished product.
I got it about halfway together, planning to put the casters on last, when I realized that the casters have bolts that need access to the inside of the tubes to install. And the inside is blocked by some giant long bolts. So I took it all the way back apart, which at least gave me the opportunity to take a photo of the 4 foot long bolt that holds the bottom together.
So I got the casters on, then restarted assembly.
I made it to 95% complete. All that was left was to fasten the diagonal supports for the fuel tank/instrument panel. The supports wouldn't reach by about 5mm. I was very close to writing it off to "poor quality control" or something like that when I realized that the very bottom legs were upside down and flipped side to side. They are alllllmost symmetrical, so it wouldn’t matter, except for the tiny difference of the one support hole being a bit higher when properly oriented.
So close.
Here's how it looked 95% complete.
It would have to come fully apart again. I was not a happy camper.
I briefly considered drilling the holes in the place I needed, but I figured the extra labor was appropriate punishment for screwing it up twice.
So I took it apart, flipped the lower legs, then reassembled again for the third and final time. All in all, this 15 minute job took 2 hours.
It would have been nice to try and put the engine on this shiny new stand, but the mount arms on the engine need a vertical bolt orientation while the test stand uses a horizontal bolt orientation. I'll have to make some sort of adapter. After measuring, I think I can come up with something using 4" x 2" 3/16" wall rectangular tubing. We'll find out together.
I had some extra time left before having to leave, so I started on the wiring harness mock-up bit.
I read somewhere about someone using solid-core single-conductor wire to mock up wiring runs, so I thought I'd give it a try. It's pretty cheap stuff. $37 for 500 ft at Home Depot.
After I marked all the connectors on the stock harness (I'm going to harvest the connectors off of it for the first test harness), I started running wire to a common spot at the back of the engine, and labeling. I'll add probably 3-4 feet extra to the harness, but no need to waste the mock-up wire.
I can then take the white wire and lay everything out on a table to make a harness. I ordered a starter mini-harness from AEM for the first pass at this. I'm hoping to make a nice harness for the final product with Spec55 wire, Raychem DR-25 shrink tubing, etc. I'll use this first go round to test layouts and construction methods.
I only got one side finished, then put it all in a box to take home and work on if I have time between shop nights. Most likely I'll just drive this box of wires around in my trunk for a couple months before using shop night to work on it anyway. It's pretty busy at home with a 3 and 1 year old.
Thanks for reading!
damen
Next Datsun Post: Engine Stand Mounts
Previous Datsun Post: ECU Decided
All Datsun Posts: 600HP V8 Datsun 280Z


