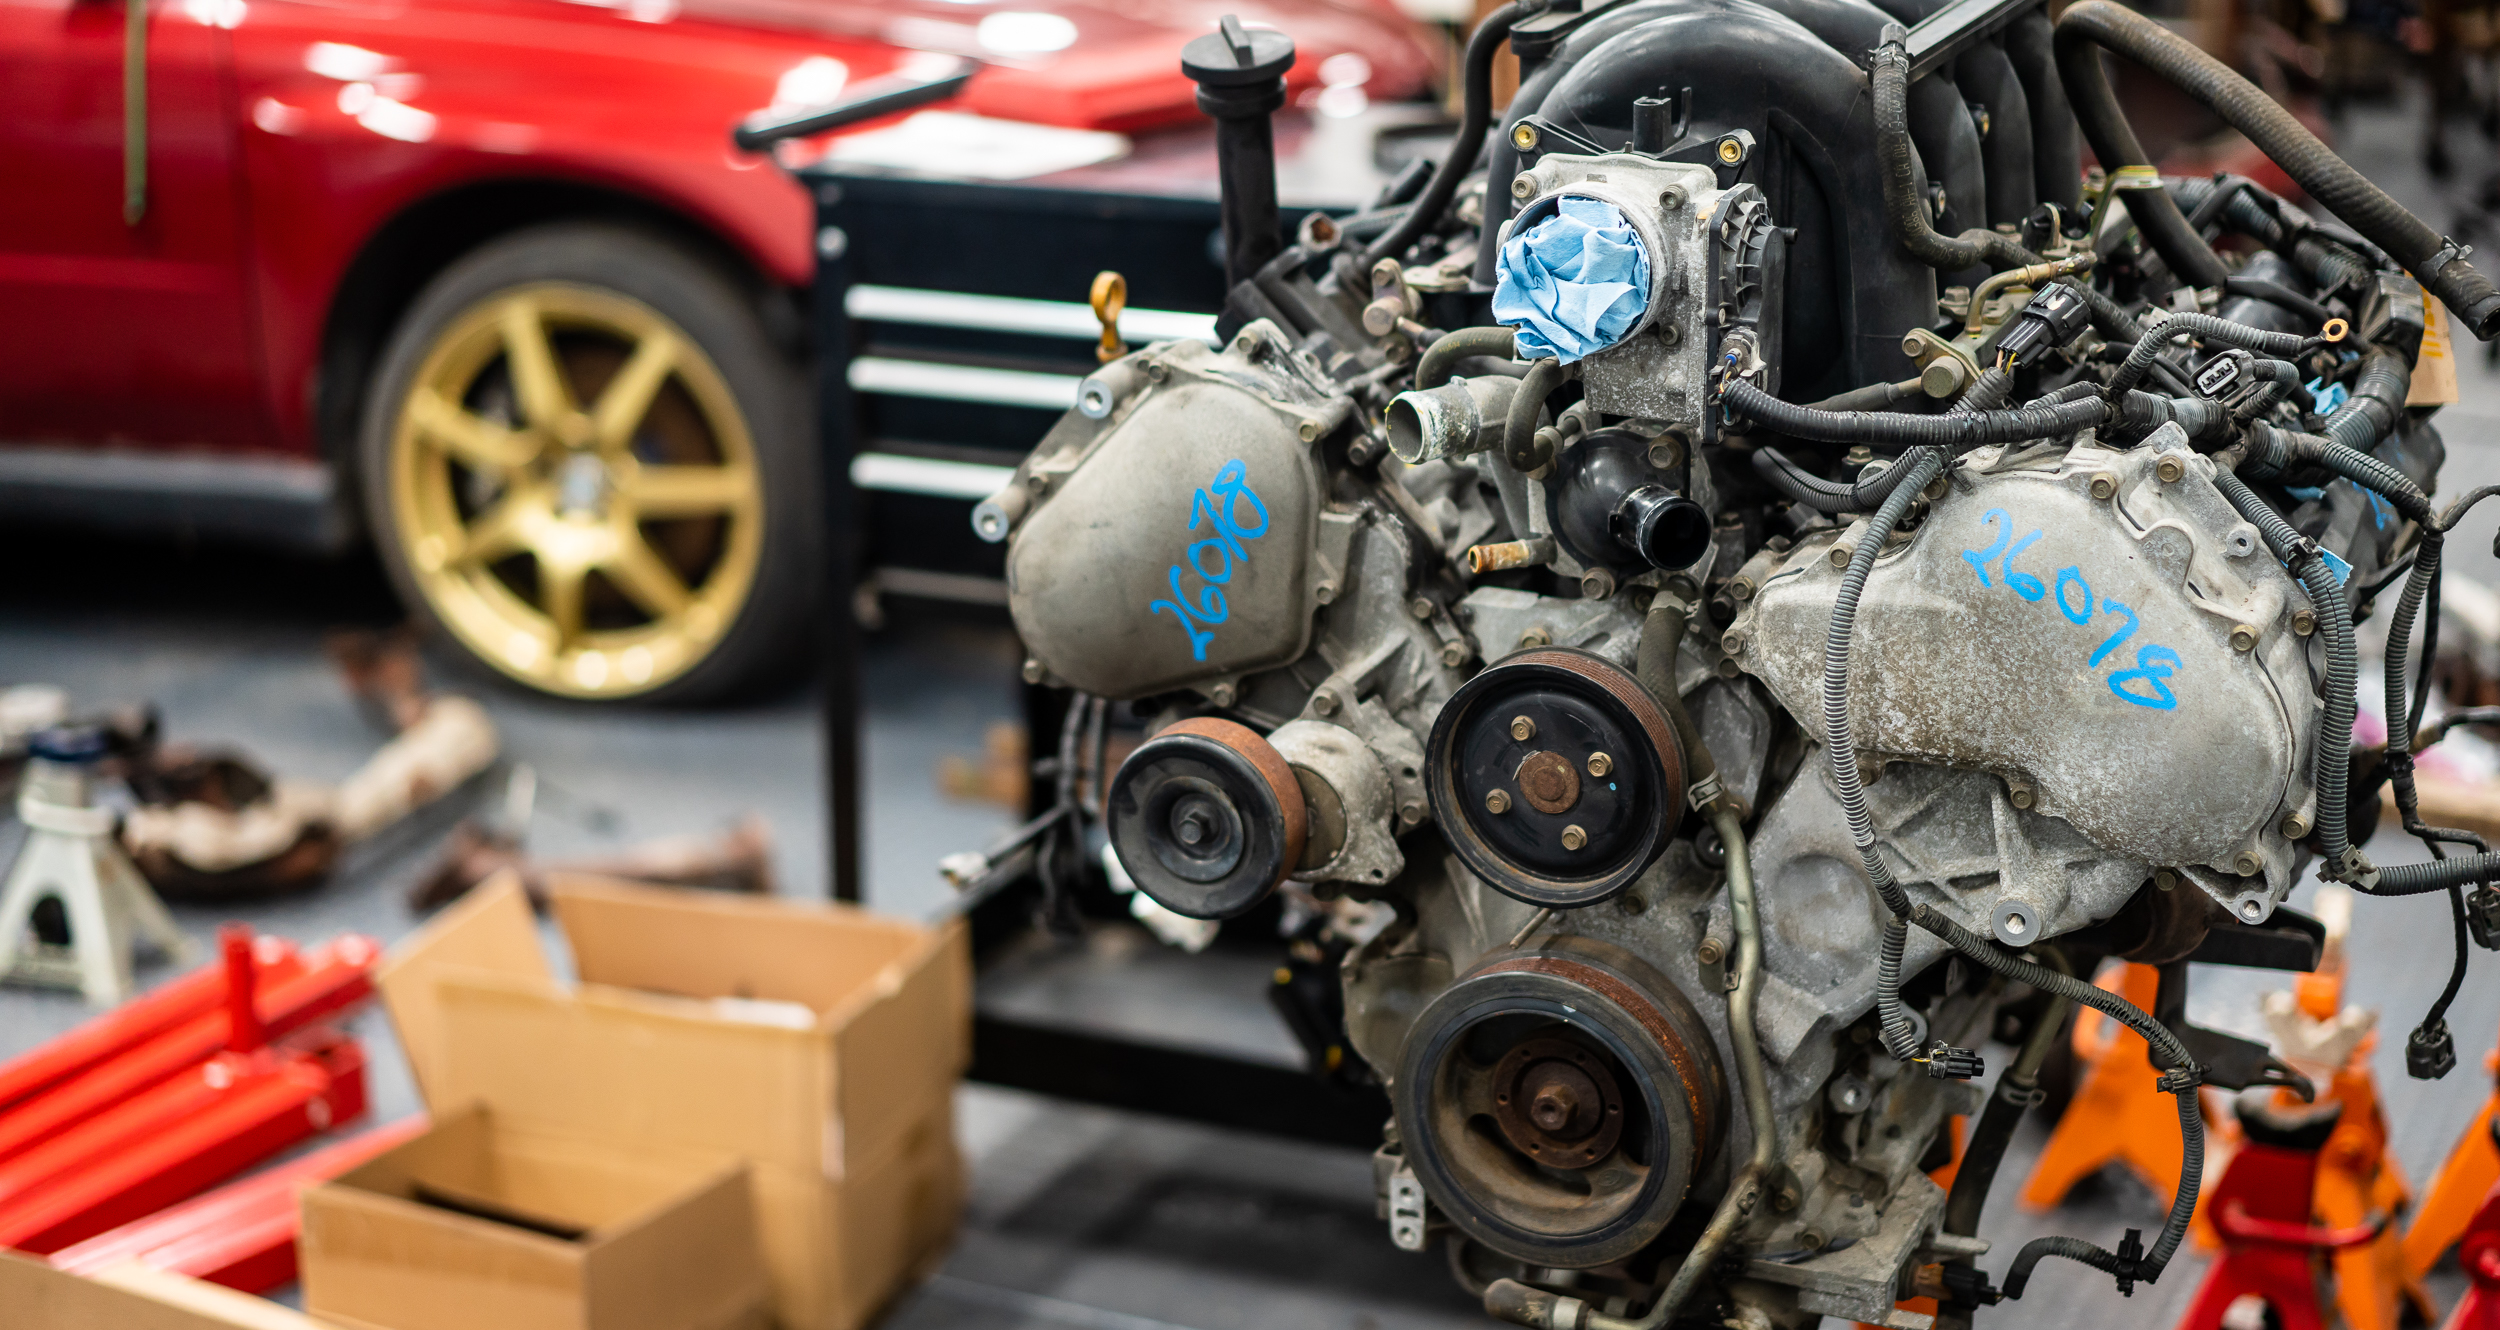
I haven't been in a super rush on this car because my racing brochachos' cars' are not in service currently, and I don't want to go to the track by myself.
I finished removing some bits of interior, mostly in the trunk/hatch area. The pile is large, but as it always seems to go with these things, not a huge amount of weight saved.

With all this interior removed, I wanted to weigh the car. We've been having trouble with the wireless scales; really only 2 read properly, so you have to weigh and jack back up and shuffle pads a couple times.

Then the drivers front corner was 835 lbs, for a total of:
2,874 lbs with a 57.5% front, 42.5% rear split.
Car and Driver weighed a stock version at 3,256 lbs, so that's a 382 lb weight loss?
Man, that's still heavy though. I actually want to race this, probably in ST3 or 4 with NASA (or the time trial version), which are 10:1 and 12:1 WT:HP classifications. With a couple modifiers for being a 5-door wagon, running skinny tires, base aero, etc, I can probably have around 300whp, which is about the limit of the 5-spd driveline in the car anyhow.
I'll know more later once I get closer to the track.
It's unfortunate, but I'm going to have to drive this thing to and from track events. I really waffled badly about pulling the a/c out completely out, to save a purported 30 lbs or so, but I finally came to the conclusion that I'm too old and soft to suffer through hot Texas track days and transits without a/c. Which meant digging the blower motor and dash back out of the pile to reinstall.
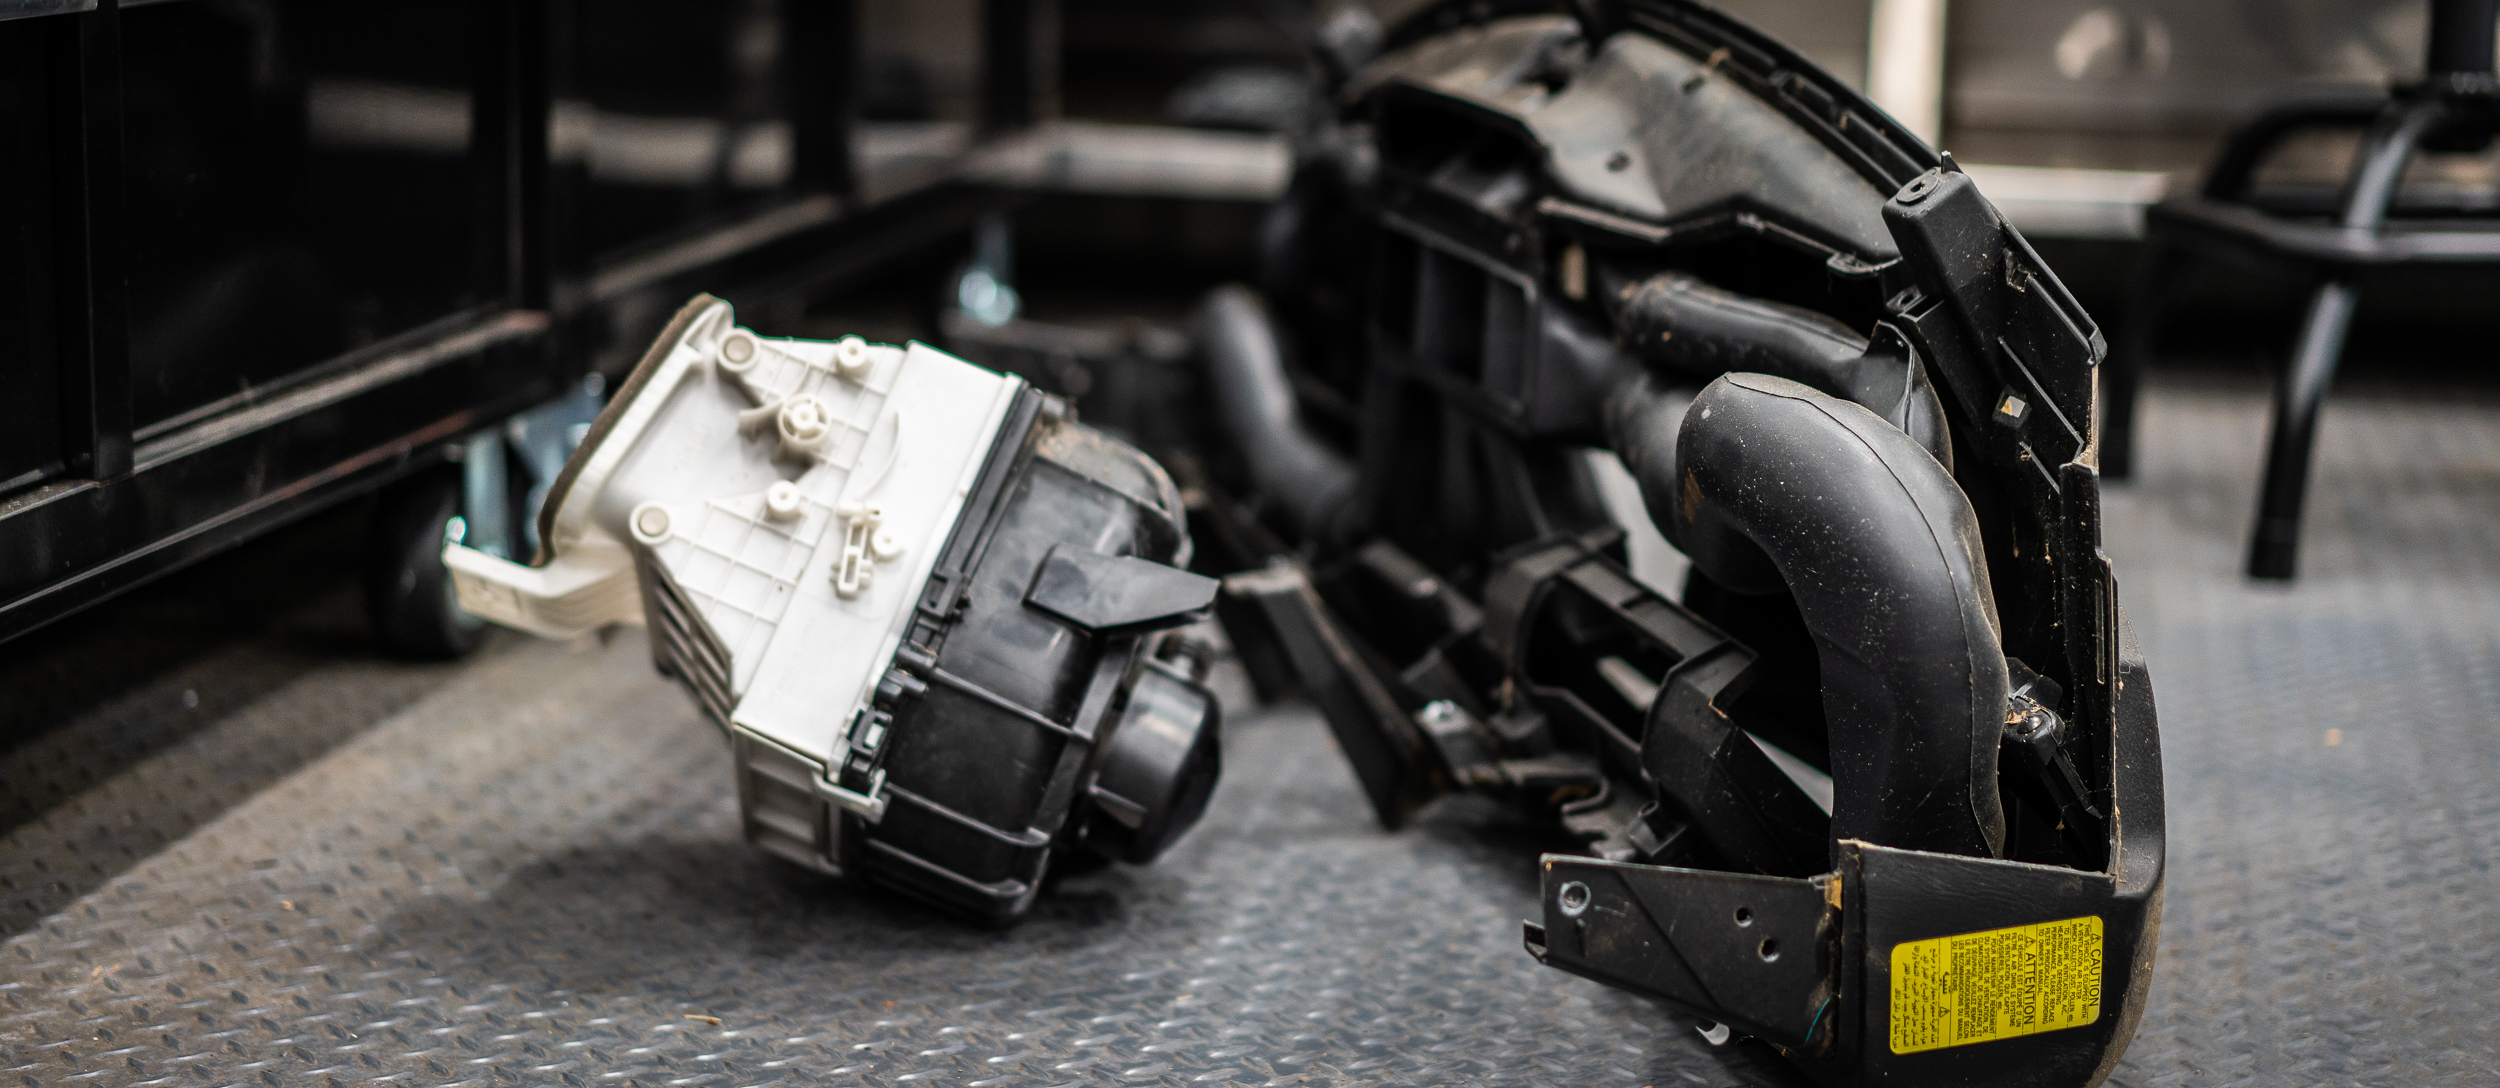
I did strip the airbag out of the dash, so that was only 11 pounds to add back in. I didn't weigh the blower motor; I was too sad. Putting weight back in cars makes me sad.

There was a great deal of cleanup involved. It's been over a year since being flooded, then sitting outside, for these parts.

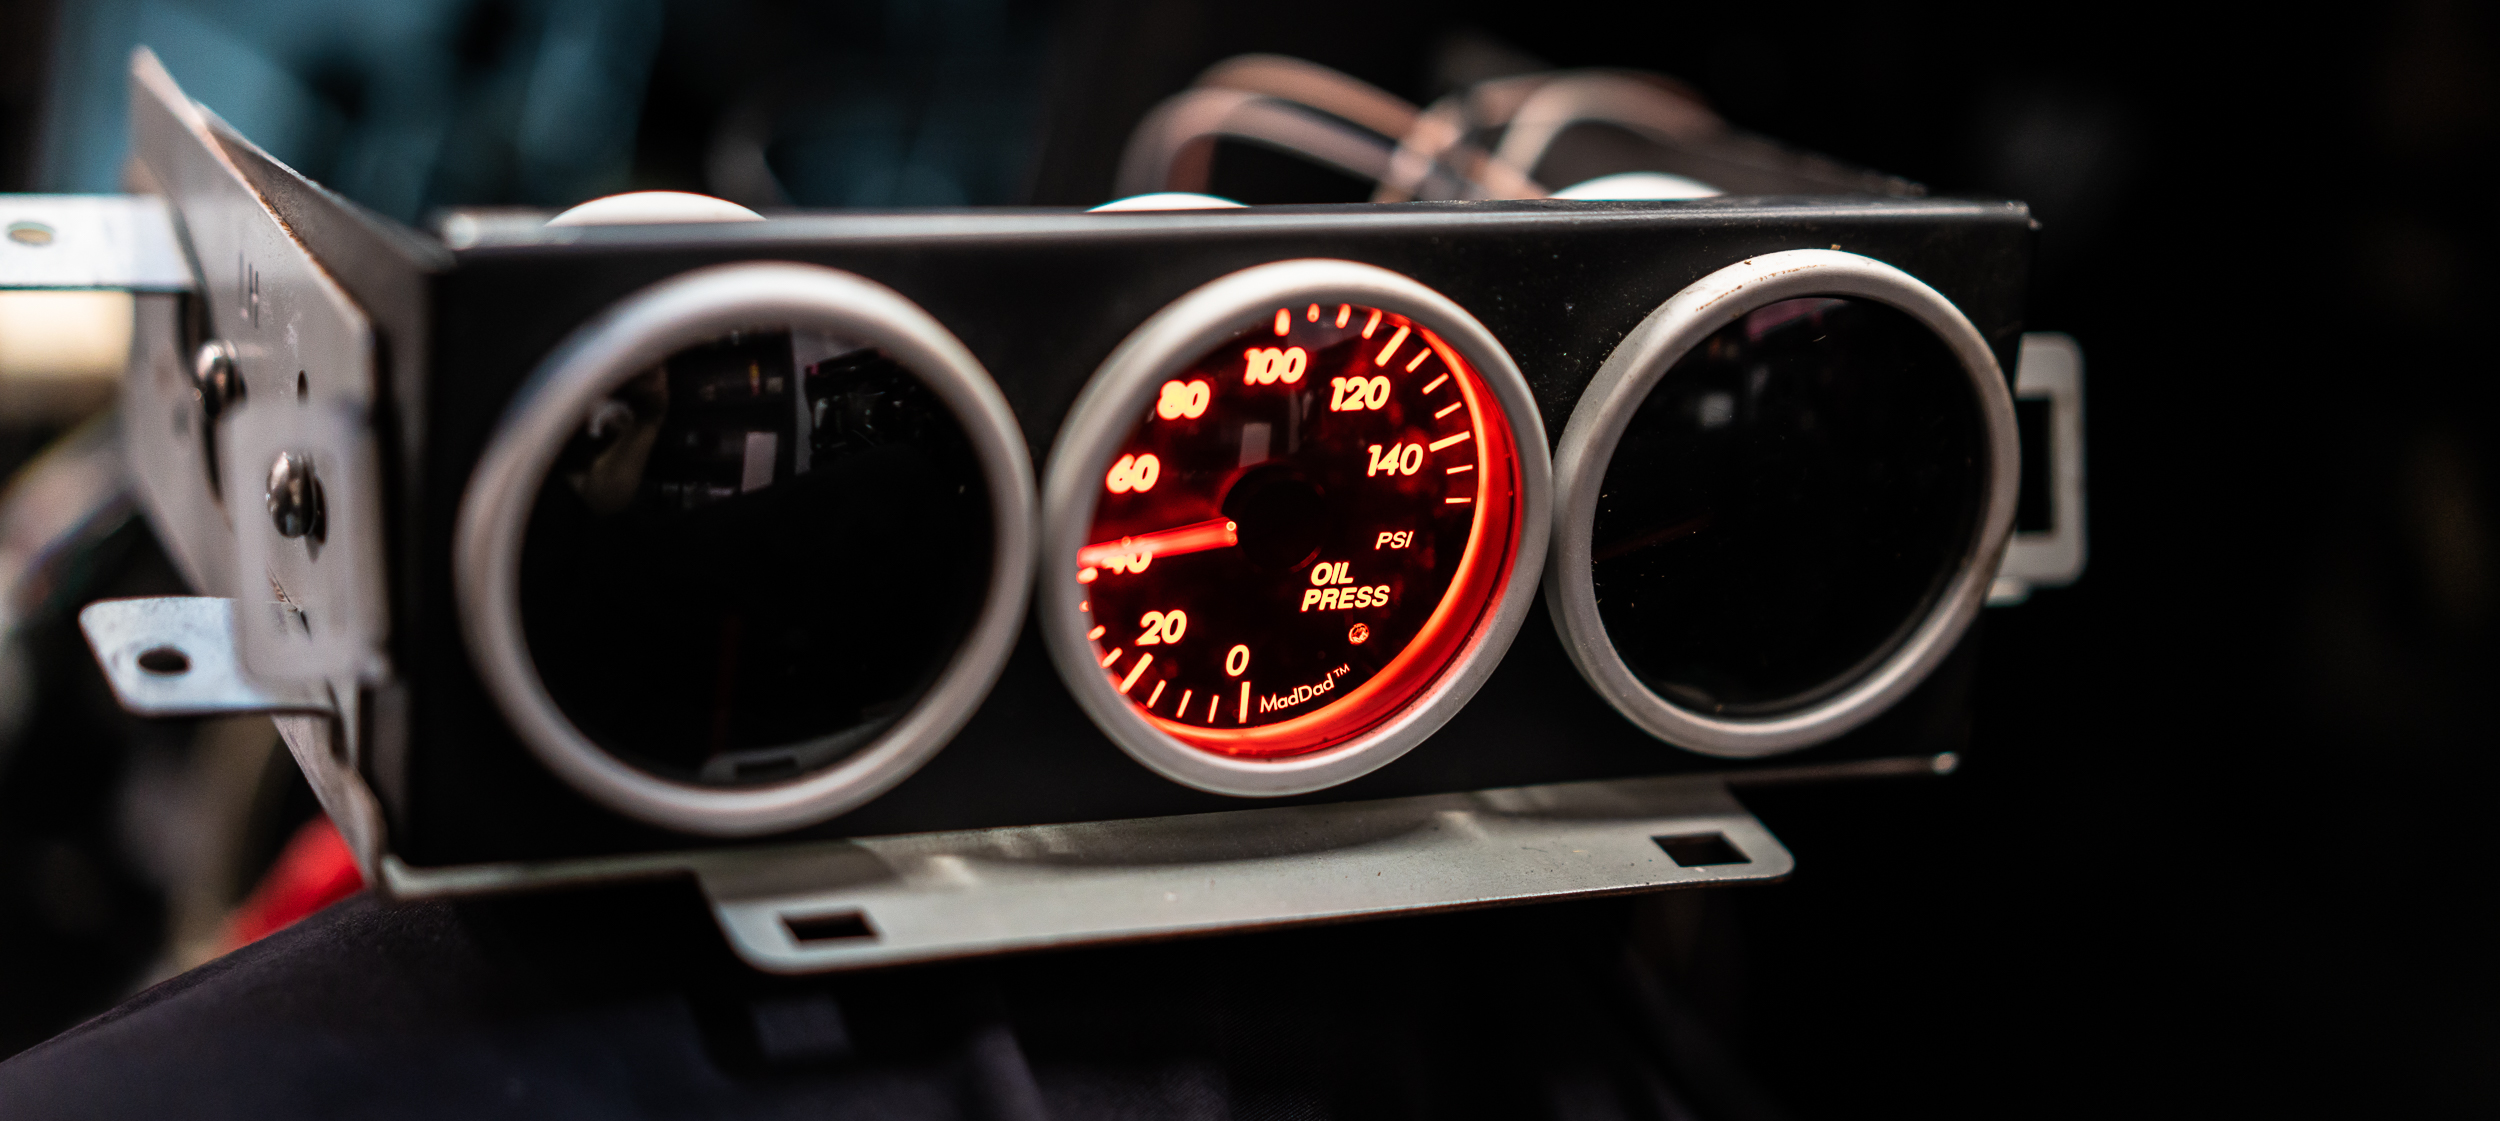
One big benefit of putting the dash back in is mounting for the gauge cluster and additional gauges just got a lot cleaner.
My custom mount is no longer needed.

Both pieces went in without drama.
Before:

After:

With that, I hooked up the HVAC controls. The blower fan and diverter solenoids all seem to work. I'll test the actual a/c later when it becomes drivable.
But that's a victory, as long as you don't consider the wiring part of it. I'll take it for now. An additional win is that the turn signals work. The hazard switch is in series with all the flashing stuff, so when it wasn't in, nothing flashed. Yay, one less problem on the list.

I went back to start looking at the wiring. I have the wideband and then the boost, oil pressure, and EGT Maddad aftermarket gauges that I want to get reinstalled nicely. I quite like redoing wiring; although it's time consuming, it's very satisfying and orderly. This gave me occasion to dig my old travelling elec bag out of the back of the closet.

I actually found a National Instruments USB DAQ card that I got for crazy cheap when I worked there in 2007. Neat! I might try to get it fired up and acquire some data.

I'm going to tackle the 3 Maddad gauges first. Here's the wiring that was installed with the gauges back in 2006 or so by a previous owner. The Scotchloks did not survive the flood; corrosion took over and rendered them non-conductive.

I jumped in there with a handful of alligator clips and a multimeter to try and see if the gauges were functional before I spent a bunch of time reinstalling them.
Fired right up, so I'll continue forward.
To the bench!

Before I tore out all the in-car wiring, I had the opportunity to use my new wire label maker, which I actually bought for the Datsun wiring harness.
I'm in love. It prints on a variety of tapes, but this is a chemical/abrasion/heat/cold resistant vinyl.


I took stock of all the connectors and source wires and am currently planning how I want to wire everything up. I think maybe I'll wire the gauges to a connector, then it will be one plug to put them into the car. And if/when they have to come out in the future, it will be greatly simplified as well.
I'm also installing this wideband, so I unboxed it to see what/if/how I might want to integrate that.

There are actually a lot of wires for this thing. Like 13? It has an analog 0-5V sensor output as well as a CAN output that can be used for DAQ, so I want to make sure that's accessible.
I zip tied some of the wires up and decided to do a bit of a test drive to see if I could get the Check Engine Light to come back on. Then I could have some time between shop nights to figure out what the problem might be.
It took about 10 minutes of driving, but it popped on. I know, the car was turned off at this point, but the CEL had triggered, promise.

There are a lot of lights to sort out here. This is an STi dash that my brother swapped in. A lot of the lights are from that swap. Not sure how much time I'll spend on getting those out.
I thought maybe while the car was nice and hot, I'd remove the wideband bung plug (eesh). I anticipated a difficult removal.

Sweet jeebus, I almost blew out my shoulder/elbow applying Fmax at the end of a 4 foot extension to get this thing out. But it came out. Ooof.

So at least that's done for when it's time to install the wideband.
Nik got a sweet bluetooth OBDII reader, so we pulled the CEL code: P1443 - EVAP SOLENOID SOMETHING SOMETHING
Google told me that usually it's either a solenoid under the hood, or some problem with the charcoal canister.
I decided to start under the hood. Gawd these engine bays are ugly. Gonna take some time to get used to the flat configuration.

I used a nice write-up online to put the car in test mode, then pull some vacuum stuff to find the solenoid/valve in question. It recycles the vapors from the charcoal cannister into the intake.
Test mode cycles a bunch of fans and pumps, so you blow into the valve and it should alternate letting air through, and then stopping. It's this pile of stuff here:

It worked as intended, stopping and allowing air flow.
On to the charcoal canister.
I learned that it was under the bumper behind the rear passenger wheel, and it doesn't like getting fluid in it.
Uh oh. There's 0% chance this thing wasn't fully submerged in the flood.
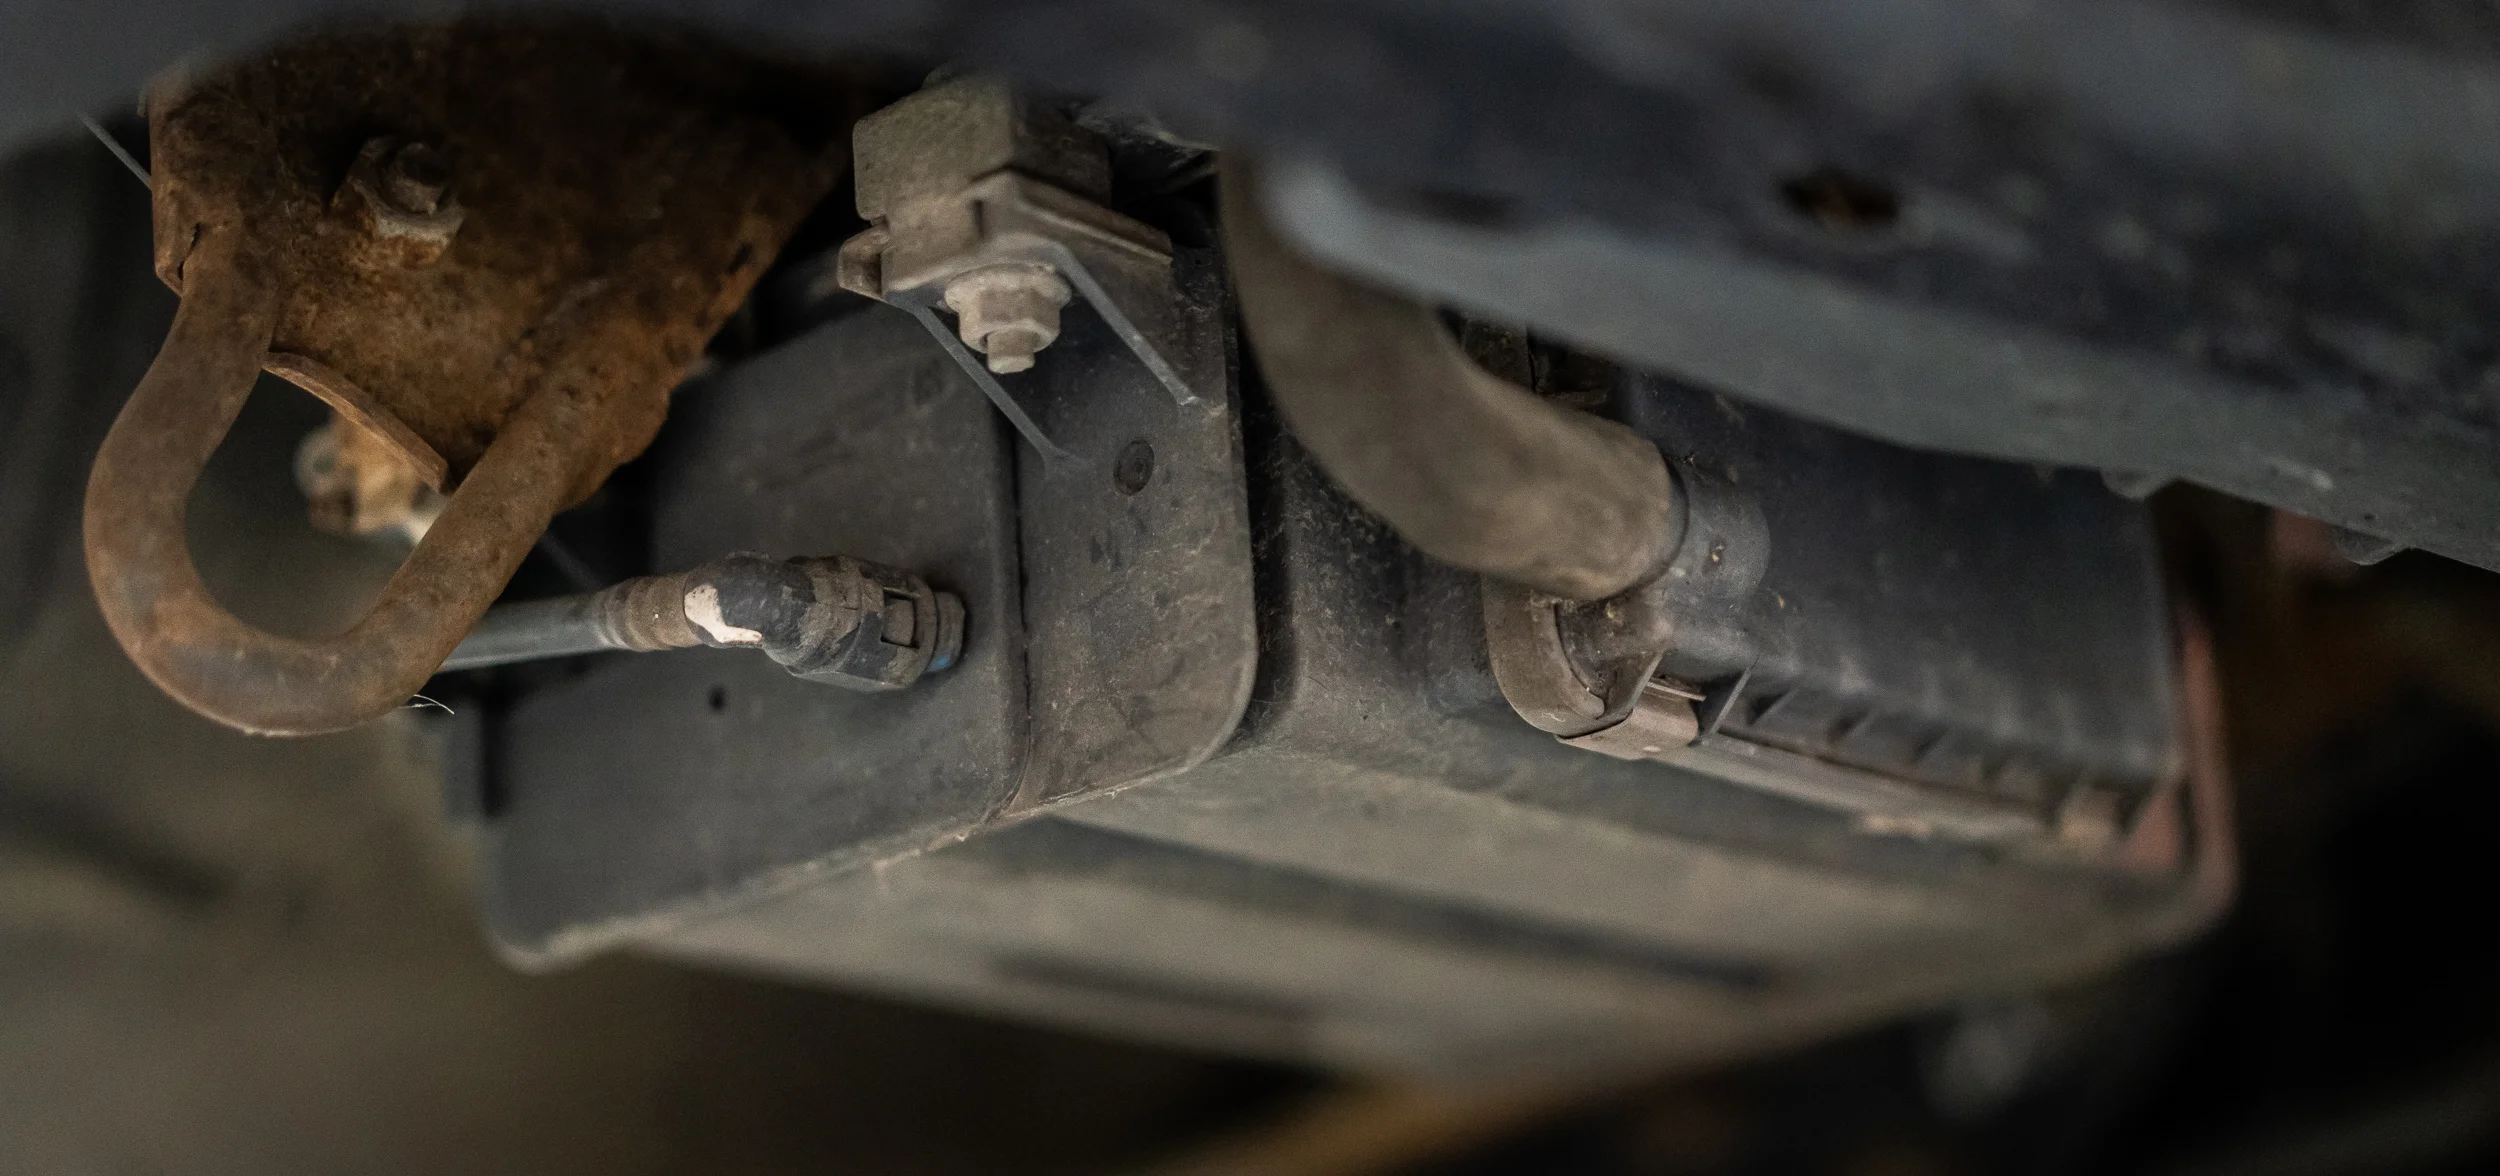
The salty-ocean-ship-corrosion on the metal parts around the canister didn't give me confidence.
It took a surprising amount of effort, but I got it uninstalled, along with the pile of hoses and whatnot that goes with it.

Apparently, these should weigh 2-3 lbs, and when they get to 4 lbs, they need to be replaced: it's absorbed too much stuff.
So I weighed mine.

Yep, 7.04 lbs.
I'd say it's toast.
I pulled it apart in the name of science.

Ew.
A bunch of liquid came out.
I might actually delete the entire evap system, just to simplify everything and not to have to buy $100 worth of heavy parts to put back on. Something to consider.
I think I have all the information to move forward with the wiring of the gauges, so I'll order that stuff and hopefully keep going.
Thanks for reading!
damen
** WANT TO READ MORE ABOUT THE SAABARU PROJECT? **CLICK HERE**