Small update.
Some time magically appeared this weekend when Grandma came to visit. I was granted permission to hide away for a couple hours with my mess of wires. I had casually set up a table and some tools in our master bedroom (!) for this project, so I first took stock of everything to get mildly organized. I would prefer a table about 4 times this size, but I certainly won't complain. The a/c is mighty fine.
Now, I did cheat quite a bit by ordering a starter mini-harness from AEM. I did that for a couple reasons.
First, I've never made a wiring harness, so any head start is going to cut down on my time-to-completion. Not only is it a head start, but it's also an example that I can look at and possibly copy going forward.
Second, this harness will not be the one that I use in the final version of the car. It's a practice harness that is primarily for the test stand and maybe some testing in the car, so I don't have to worry exactly what kind of wire they use or whether or not it's a "best practice" "gold standard" deal (it's not). I can worry about that later. It takes some pressure off knowing that it's just for practice, so hopefully I can move forward without getting mired in analysis paralysis, which seems like it would be easy to do in the land of automotive wiring.
The one that I got came with 100 8' long pre-terminated 20ga wires. Cheating for sure. Apologies to my amigo Phil at RYE, who won't accept anything less than MoTec/Spec55/Raychem/Concentric Twist. I hope we can still be friends.
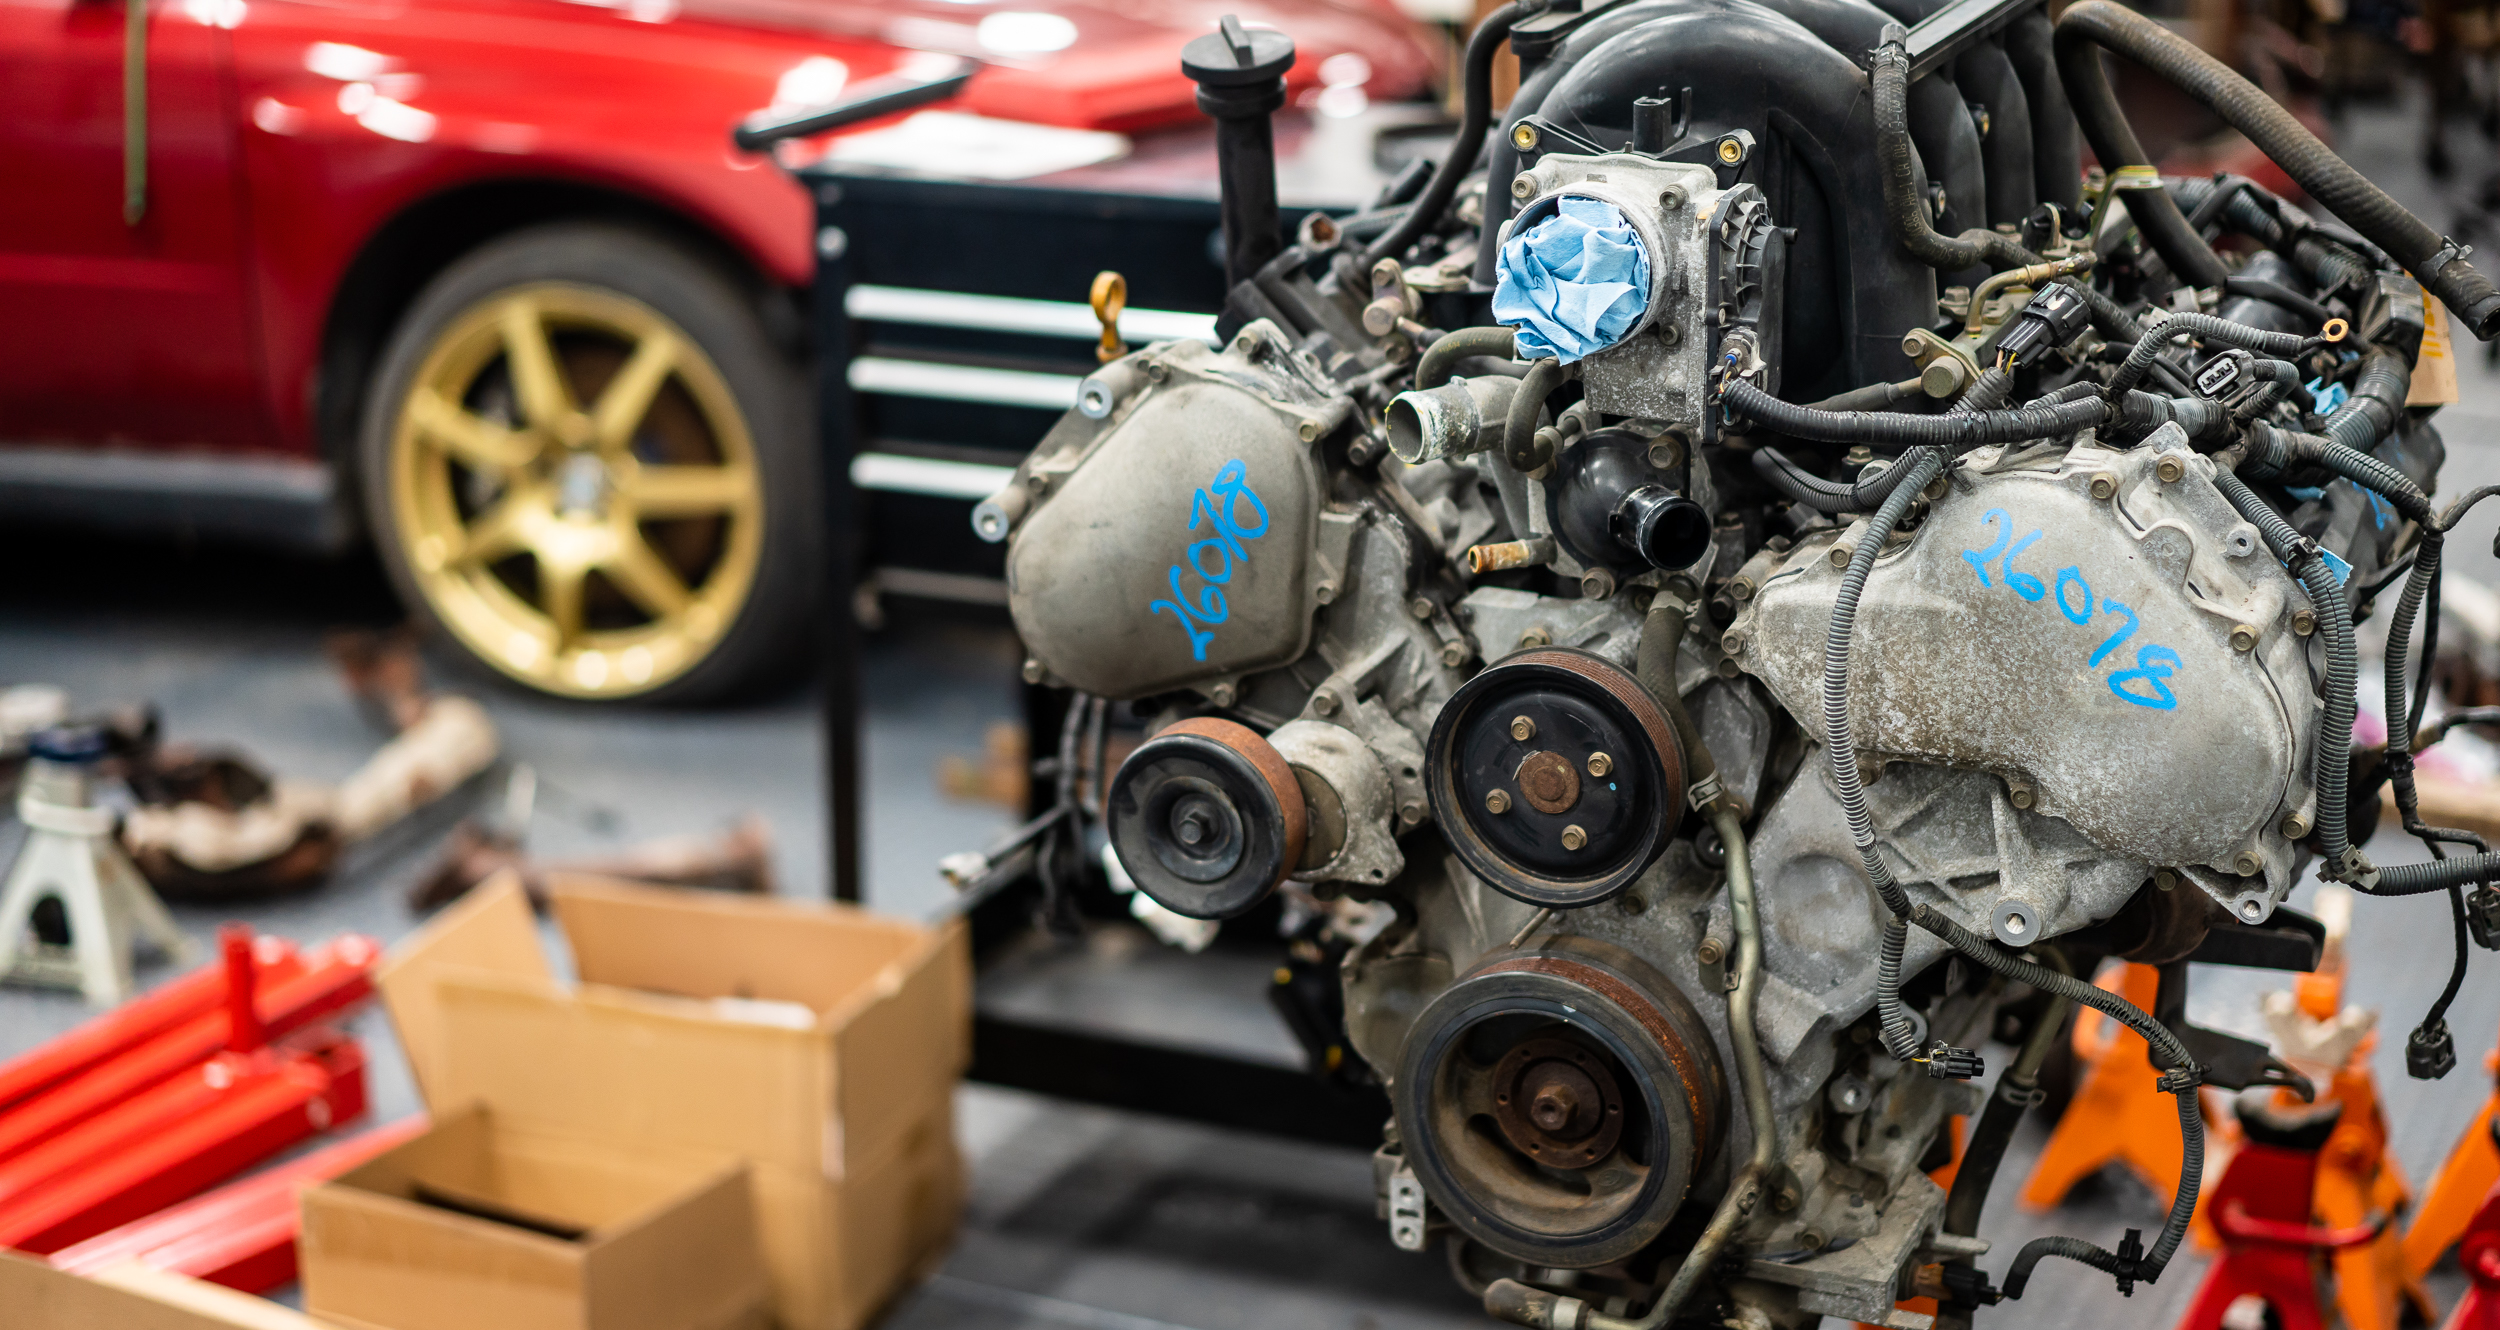
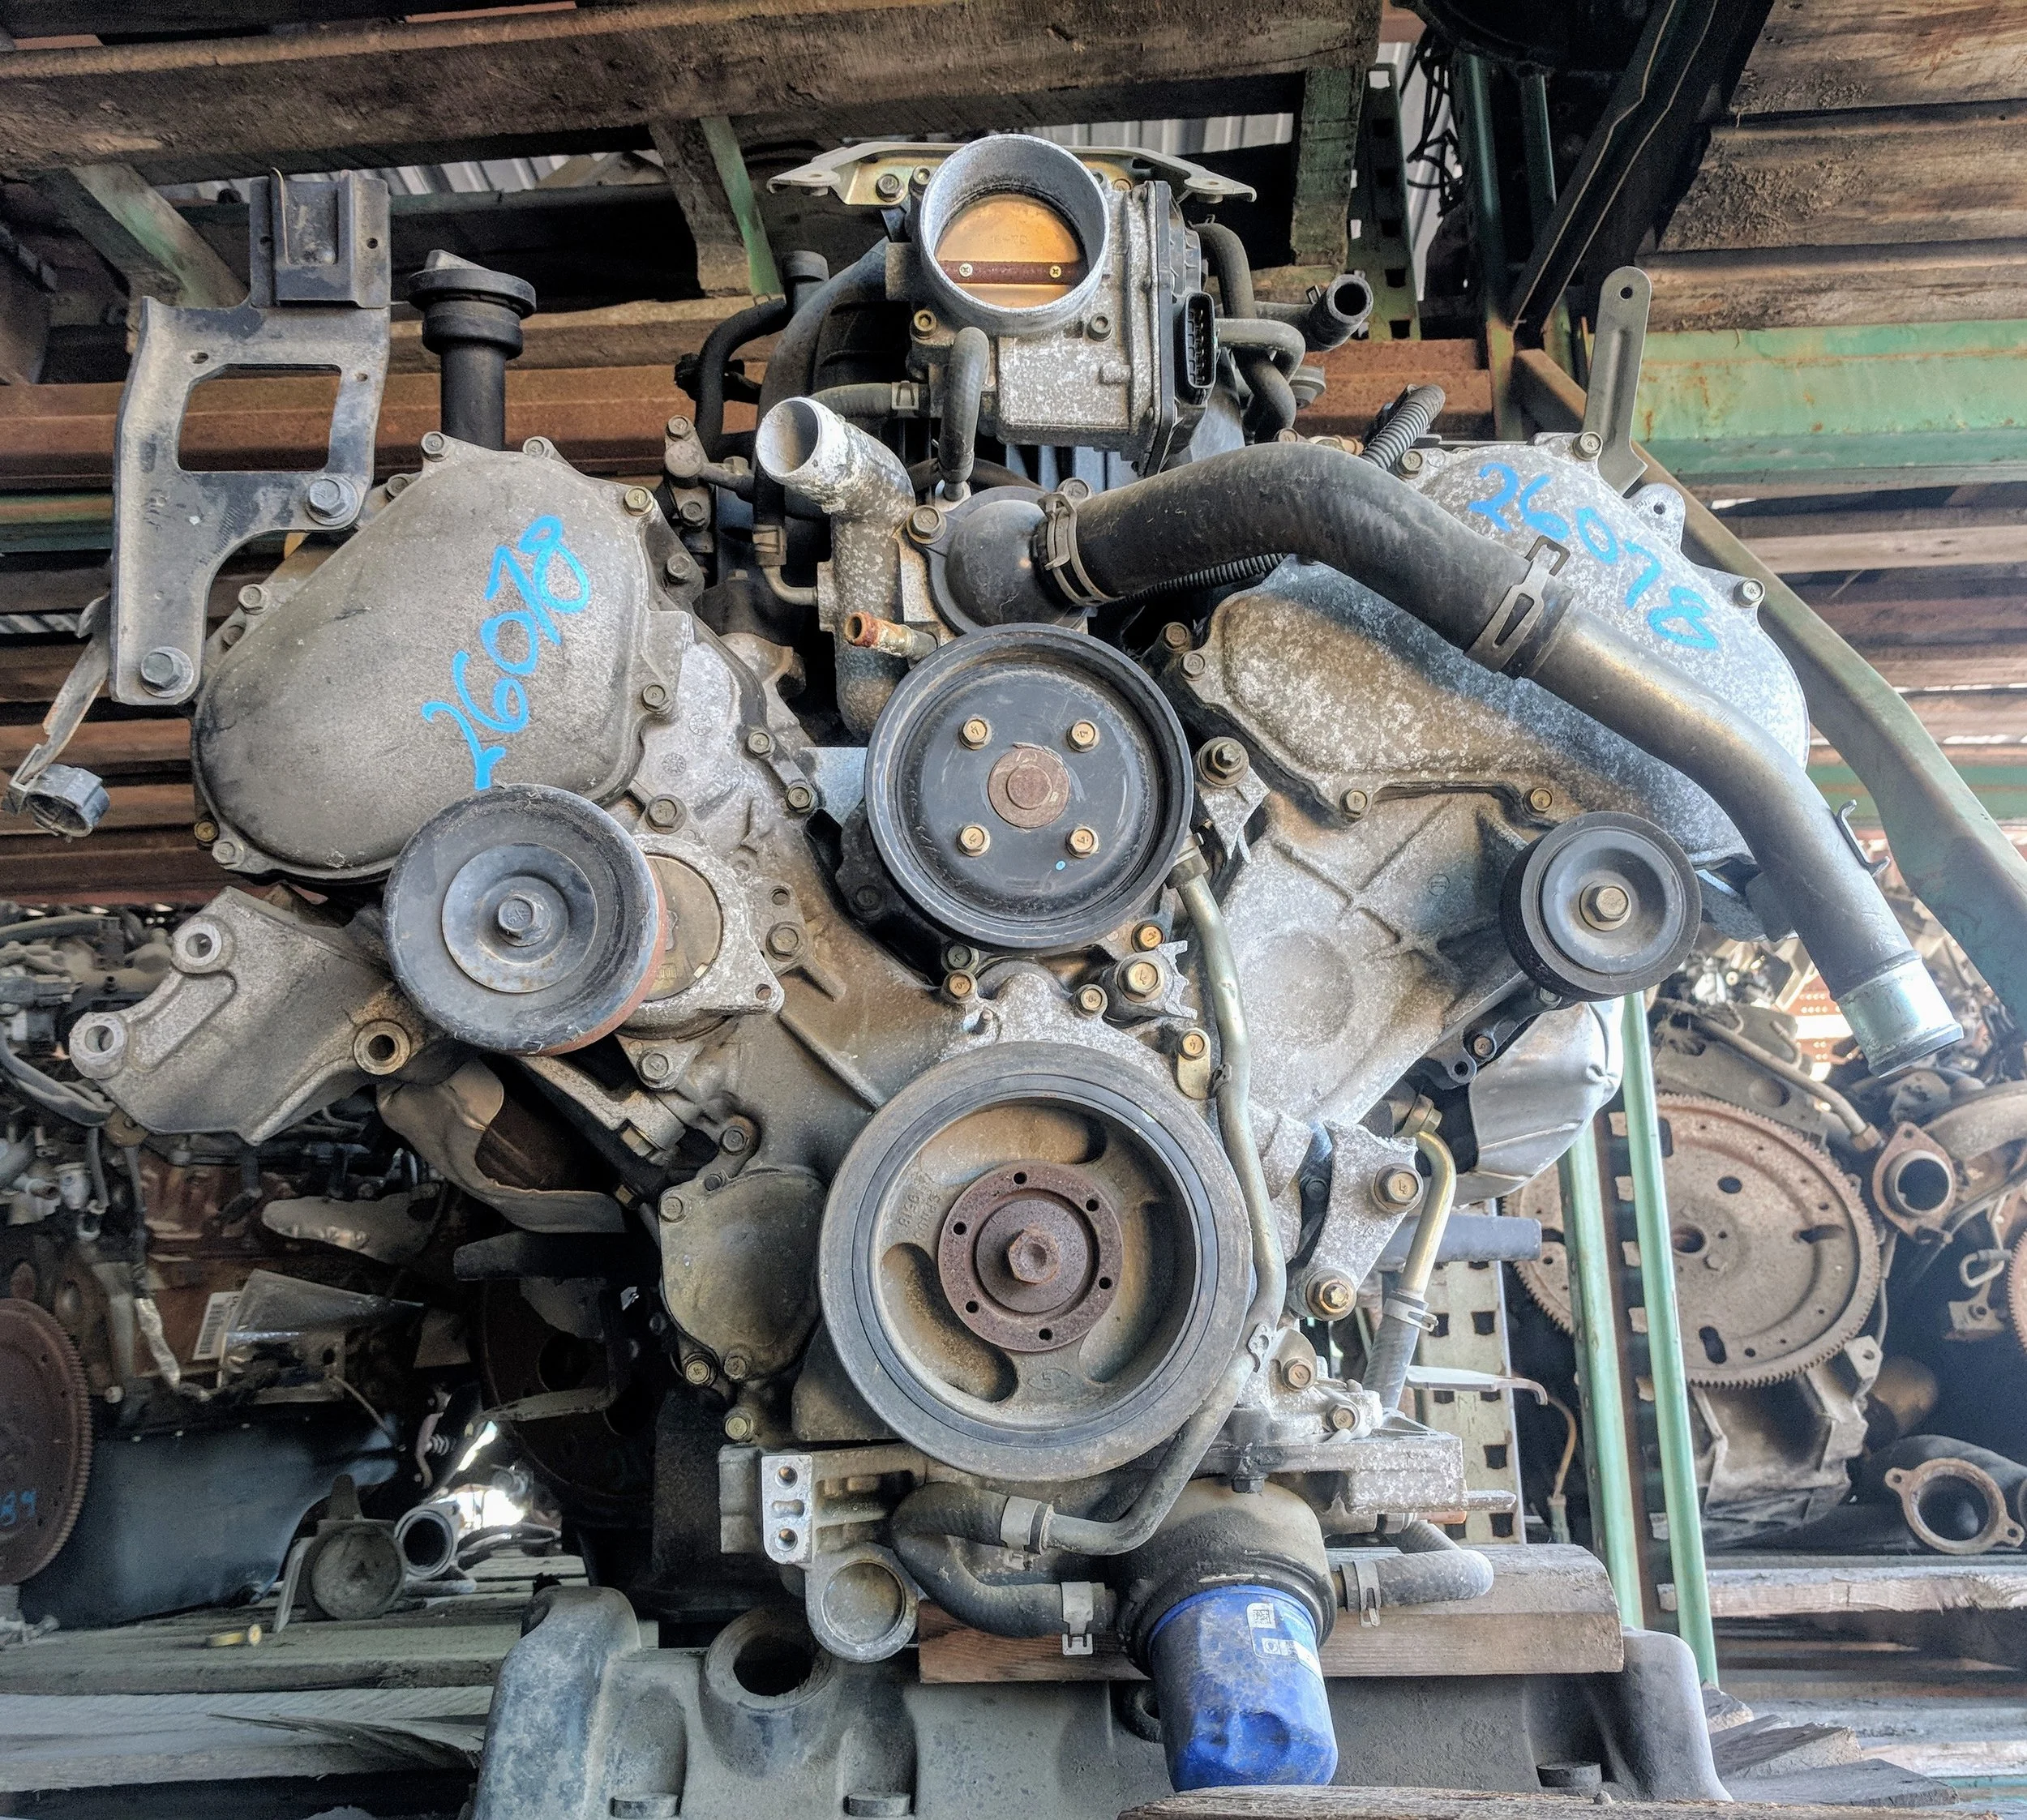
Because this is just for the stock motor on the stand, I bought a harness pulled from a 2005 Titan in a junkyard to harvest for connectors. I think the injectors and coils I'll be using for the full engine build use different connectors than what's on the stock motor, so it didn't make much sense to me to buy all new stuff.
Having no experience in wiring harnesses, I also thought it'd be a good opportunity to dissect an OEM harness to get a feel for their construction methods. Here it is with the "wire-length template(s)" in a box.
And all laid out. It's really a dirty, greasy, old-electrical-tapey mess.
I figured I'd start by getting all the connectors off that I needed.
I couldn't really think of how a smart way to start, so I just started with the injector connector closest to me.
It seems my desk job has given me pillowy soft and smooth fingers; tearing this old harness apart wasn't particularly pleasant. My fingers hurt.
It dawned on me that the injectors are all fed +12V from one pin, then connected to ground via transistors in the ECU on the other, but I had no idea how to get power to all the injectors from one fused +12V wire.
8 -> 1 split?
Since I had the OEM harness in front of me, I decided to track down how Nissan did it. It didn't take long to find a junction of 1 -> 3 injector power wires.
This was extra gross. 15 year old electrical tape wrapped around some clear wrap, wrapped around some nasty tar like substance, which was globbed around a 3 -> 1 butt splice.
Yick.
But mystery solved.
I just slowly worked my way around the harness, cutting, unwrapping, cutting, unwrapping, cutting...
Every now and then I'd snip off a connector with about 4" of wire to splice onto the test harness later. Not terribly complicated work, mildly soothing even, apart from the greasy mess and sliced up hands from that corrugated conduit.
My time ran out, but it was really good to get a start on this. Back in the box for later.
Thanks for reading!
damen
Next Datsun Post: Wiring Harness + Trigger Wheel Mount
Previous Datsun Post: Craft Project Gone Wrong
All the Datsun Posts: 600HP Datsun 280Z VK56 V8 Swap


