The weather has been brutal for ferrous materials around here lately. This is inside the shop.
This sort of humidity leads to this:
Yeah, that’s mold. Yikes.
I’ve since put a bucket of Damprid inside the car to hopefully keep the humidity levels down.
The interior of the Datsun is now running at 64% humidity with the Damprid desiccant in there. Under 60% almost guarantees no mold growth, so we're getting close. I might toss another batch in there to see if that can get it down, otherwise I will have to explore the next level of aggression, like a dehumidifier.
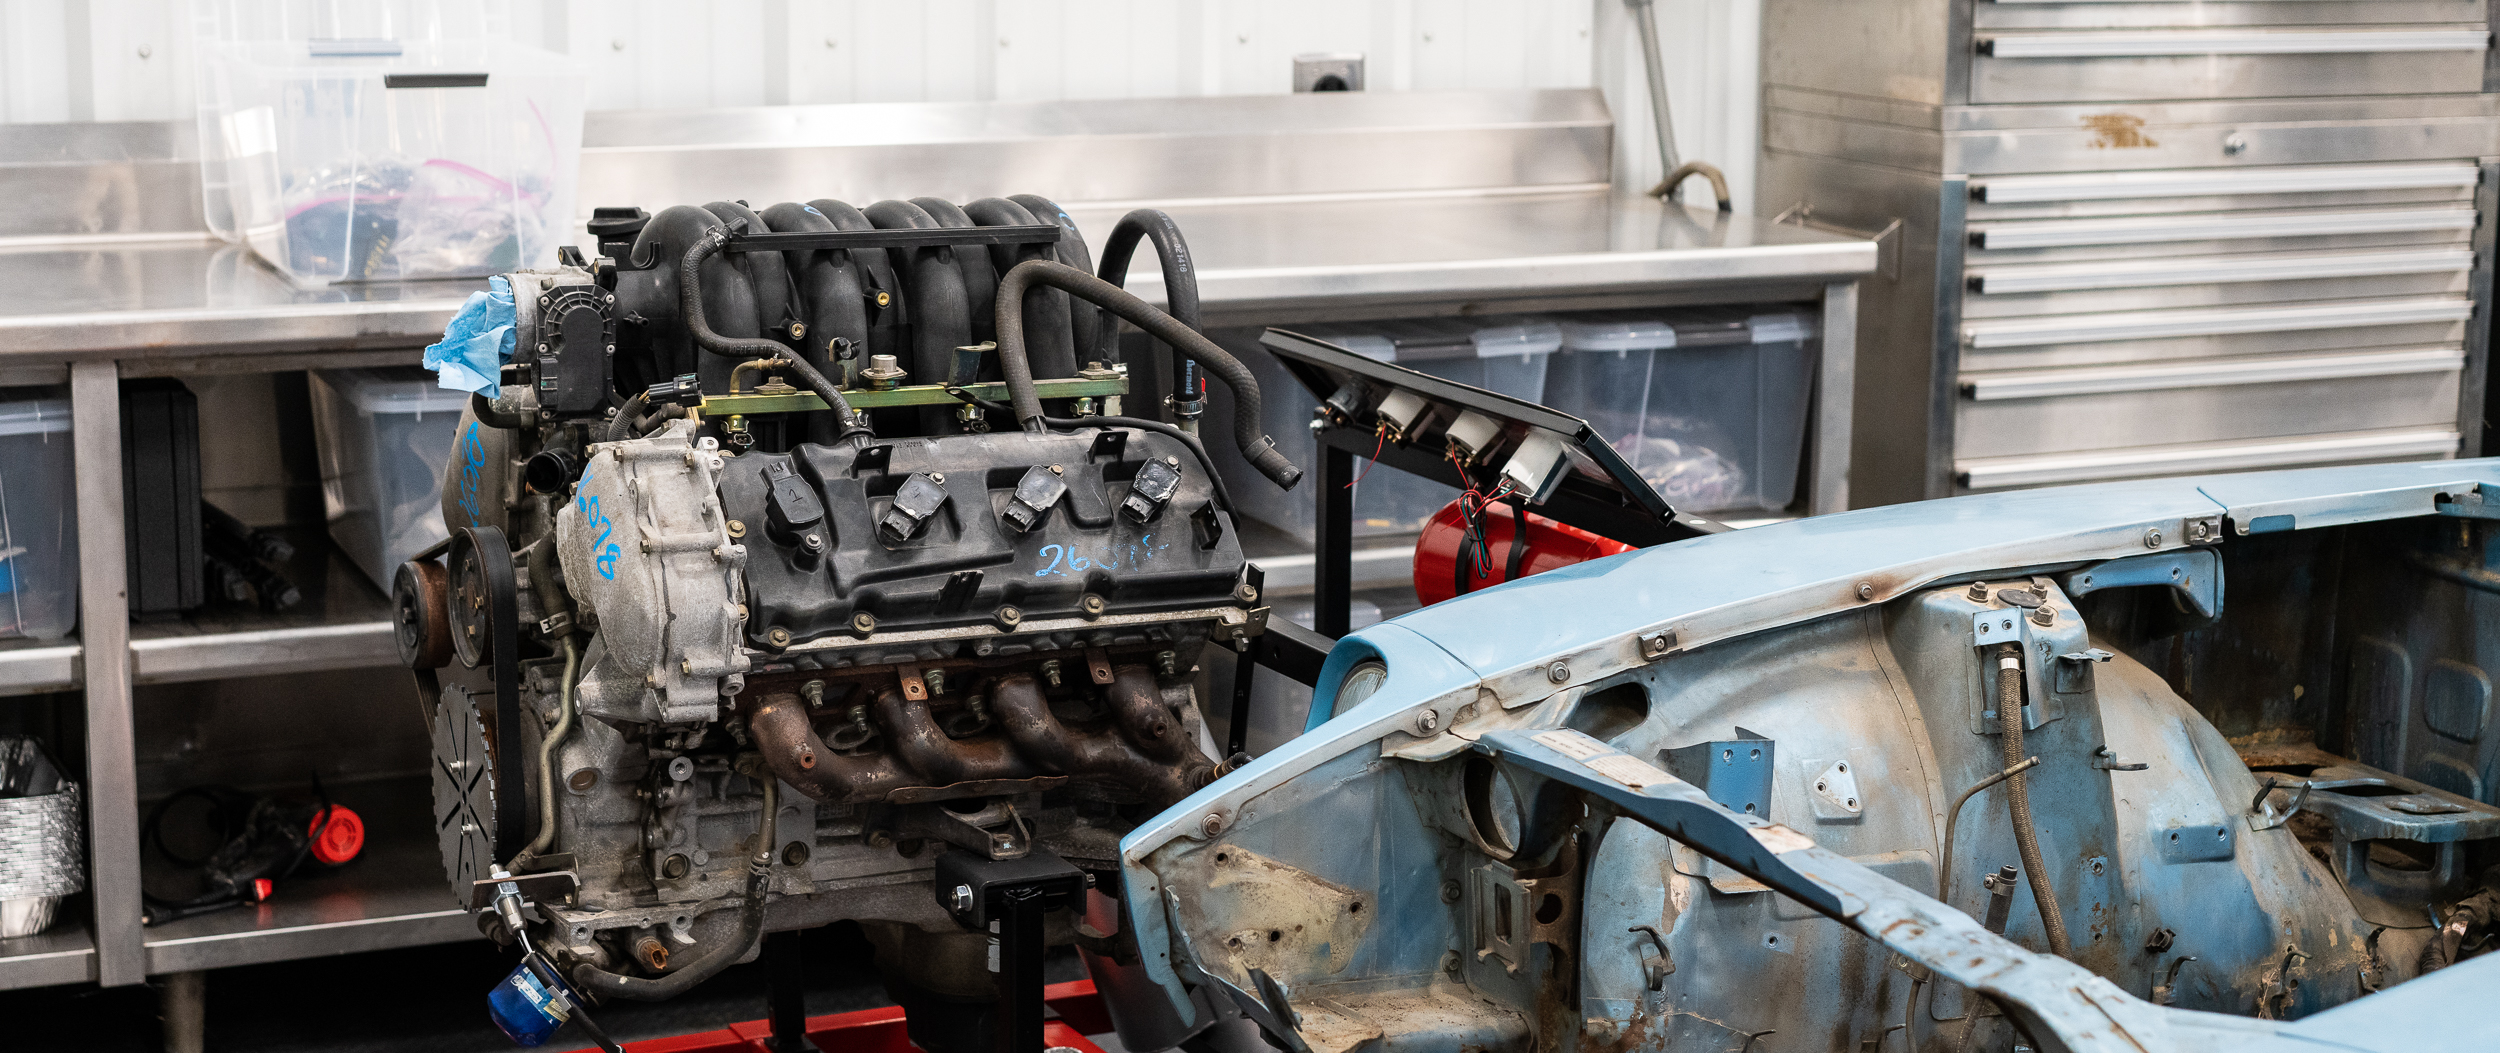
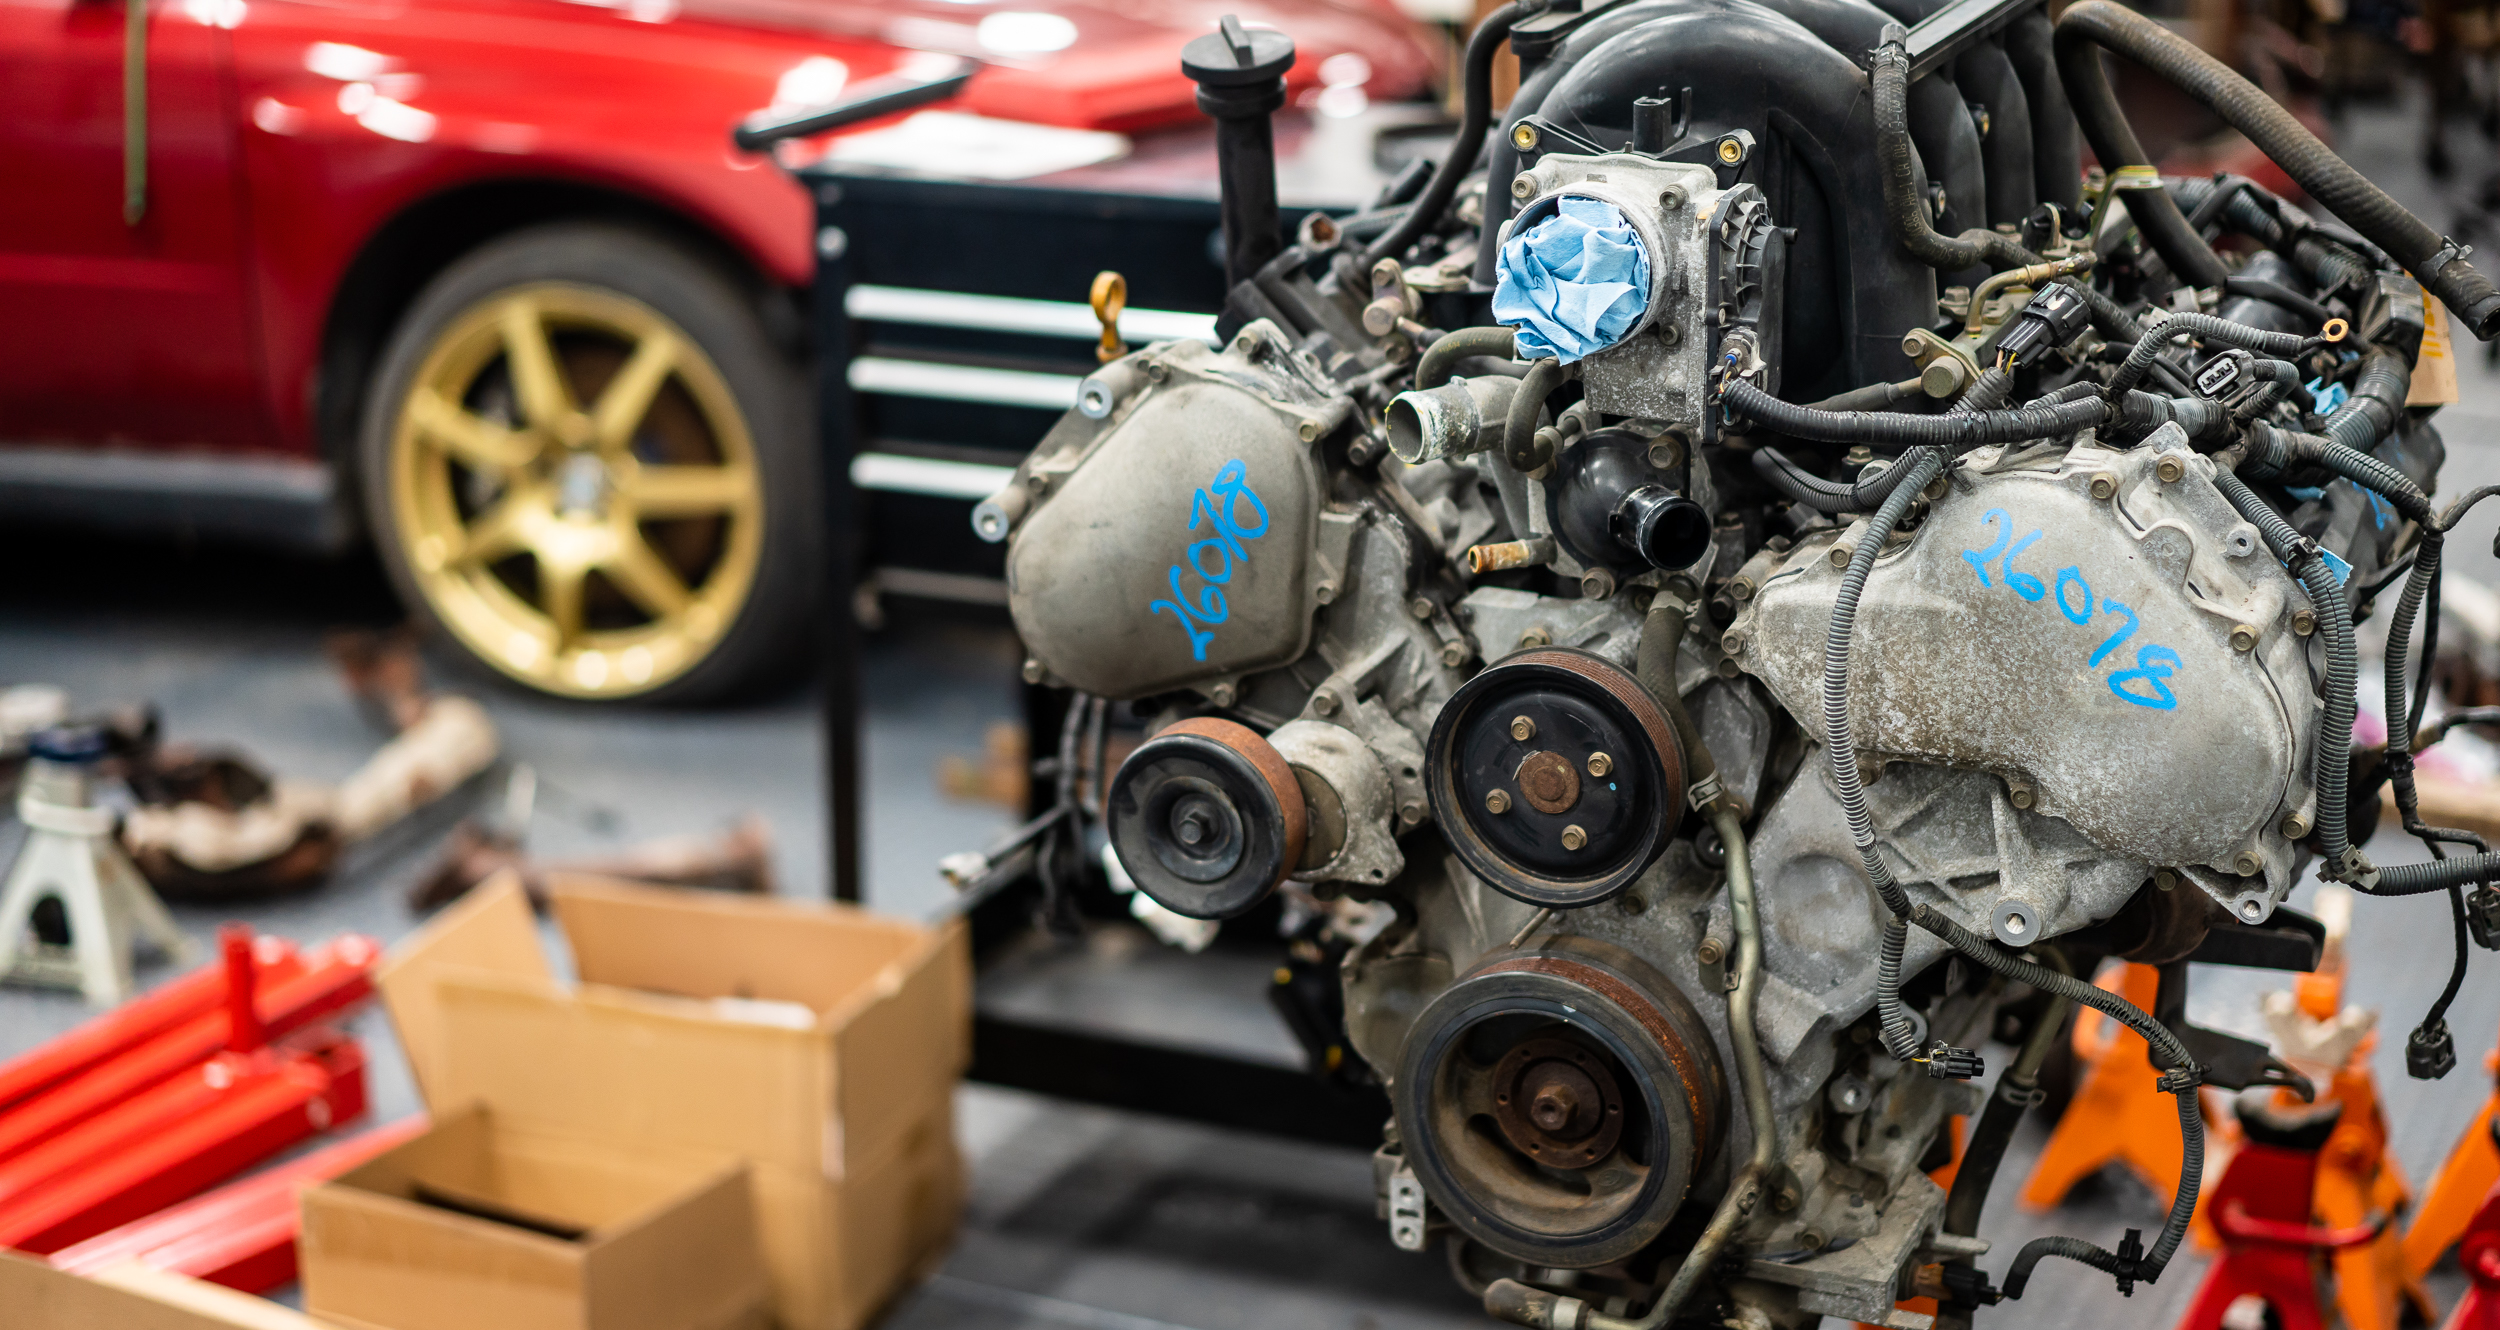
Meanwhile, the VK sits on the stand, waiting patiently.
I too frequently find myself overwhelmed by this project, where even "just do something, anything" doesn't work. I walk around in circles with a tape measure, trying to get my bearings. I'm at the point of wiring this thing up on the stand, but I was having a hard time even starting that: how long do I make the wires? Should I try to mock it up so it can work in the car for initial install (I think yes), but then where will the ECU go? Hell, where will the firewall even be? You get the picture.
I started by just putting in the spark plugs and ignition coils. Just. Do. SOMETHING.
Random aside- the banged up oil pan extension seems to be leaking.
I'm going to try to flex seal tape over it while it sits on the stand. That leaking oil pan piece won’t be used in the final build, so I’m not worried about fixing it.
Nothing tricky here to replace spark plugs with the engine on a stand. Spark plugs, pre-gapped to 0.043".
I got cheap plugs, because they’ll only be used to idle on the stand.
The pro racers use a dab of coppa slip as an anti-seize for the plugs. I didn't have any, so just a grain-of-sand-touch of the high temp stuff, since that's what I had on hand. Nickel anti-seize is designed for crazy hot stuff; I bought some for wideband sensor installation. These spark plugs will be in the car for exactly 0 driving miles, so this really wasn't necessary at all.
Done.
At this point I loitered around, waffling about how to attack the wiring. For an hour and a half. All I managed to achieve in that time was cleaning the table at which I'd be working.
I do love this table though.
I wheeled the engine over. It moves really nicely on the test stand.
Then I pulled out all the boxes of wiring, ECU's, starter harness, and connectors to get an idea of where I was going.
Many more laps later, I decided to re-use as much of the OEM wiring as I could to run to the passenger side rear of the engine. I think the ECU will go somewhere around the passenger footwell? I will definitely try to use a Deutsch Autosport connector at the firewall because reasons, so running everything in that direction seems like the way to go? Feel the confidence.
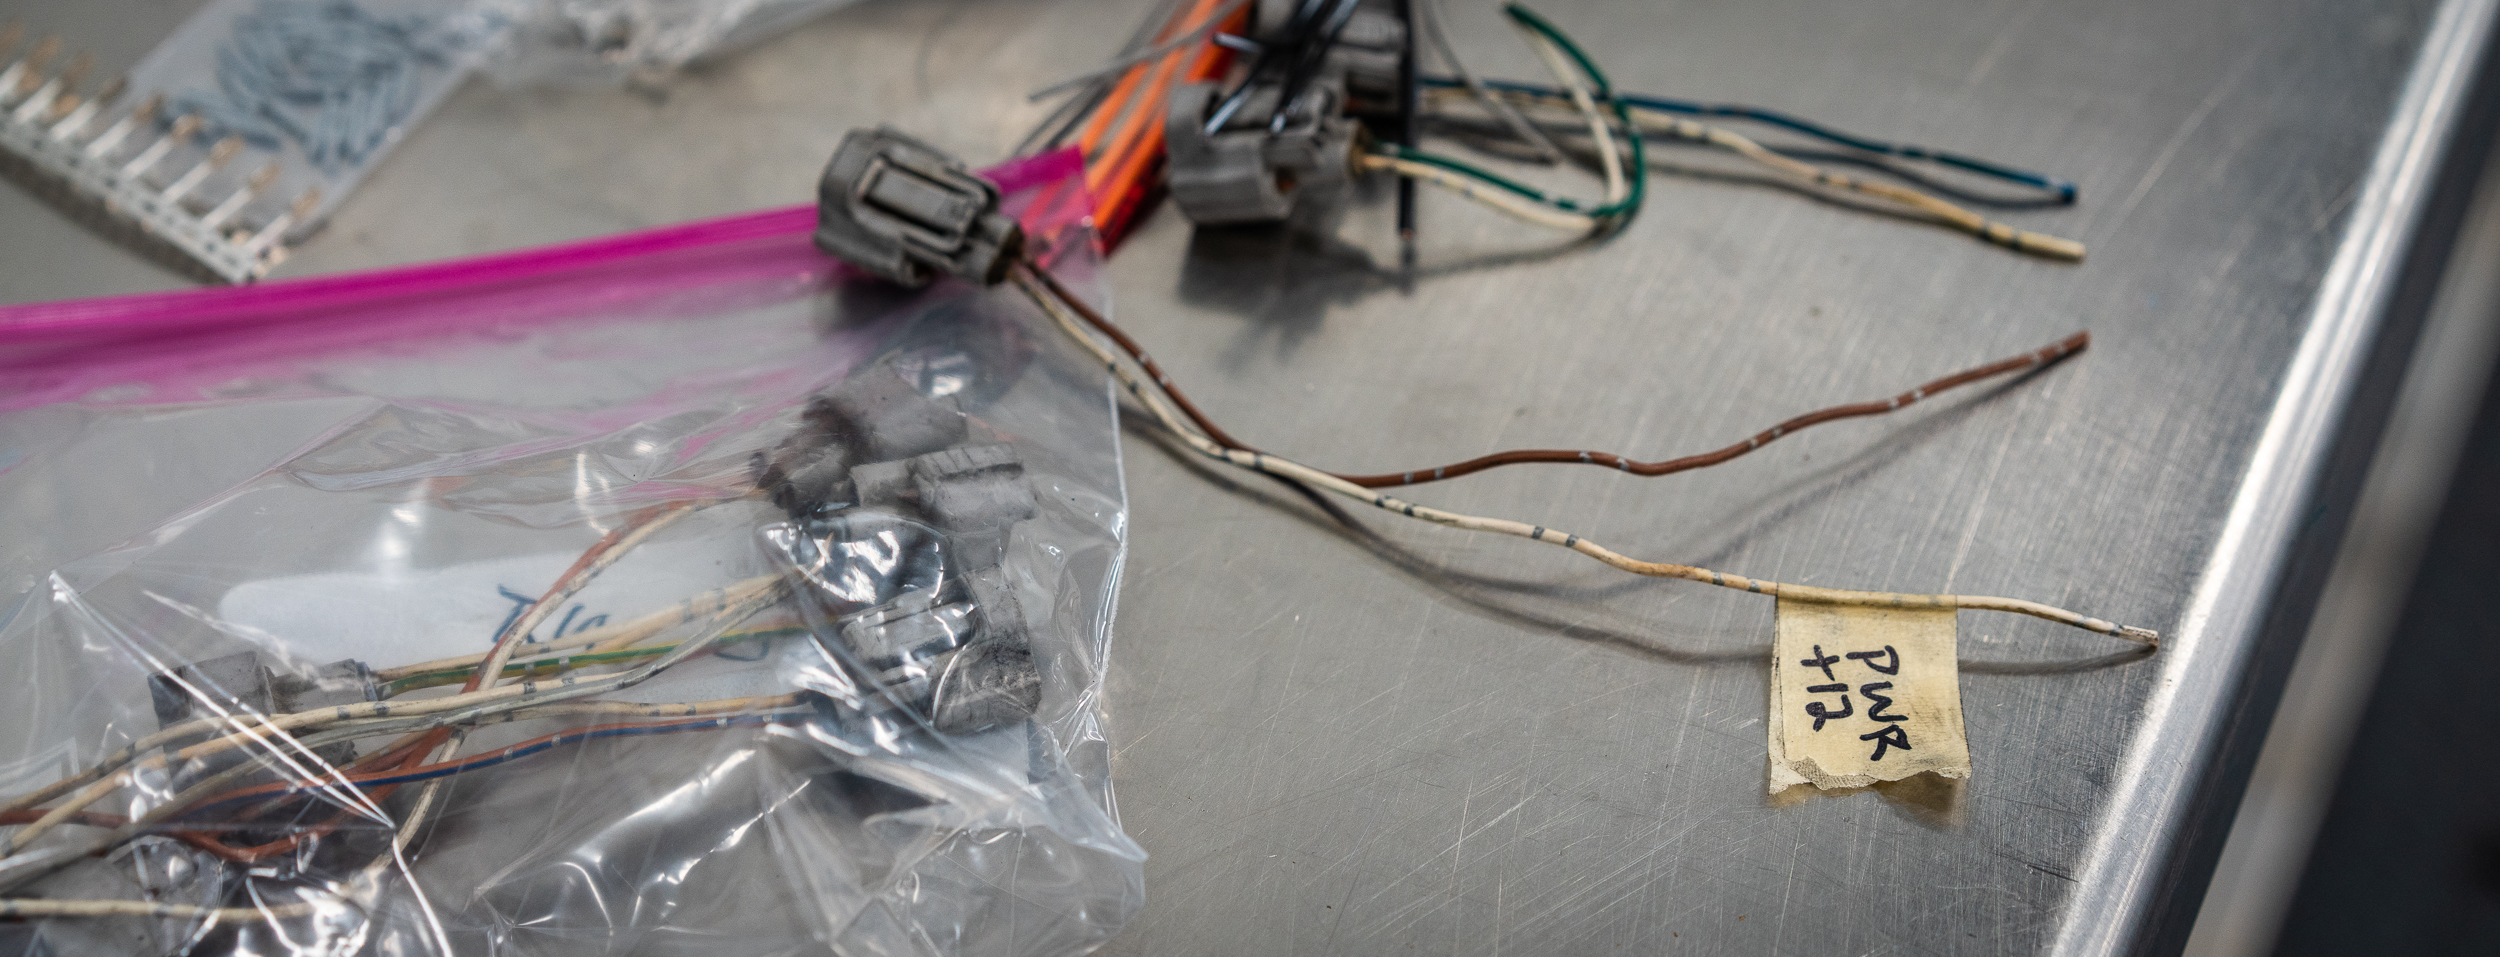
I started to get a bit panicky about how much shop time I'd wasted with my indecisiveness, but I managed to pull out the bag of injector pigtails and plug them in to the injectors.
From there, it wasn't too hard to just start running the +12V power to them. 8 is a nice number for splicing/splitting connections, so yay V8. The factory used 3 -> 1 butt splices, but I prefer the tidiness of doing 2 -> 1 in a couple places. Very balanced.
As I ran the wires, I realized that all the work I did with the house solid-core wire template was not what I wanted. In the bin it went. Live and learn I guess.
At some point the work area got pretty full and messy.
I finished up the injector power and labeled it near the final butt splice on the passenger side rear.
One thing I wish I'd done differently:
When disassembling the old OEM harness, I wish I'd totally unwrapped everything, then left the pigtail wires as long as possible. There are a couple extra splices I needed to lengthen wire that could have been totally avoided.
This wiring will be married to the AEM starter harness that I ordered with the ECU. I've done enough wiring since I ordered this that I sort of wish I hadn't. I would rather put that money towards nice wire to make my own harness from scratch. Oh well, it was still probably the smart thing to do.
Here's the ends of the mini-harness, all nicely labeled and integrated with a small fuse box:
I moved on to the ignition coil power and grounds, which I worked on until time expired. I got a decent amount of those done on the passenger side of the motor, but didn't quite make it over to the driver side.
I've found a great deal of value in totally cleaning up at the end of each shop night. It does take 20 - 30 minutes, but it helps me stay organized and do some final thinking before I leave. Frequently I'll remember things to check or realize I need to bring/buy something else for the next shop night. This night was particularly messy, but it got done and I'll have a nice fresh start the next time.
Thanks for reading!
damen
Next Datsun Post: Sorting Drive-by-Wire Throttle Body
Previous Datsun Post: Wiring Harness and Trigger Mount
All Datsun Posts: 600HP VK56 V8 Datsun 280Z


