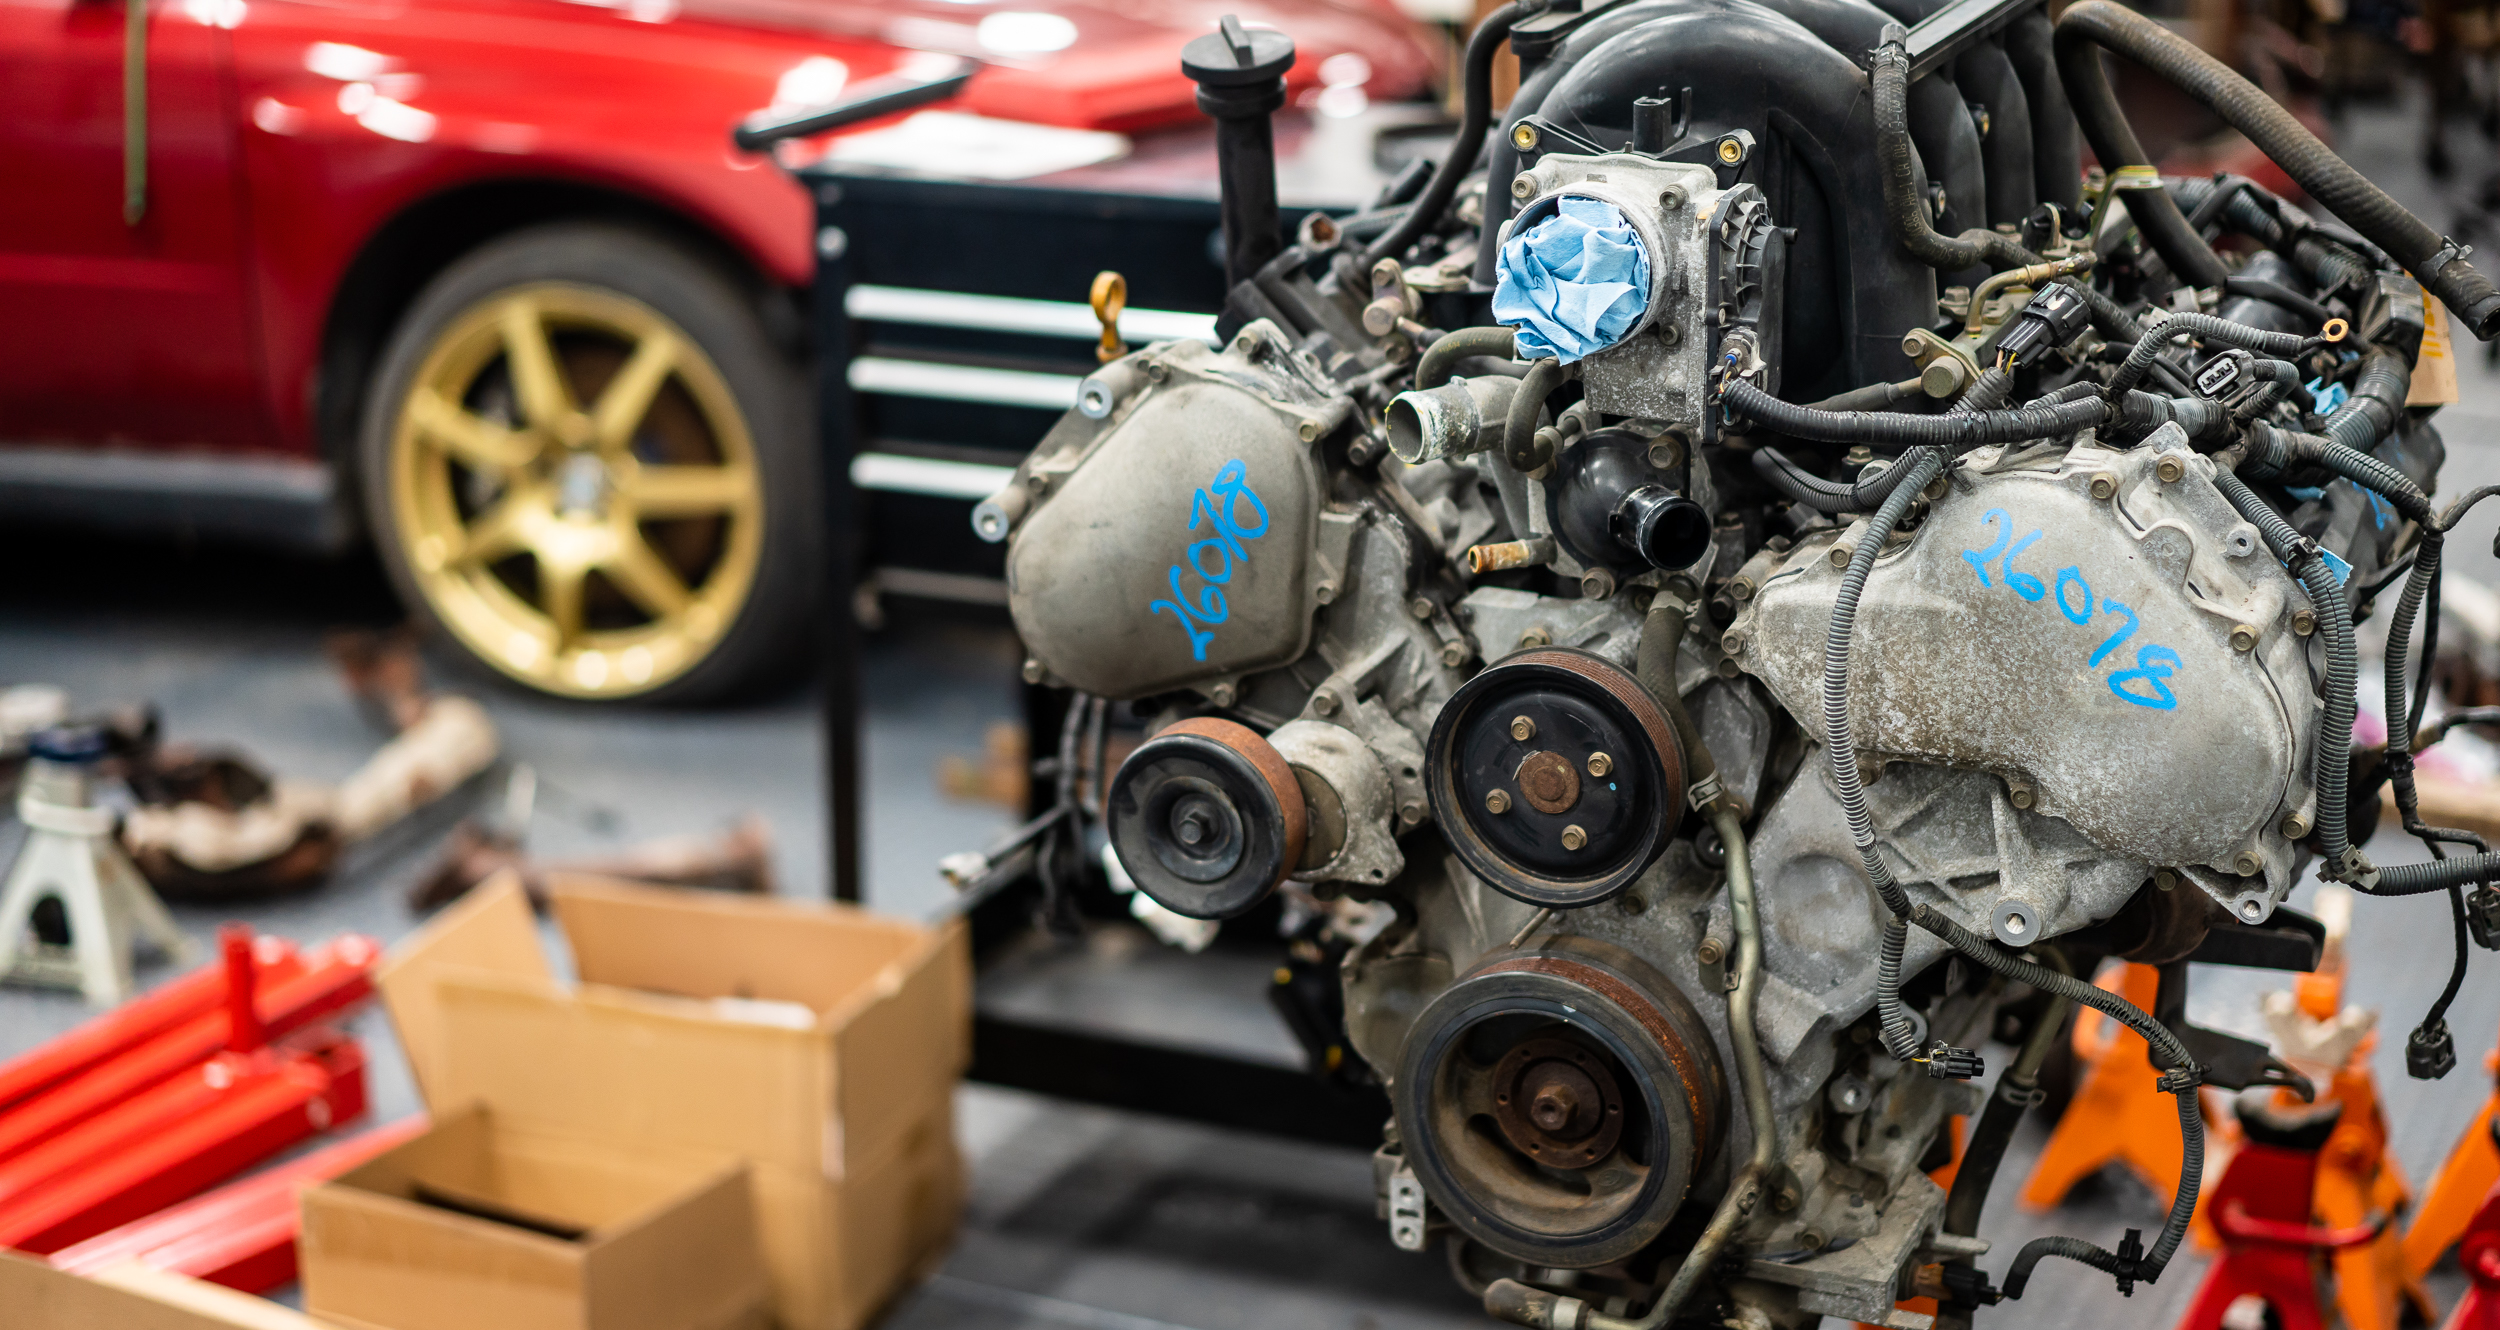
Having rolled the engine "in place" on the stand next to the car, I realized there will be a lot of taking the engine in and out of the car for fitment, which is going to be a pain. I've seen foam replicas of domestic engines that you can buy for this exact purpose. In fact, they even have threaded holes for things like accessories and headers to be bolted up. Seems like something that might be handy.
The problem is, they're very expensive. Like $500 and up. Not to mention there aren't any VK56, the engine I’m using, replicas available.
So I thought, why not try to make my own? Not necessarily with all the bolt holes, but with matching exterior dimensions to be able to throw in and out of the engine bay as I cut and sew the car. $20 in cardboard and expanding foam later, I got started.
I bought a few Home Depot moving boxes and 3 cans of "Big Gap" expanding foam.
I taped one of the boxes to the front of the engine to trace the front silhouette.
It's not rocket science, but I still spent and hour or so with a box cutter and some masking tape to get an approximately shaped box to fill with foam. I'll carve it down to exact size once the foam has set.
I took it outside to do the foam fill.
Now, I've used this expanding foam for its intended purpose around the house quite a few times. I've always found it a little bit of a bummer because they're essentially one time use, and I feel like I use about 1% of the product and throw the rest away. I really have no idea how much foam is in a full can. I thought 3 cans would get me close to filling the box.
Ha.
That's the coverage I got from 1 full can. Turns out there isn't magically 3 cu. ft. of expanded foam in each of these cans. Oops. 1 can didn't even cover the bottom piece of cardboard.
At < $5 per can, I finished spraying all 3 cans in and let them expand to see where I ended up. That way I could see how many more cans I might need.
I was not excited to see how much volume 3 cans filled.
I'm not feeling too optimistic about this. Is it worth $20? Maybe, and it's fun. Is it worth $100? Eh, I'll have to think about it a bit more.
I moved on to finish the wiring template (templating?) for the passenger side of the engine. Just running the 14ga solid core, cutting at the back of the engine, then labeling. I'll take them home and work on the wiring harness in the comfort of my home. Or more importantly, the a/c of my home.
I really have to get to work on the wiring harness, but I've been bad about carving out time away from my wife and children at home to get that done. As I suspected early on, I may have to use shop night to get the wiring done. While it's not a/c'd, it's about the only way I can see to have a lengthy focused session. I'll give it one more shot at home, but if I can't make progress in the next 2 weeks, shop wiring it will be.
Beyond that, I have some bits and pieces to sort out before I can start the motor: water routing, radiator, serpentine belt, crank trigger wheel/sensor mounting, new cam sensor, some cheap mufflers/exhaust tubing so I don't go deaf, etc, etc.
Then I might be able to start plotting out where this whole thing will live.
And I guess I'll have to pull out the interior to do that. I'm actually more sad about pulling this interior than I am about chopping out the firewall. So many memories, the old familiar smell, fuzzy seat covers...I think there's something in my eye......
The show must go on I suppose.
Thanks for reading!
damen
Next Datsun Post: Wiring Start
Previous Datsun Post: Engine Stand Mounts
All the Datsun Posts: 600HP V8 Datsun 280Z


