I returned to the foamie experiment to find that the foam had shrunk a considerable amount, pulling the box-model apart. I don't want to waste any more time on this, so I filed away the lessons learned (put a box full of air in the middle to take up space, use 2-part boat foam) and scrapped it.
Concerning the wiring, as I feared earlier, I wasn't able to adequately carve away time at home, so I hauled all my supplies back to the shop. It was worth a try.
I wanted to get some extra progress in, so I actually drove out to the shop very early on a Sunday morning and was working by 6:30am. A few hours of quiet wire work is a good task with some coffee and music.
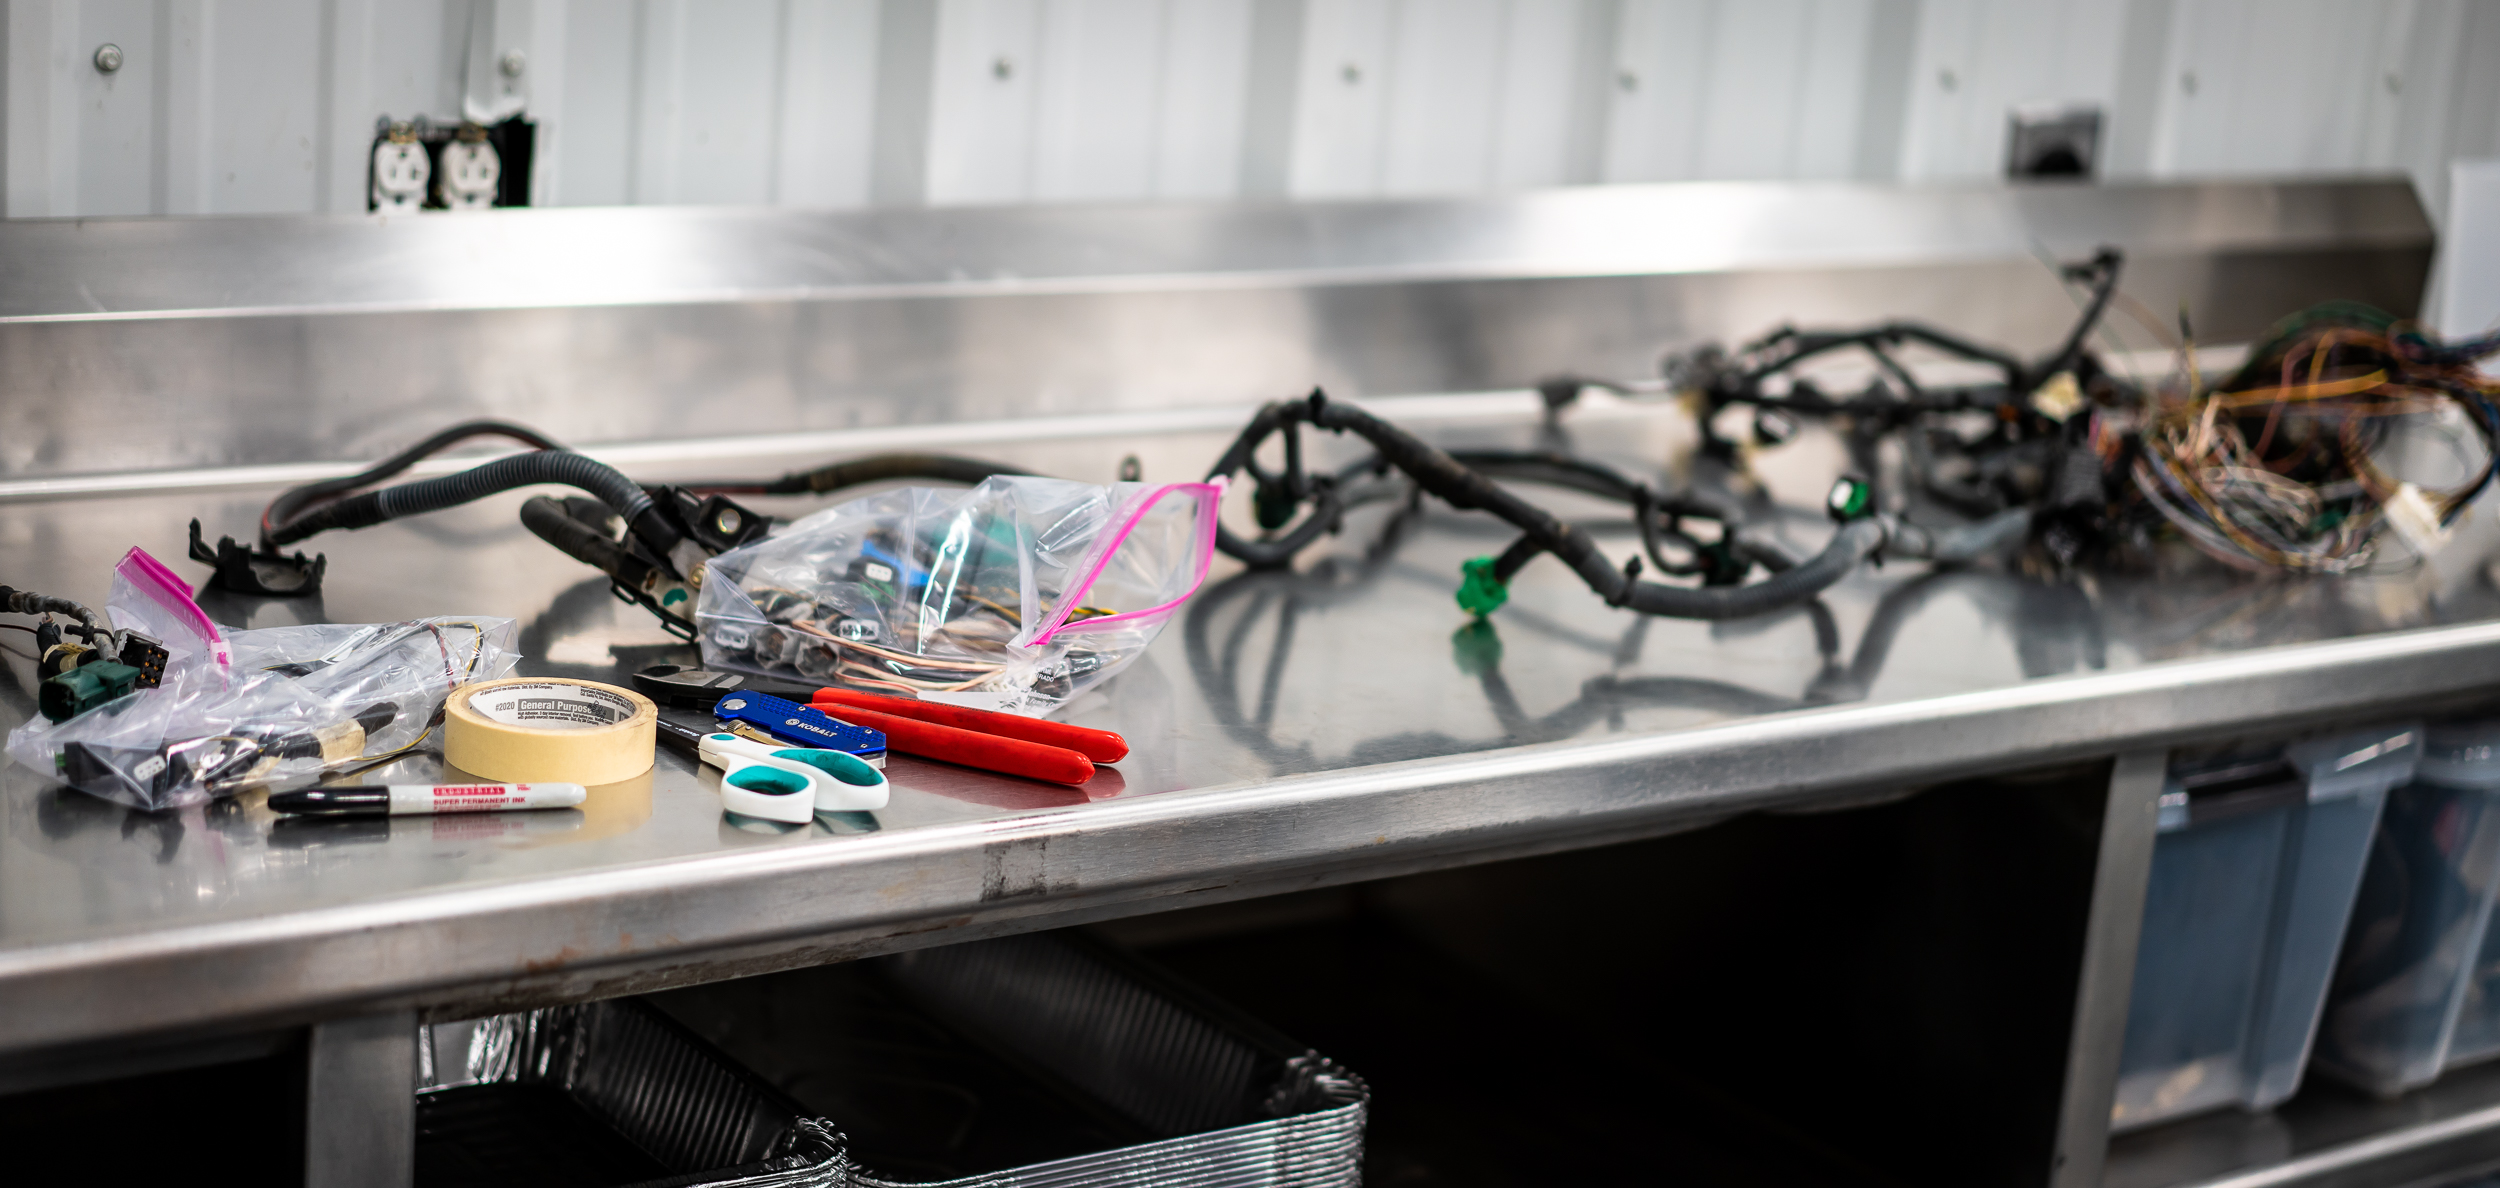
One benefit of being back out at the shop is that I have this big beautiful table on which to work. I cleared and cleaned it before spreading out the OEM harness.
I know I've said it before, but it's pleasantly enlightening to see how these harnesses are constructed.
There are quite a few twisted pairs for the sensor signals:
Capacitors in series for the sensor grounds (low-pass filter?):
And shielded coaxial cable for the two knock sensors:
After a few hours of work, I had the OEM harness fully disassembled and organized. I now have all the connectors I'll need to get the stock motor running on the stand, along with a decent amount of spare wire to use where suited.
I won't miss the 15 year old electrical tape and corrugated plastic sheathing.
That was it for the morning, but I was happy with the progress.
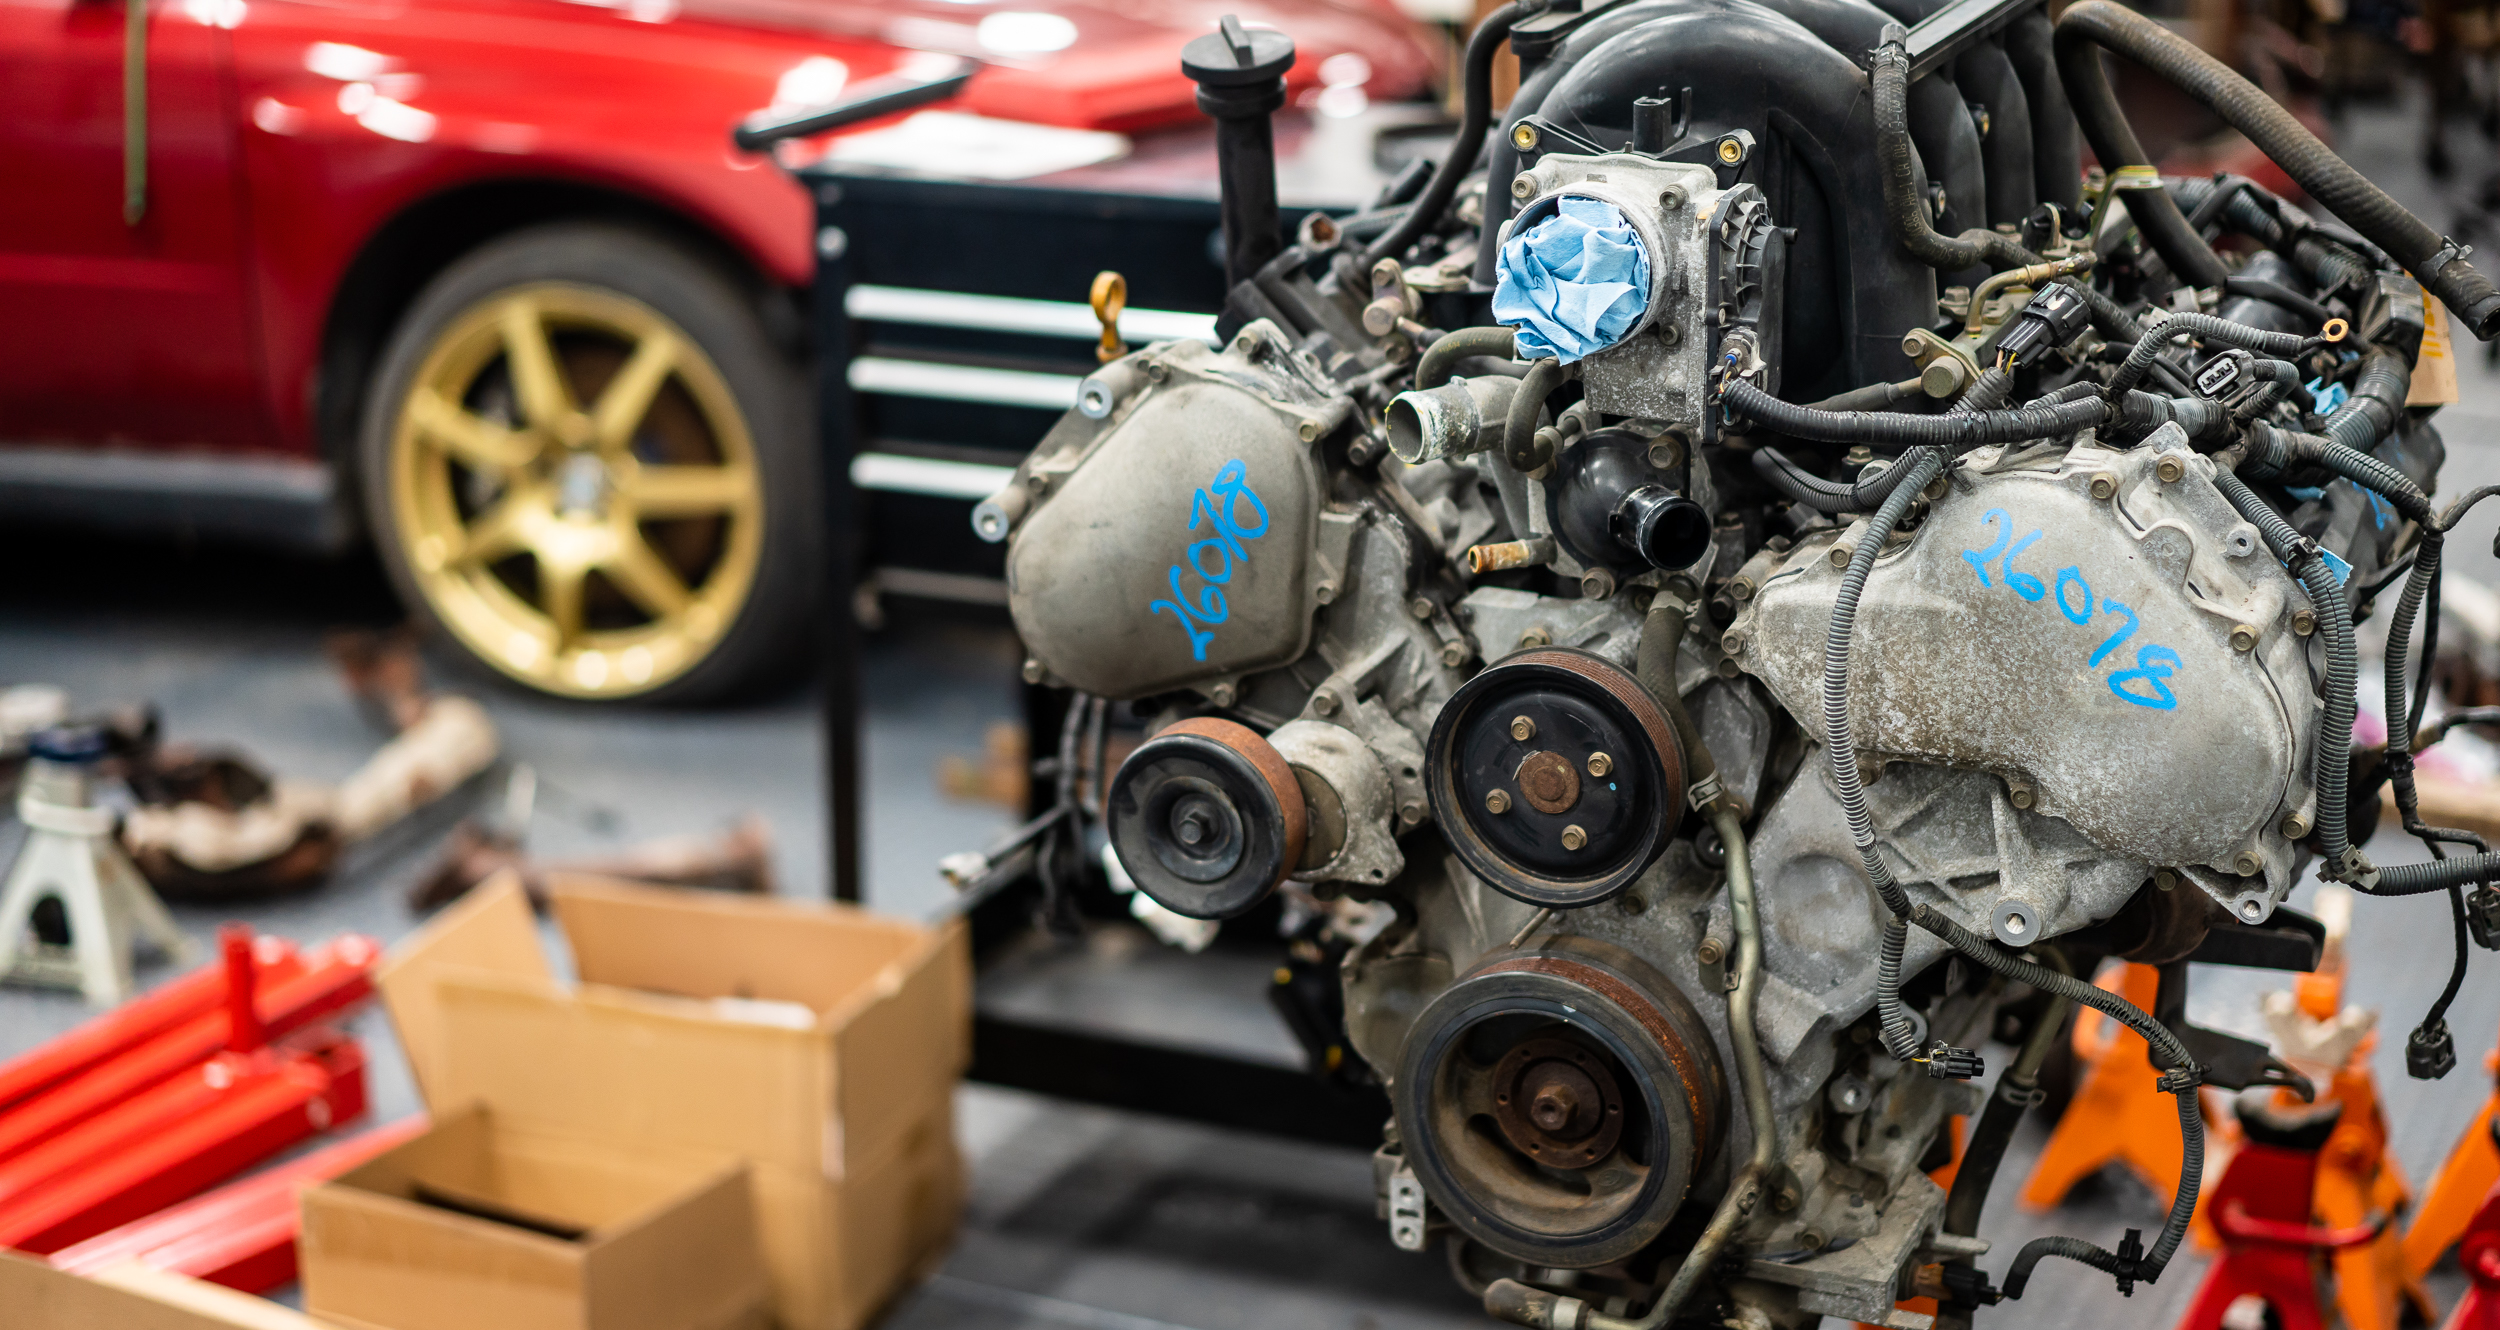
I returned another evening to work on the motor on the stand.
The motor came with a broken cam angle sensor.
I ordered a new one and swapped it out. Old and new here:
One of the biggest issues many people have with standalone ECUs is cam and crank angle sensing. You can run just a crank angle sensor, but only in a semi-sequential wasted-spark configuration; the cam angle is needed to run full sequential.
While I had the cam angle sensor out, I took a look at the notched cam wheel used to generate the signal:
I think this means it has 4 series of marks around the wheel, I, II, III, IIII. I don't know how happy the AEM Infinity will be with that setup (it seems the preferred wheel is just one notch at one spot), but I'll find out.
The new sensor went in without drama.
My shop partner, Nik, had a Deatsch Werks fuel pump on the shelf from one of his many past, present, or future projects. He's loaning it to me for the engine stand running. It fit right up with the batch of fuel hose I ordered. Woot.
I test ran some fuel line to places it needed to go, mostly to check that I had the right size:
The motor came with exhaust manifolds on it. Sort of.
The scrapper from whom I bought the motor used a sawzall rather un-judiciously to separate the exhaust before the integrated catalytic converters. So while I'm glad there is a manifold, if I ever get this thing started, it's going to be loud.
Too loud for my sensitive ears.
I perused Summit Racing's cheap mufflers and exhaust clamp stuff to see if I could get some mufflers semi-attached, hoping to quiet it down just a bit. They have a nice selection of house-branded 2-chamber mufflers for less than $30, so I got 2, plus some clamps, plus some header wrap to take up slack.
There's no flange or anything on the exhaust manifold, so I got some clamps to go from the sawed off stump to the 3" muffler. The clamp was a bit on the big side (on purpose), so I'm going to try a couple layers of header wrap beneath the clamp, for fitment. Big thanks to another racing friend, Kevin, who stopped by to lend a hand with this task.
We got it all tightened up, and it seems to fit well enough. The muffler weight is supported by various legs on the engine stand, so I'm hopeful that this might work?
The manifolds are not symmetrical (nor are the junkyard cuts), so it has a bit of a goofy look.
I found an appropriately sized serpentine belt for the new slim-and-trim (no) accessories configuration, so I put that on. Fits great. Yay.
I found the timing marks and I guess thought it was important to take a picture? Not sure, but here's that:
As I've noted before, I absolutely hate the pie-plate trigger wheel and cruise-ship VR sensor I've sourced for the crank angle, but it's a simple setup, so I'll use it for this initial bit. I hope that I'll be able to work with someone like ATI to get a lightweight damper that has the trigger pattern integrated into the damper itself, then use an OEM Bosch sensor that is readily available. I've heard Ford has a decent selection for this?
Anyhow, I found a couple of bolt holes in the region where I need the crank angle sensor, then set about fabricating a mount.
Here's the spot:
I bought a lot of extra 2" x 4" rectangular tubing when I made the test stand engine mounts, thinking it was a handy size that I might use in the future. The future is now and a slice of that would work well for the sensor mount.
Cutting with an angle grinder is not my absolute favorite, so a I dug a horizontal bandsaw out of Nik's pile of craigslist artifacts. It needed just a little bit of rehab, but we got it functioning. I think it might need a new blade; each of the cuts took like 5 minutes. But it's nice and quiet and required no work from me, so I call it a win.
A couple passes on the drill press/step drill/bench grinder setup and the whole mess bolted together just fine.
Good lord it's ugly.
My next task with this setup will be to center the trigger wheel and add a third bolt to keep it from moving.
Not a particularly cohesive update here, sorry about that. It's just a bunch of odds and ends really, plus constructing the wiring harness, to get this thing started. We live in hope.
Thanks for reading!
damen
Next Datsun Post: Custom Harness Start
Previous Datsun Post: Wiring Start
All Datsun Posts: 600HP Datsun 280Z V8 VK56DE Swap


