I called the recycler a day in advance this time to make sure the motor was ready for pick-up.
It was.
So I left work, drove an hour to Nik's, picked up his truck, then drove an hour to the auto-recycler northeast of town. The engine was indeed ready to go, nice and clean. They'd taped up the electrical bits and vacuum ports and pressure washed it. The man at the counter was kind enough to offer me an old tire in which to set the engine for transport.
Thank goodness; I'd brought 20 little different shaped pieces of wood and 10 ratchet straps. Engines are a tedious shape and weight to strap down. A tire to sit in made it 100x easier.
It seemed like maybe they'd done this a time or two. There was a strap (well, old piece of seatbelt) across the top of the motor that allowed them to move it around on a forklift. Set it in the back of the truck, two straps, boom. Ready to roll.
Another hour of driving back to Nik's.
Just kidding, 1.5 hours because of Houston 5pm traffic and an unfortunate accident in my path. I eventually made it back.
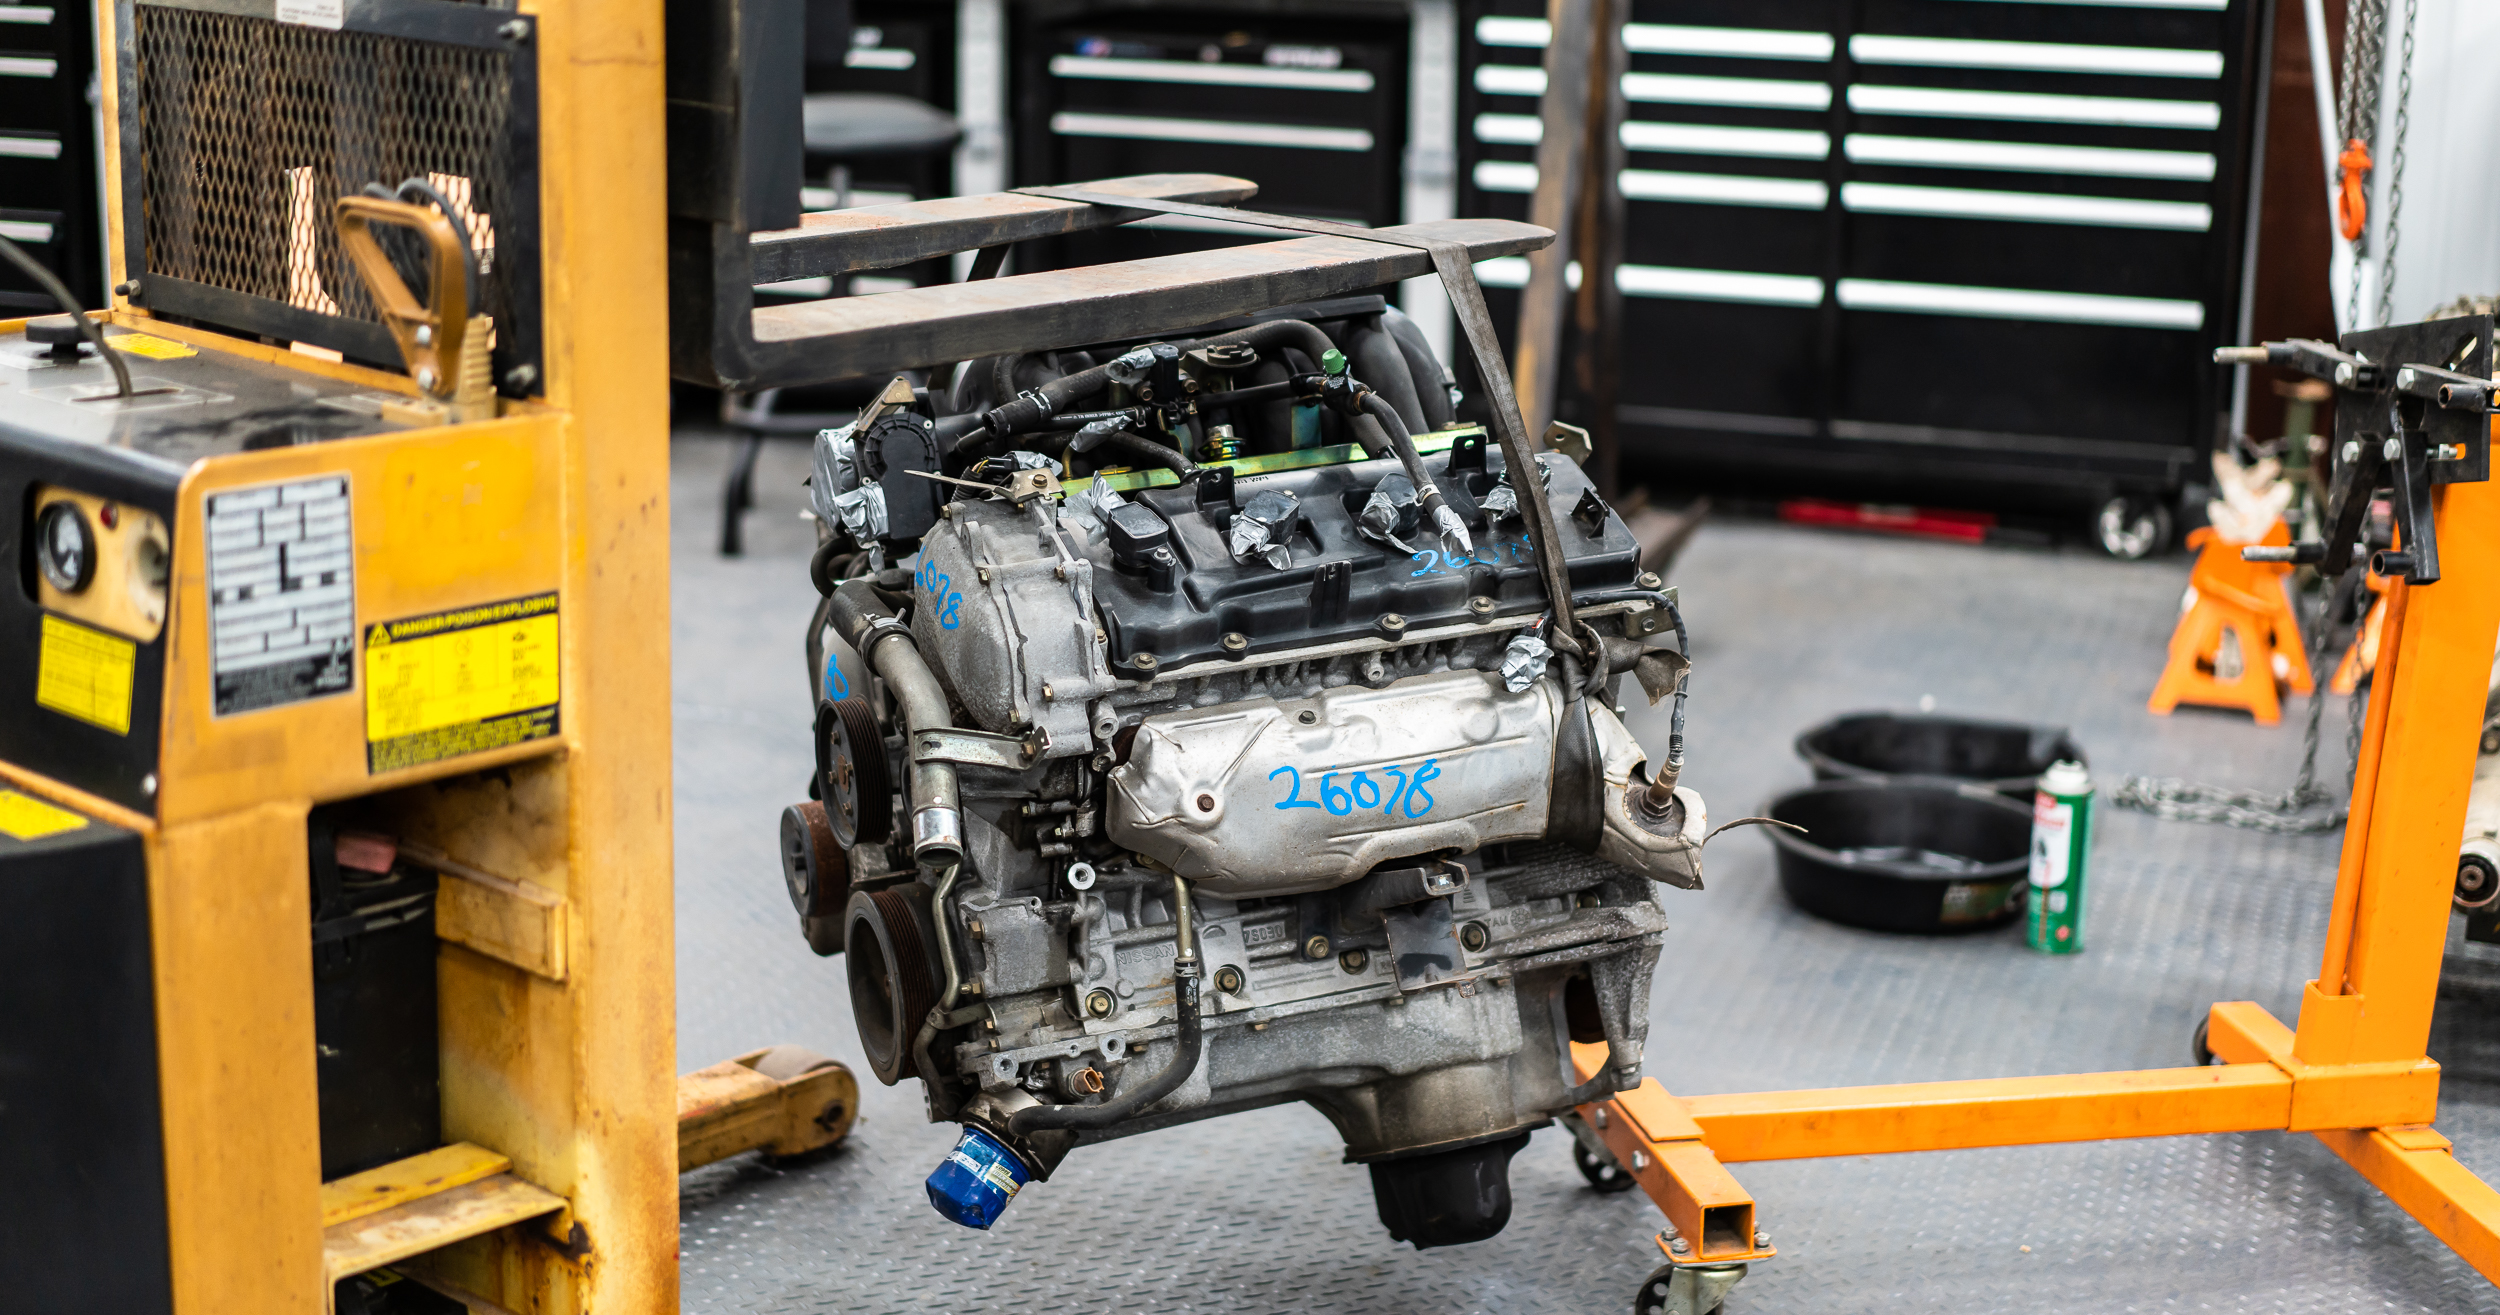
Nik has a really sweet forklift/stacker that made the job of getting this out of the truck and onto the stand as easy as it could be.
It definitely felt like cheating.
It took some time to find the (3) M14 x 1.25 bolts to thread into the bellhousing for the engine stand, but once again, Nik's collection came through.
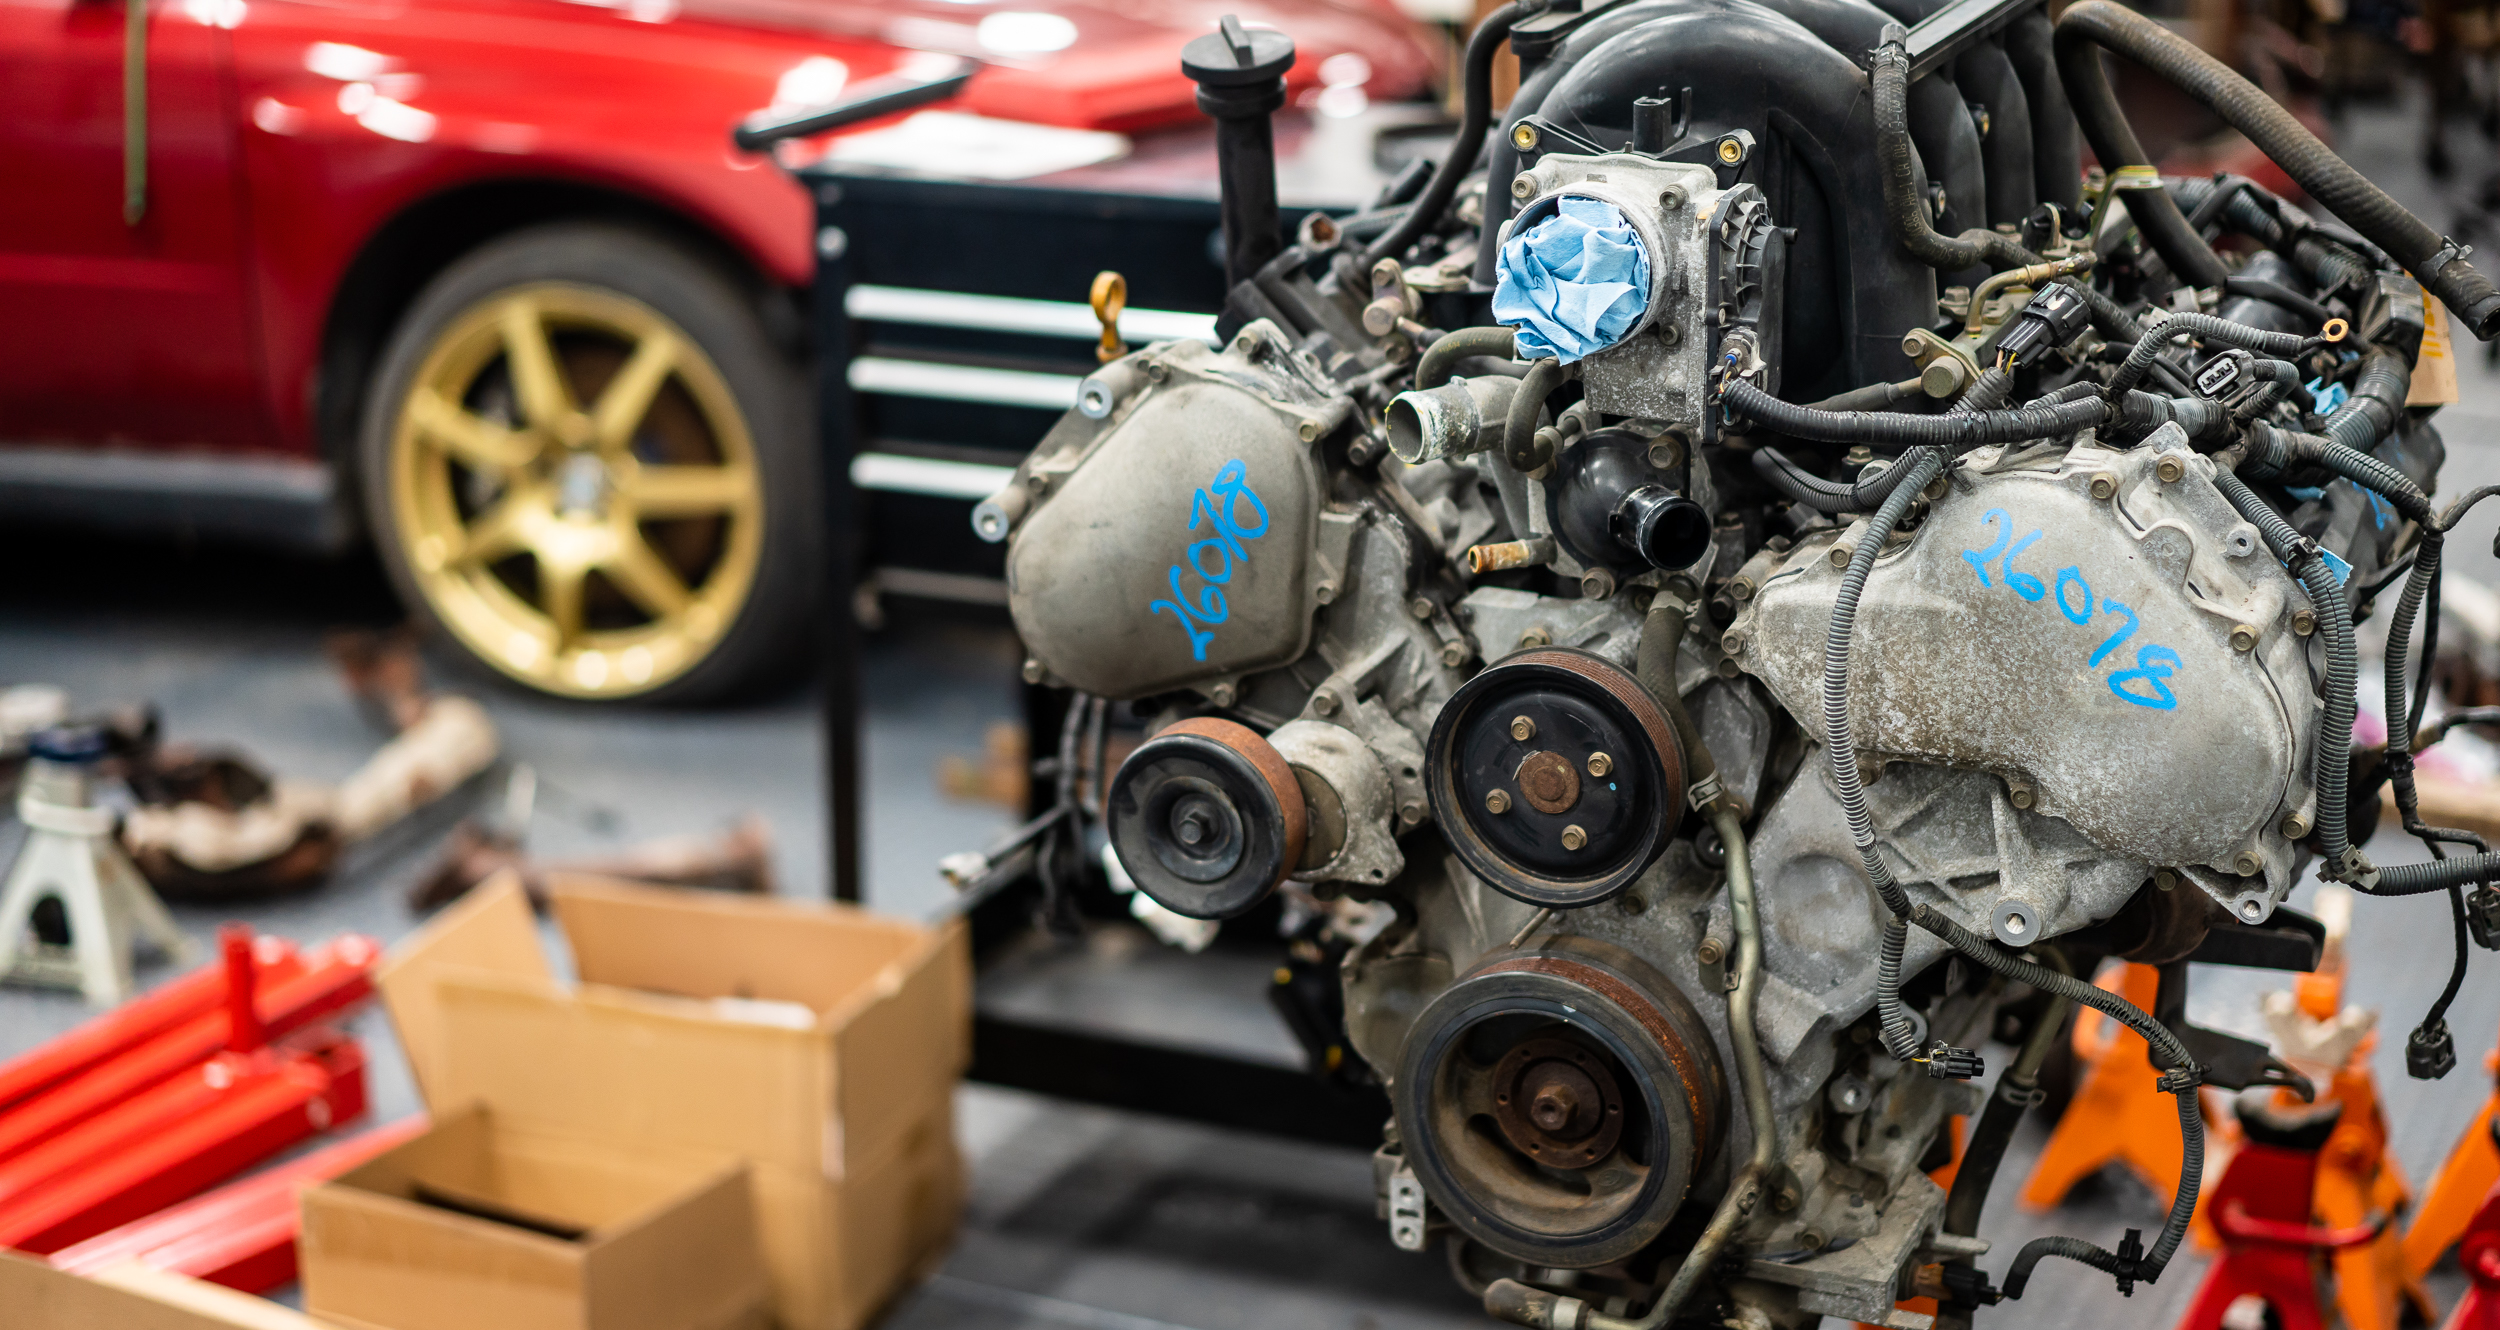
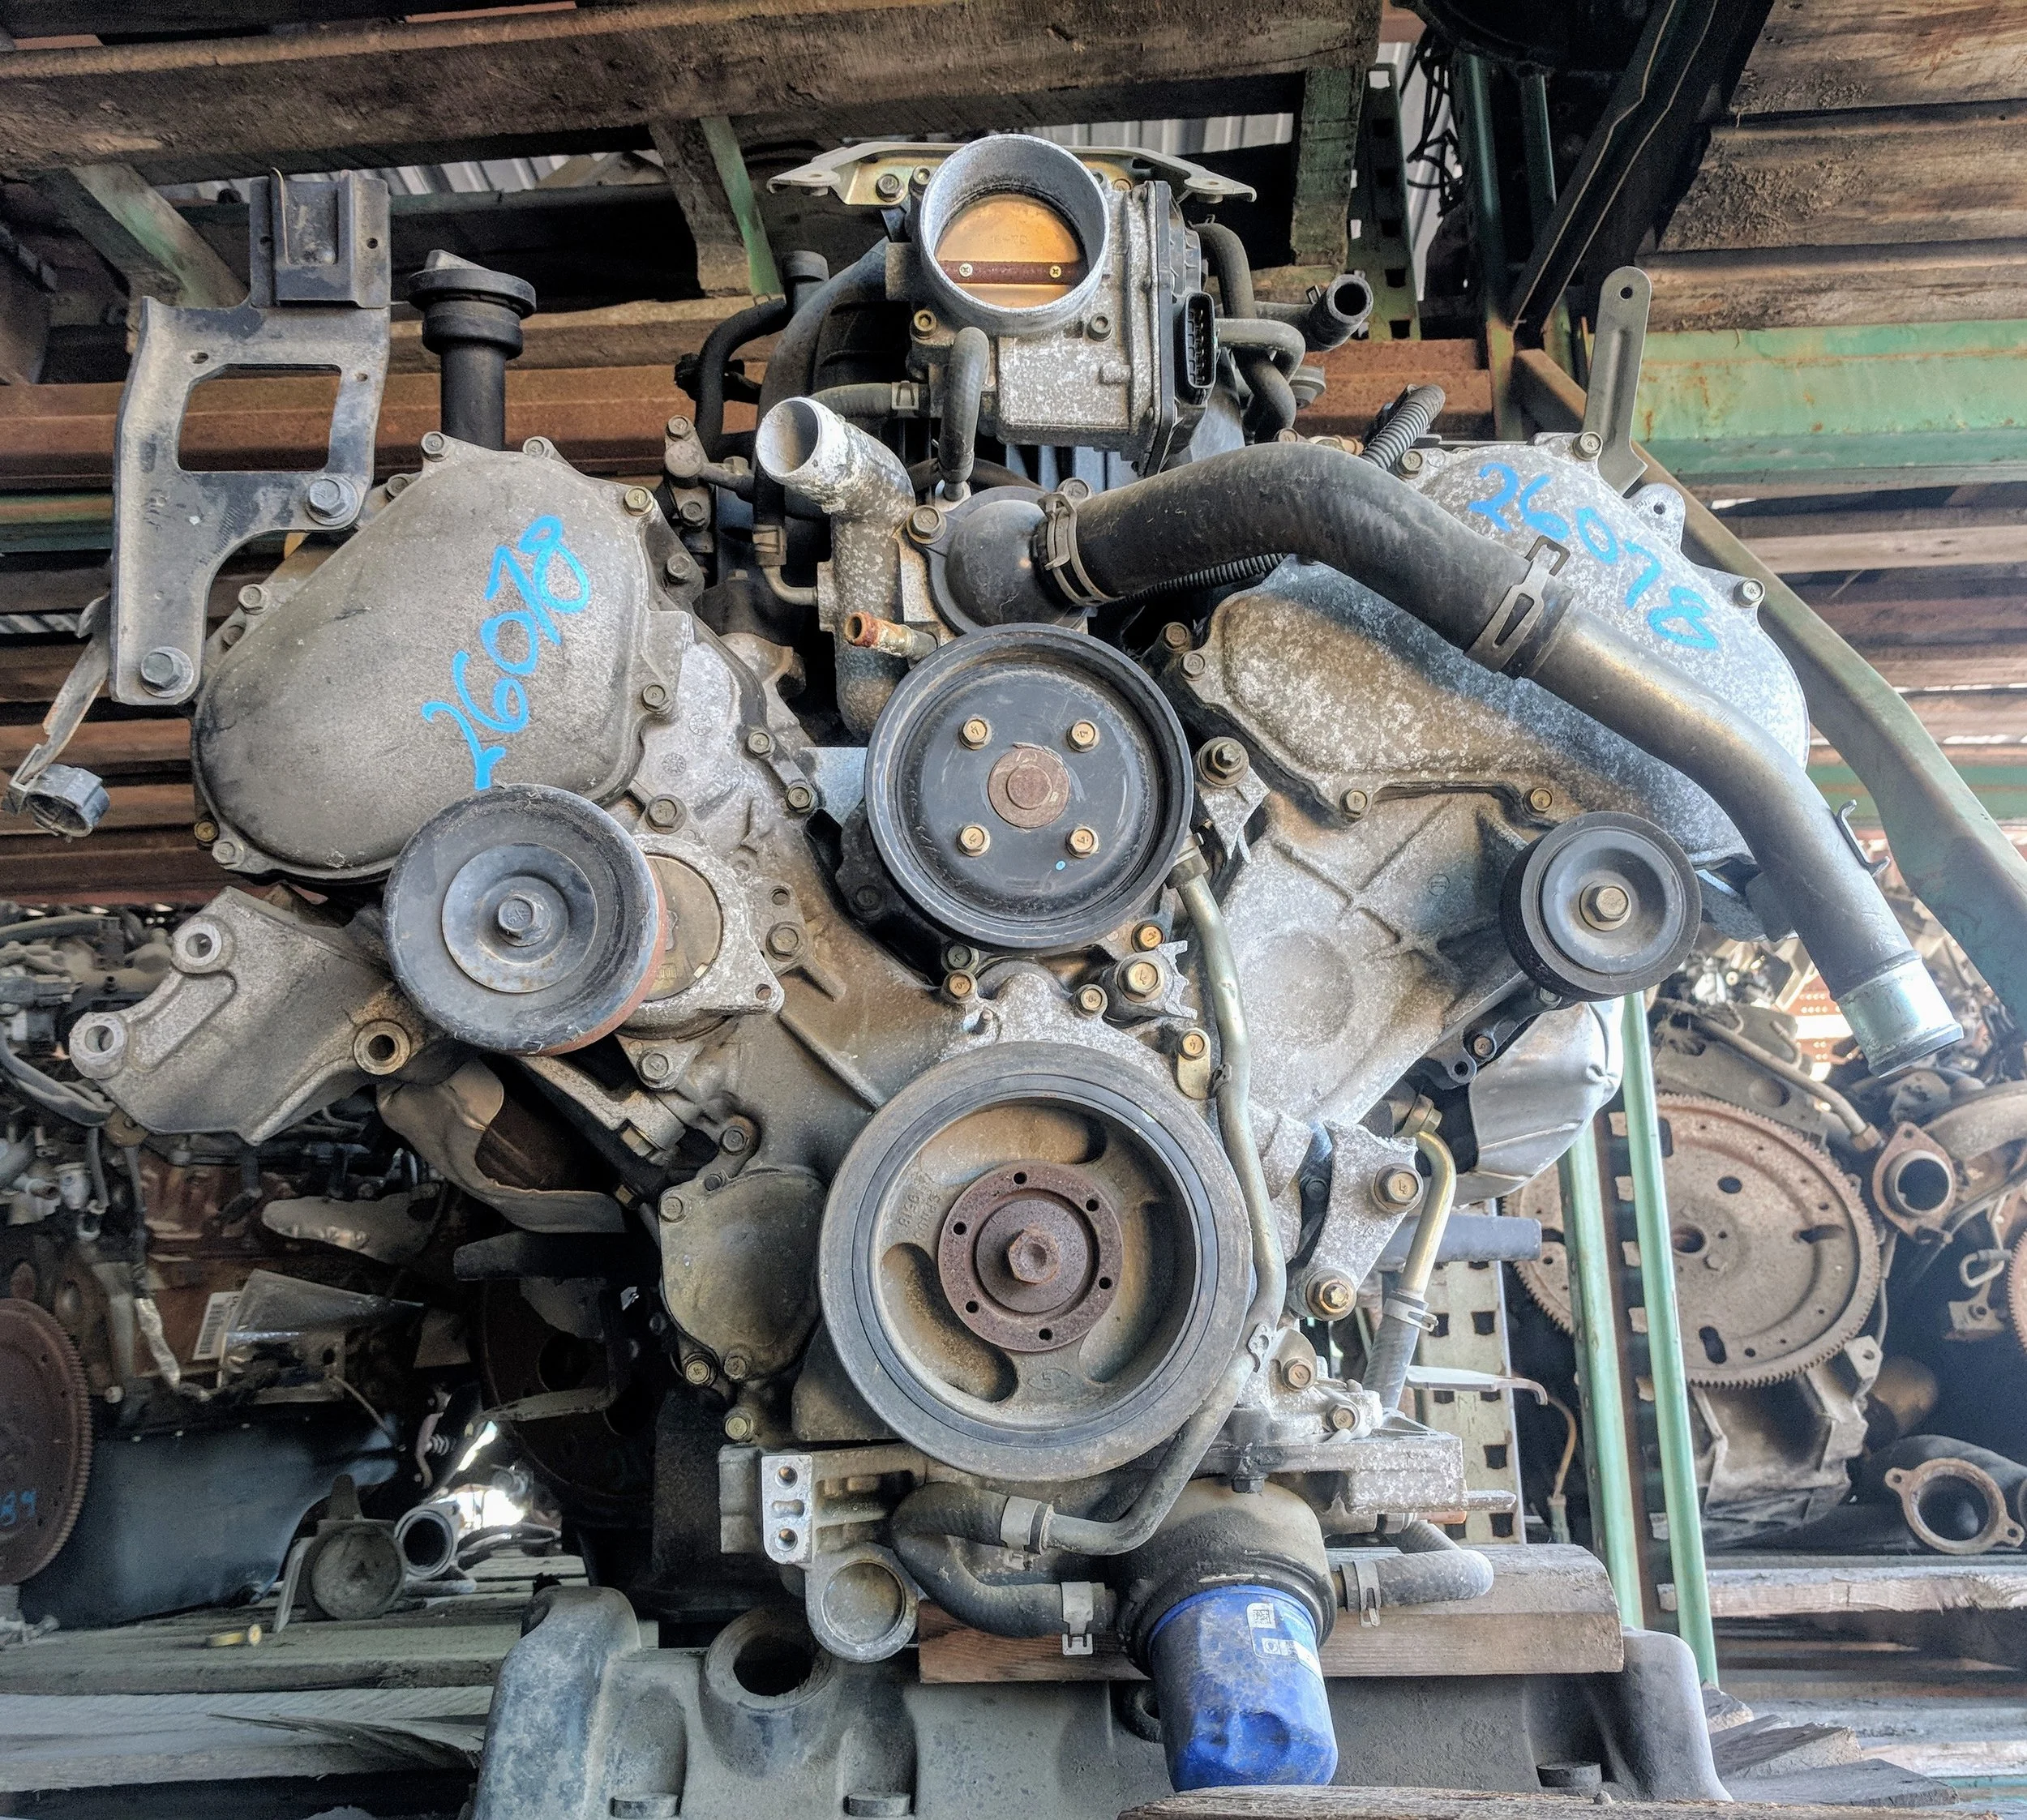
Engine on the stand, with a picture of the front for reference. I can imagine I'll be back to look at this photo. Note, this motor came out of a front-end-collision truck, so the bracket holding the fan pulley/clutch is broken off. That thing sticks way out, so not too surprising.
The coolant line just to the right (driver's side) of the harmonic dampener normally doesn't sit that close; the brackets holding it were also bent in the collision. That line feeds the oil/coolant heat exchanger to which the oil filter screws. I'll be doing an exterior oil cooler, so I won't be reusing that part.
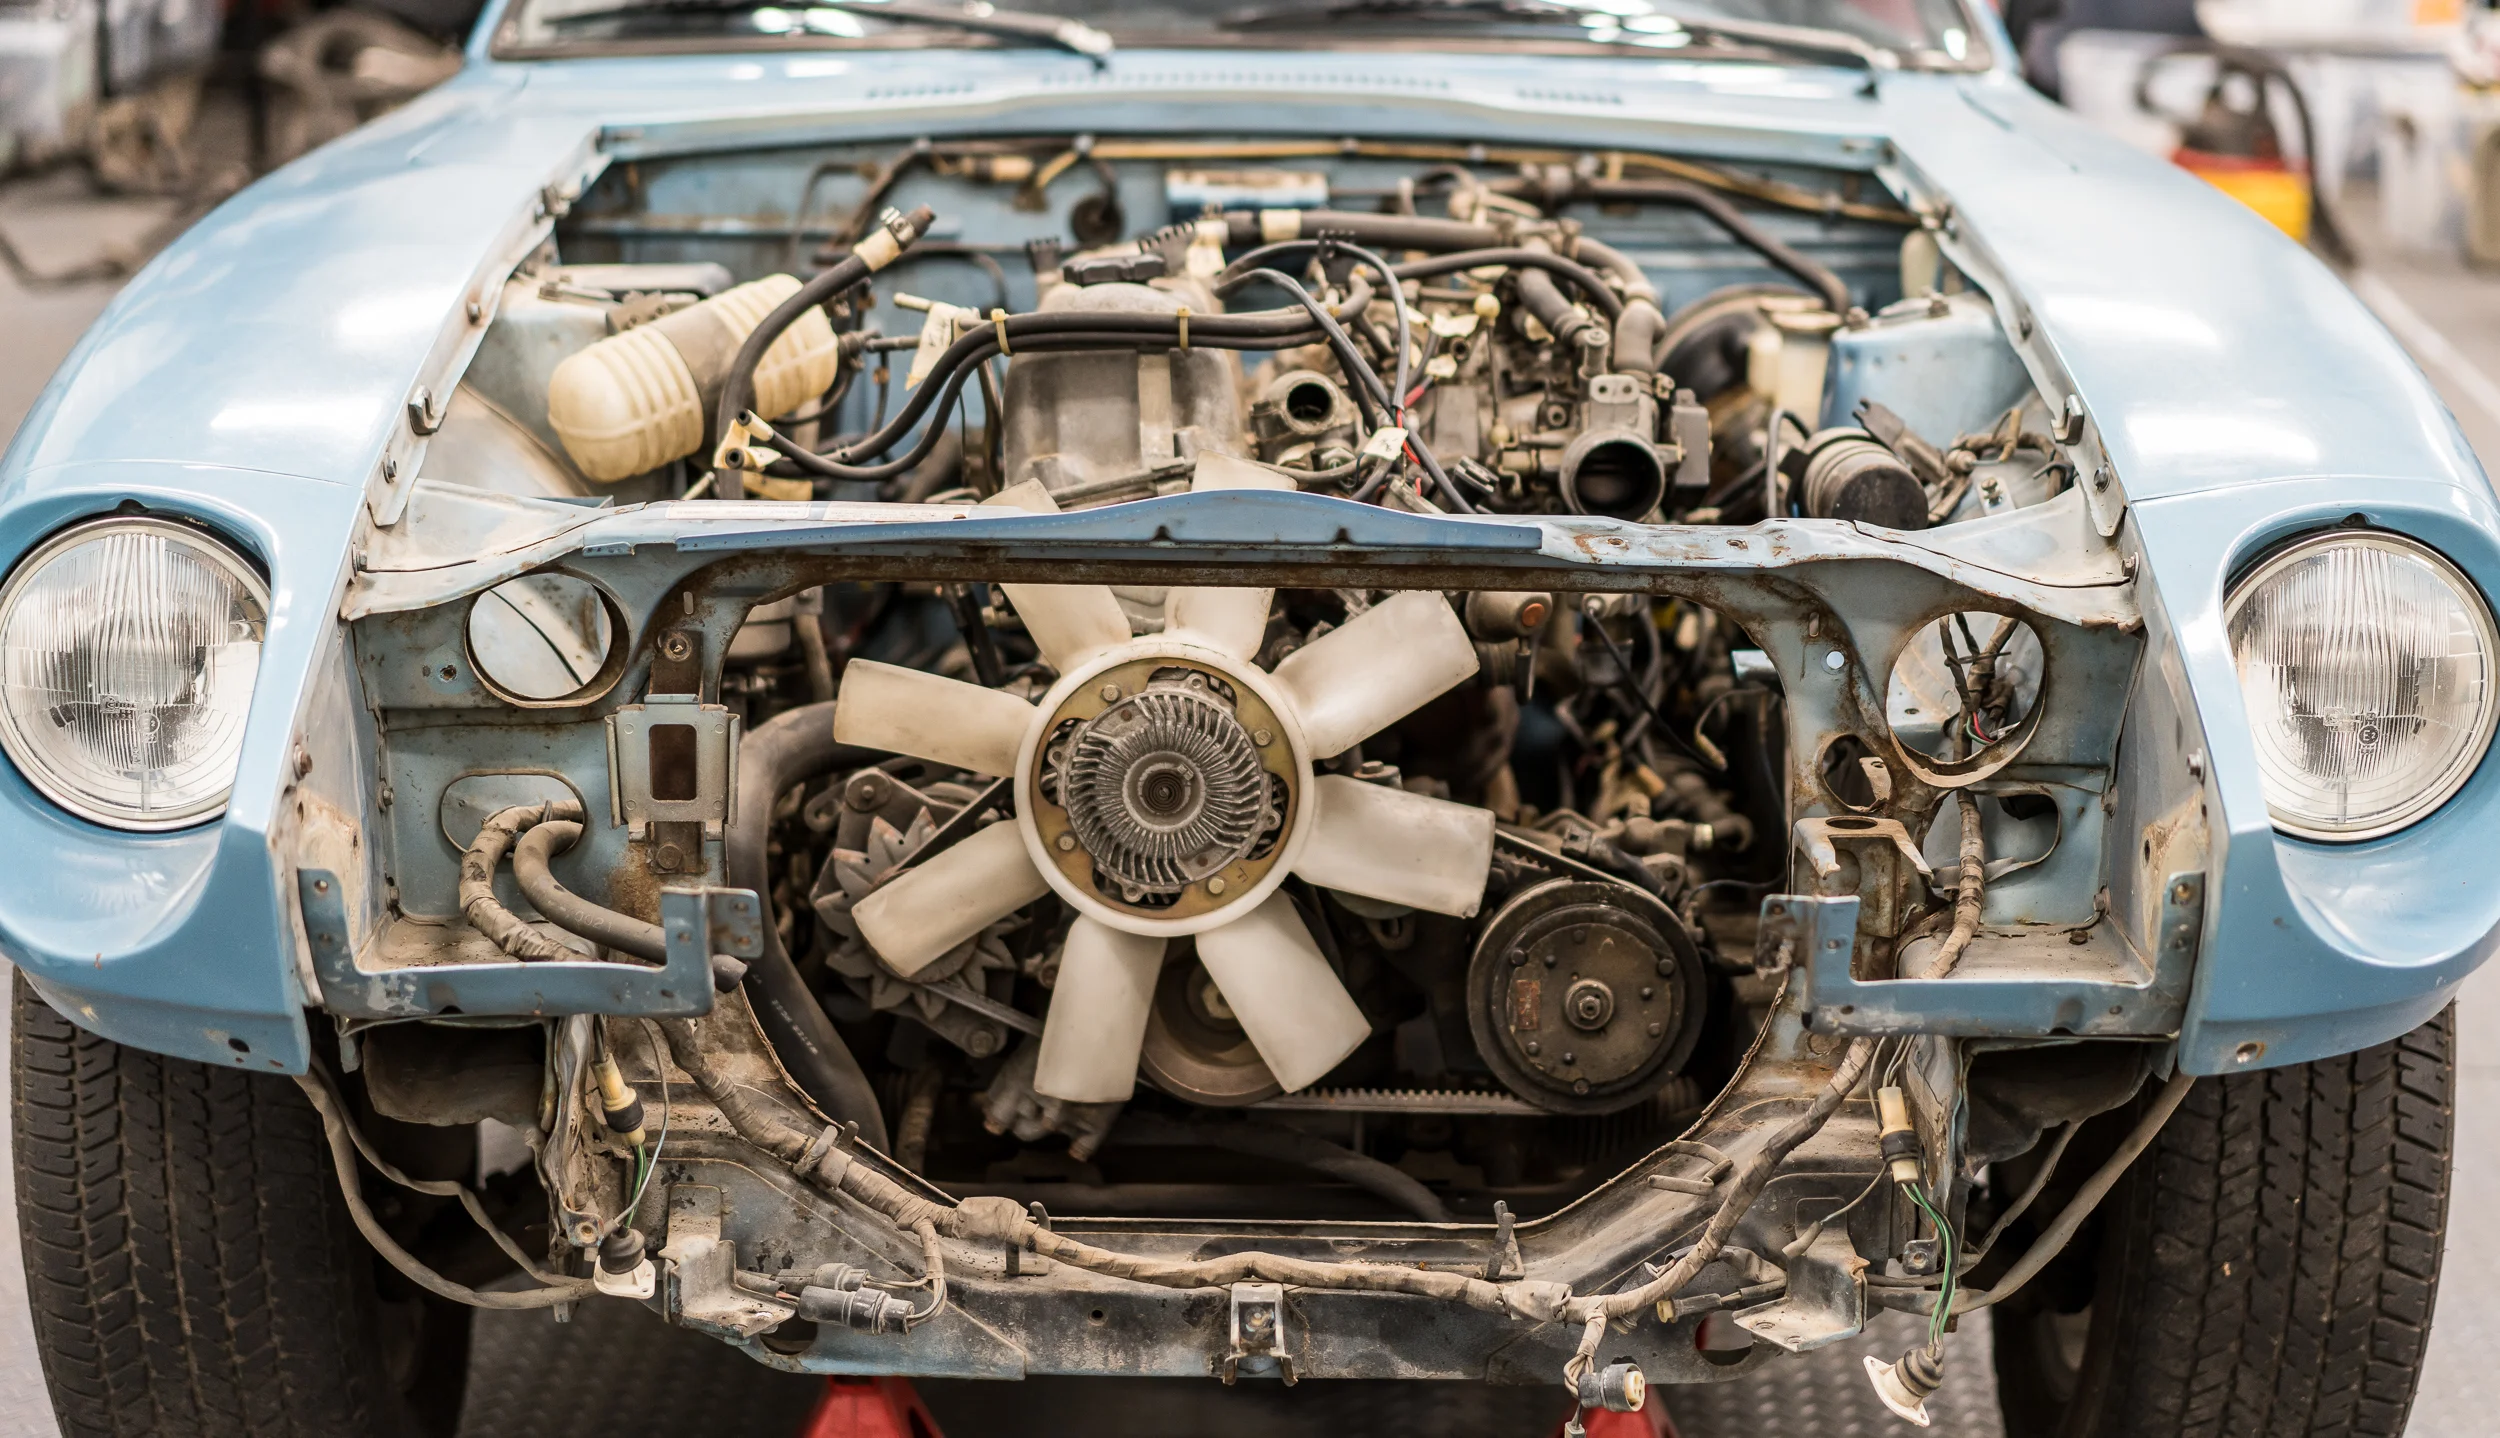
With the massively long intake runners designed for the high-torque truck application of this motor, this is one tall package. I won't be using the oil pan or the intake manifold, so the height will be much less to fit into the 280.
The big bracket on the passenger's side, next to the tensioner, holds the power steering pump. I'm currently undecided on power steering, but if I do implement it, I'll be doing an electric setup that doesn't need to sit on the engine. So that will go, too.
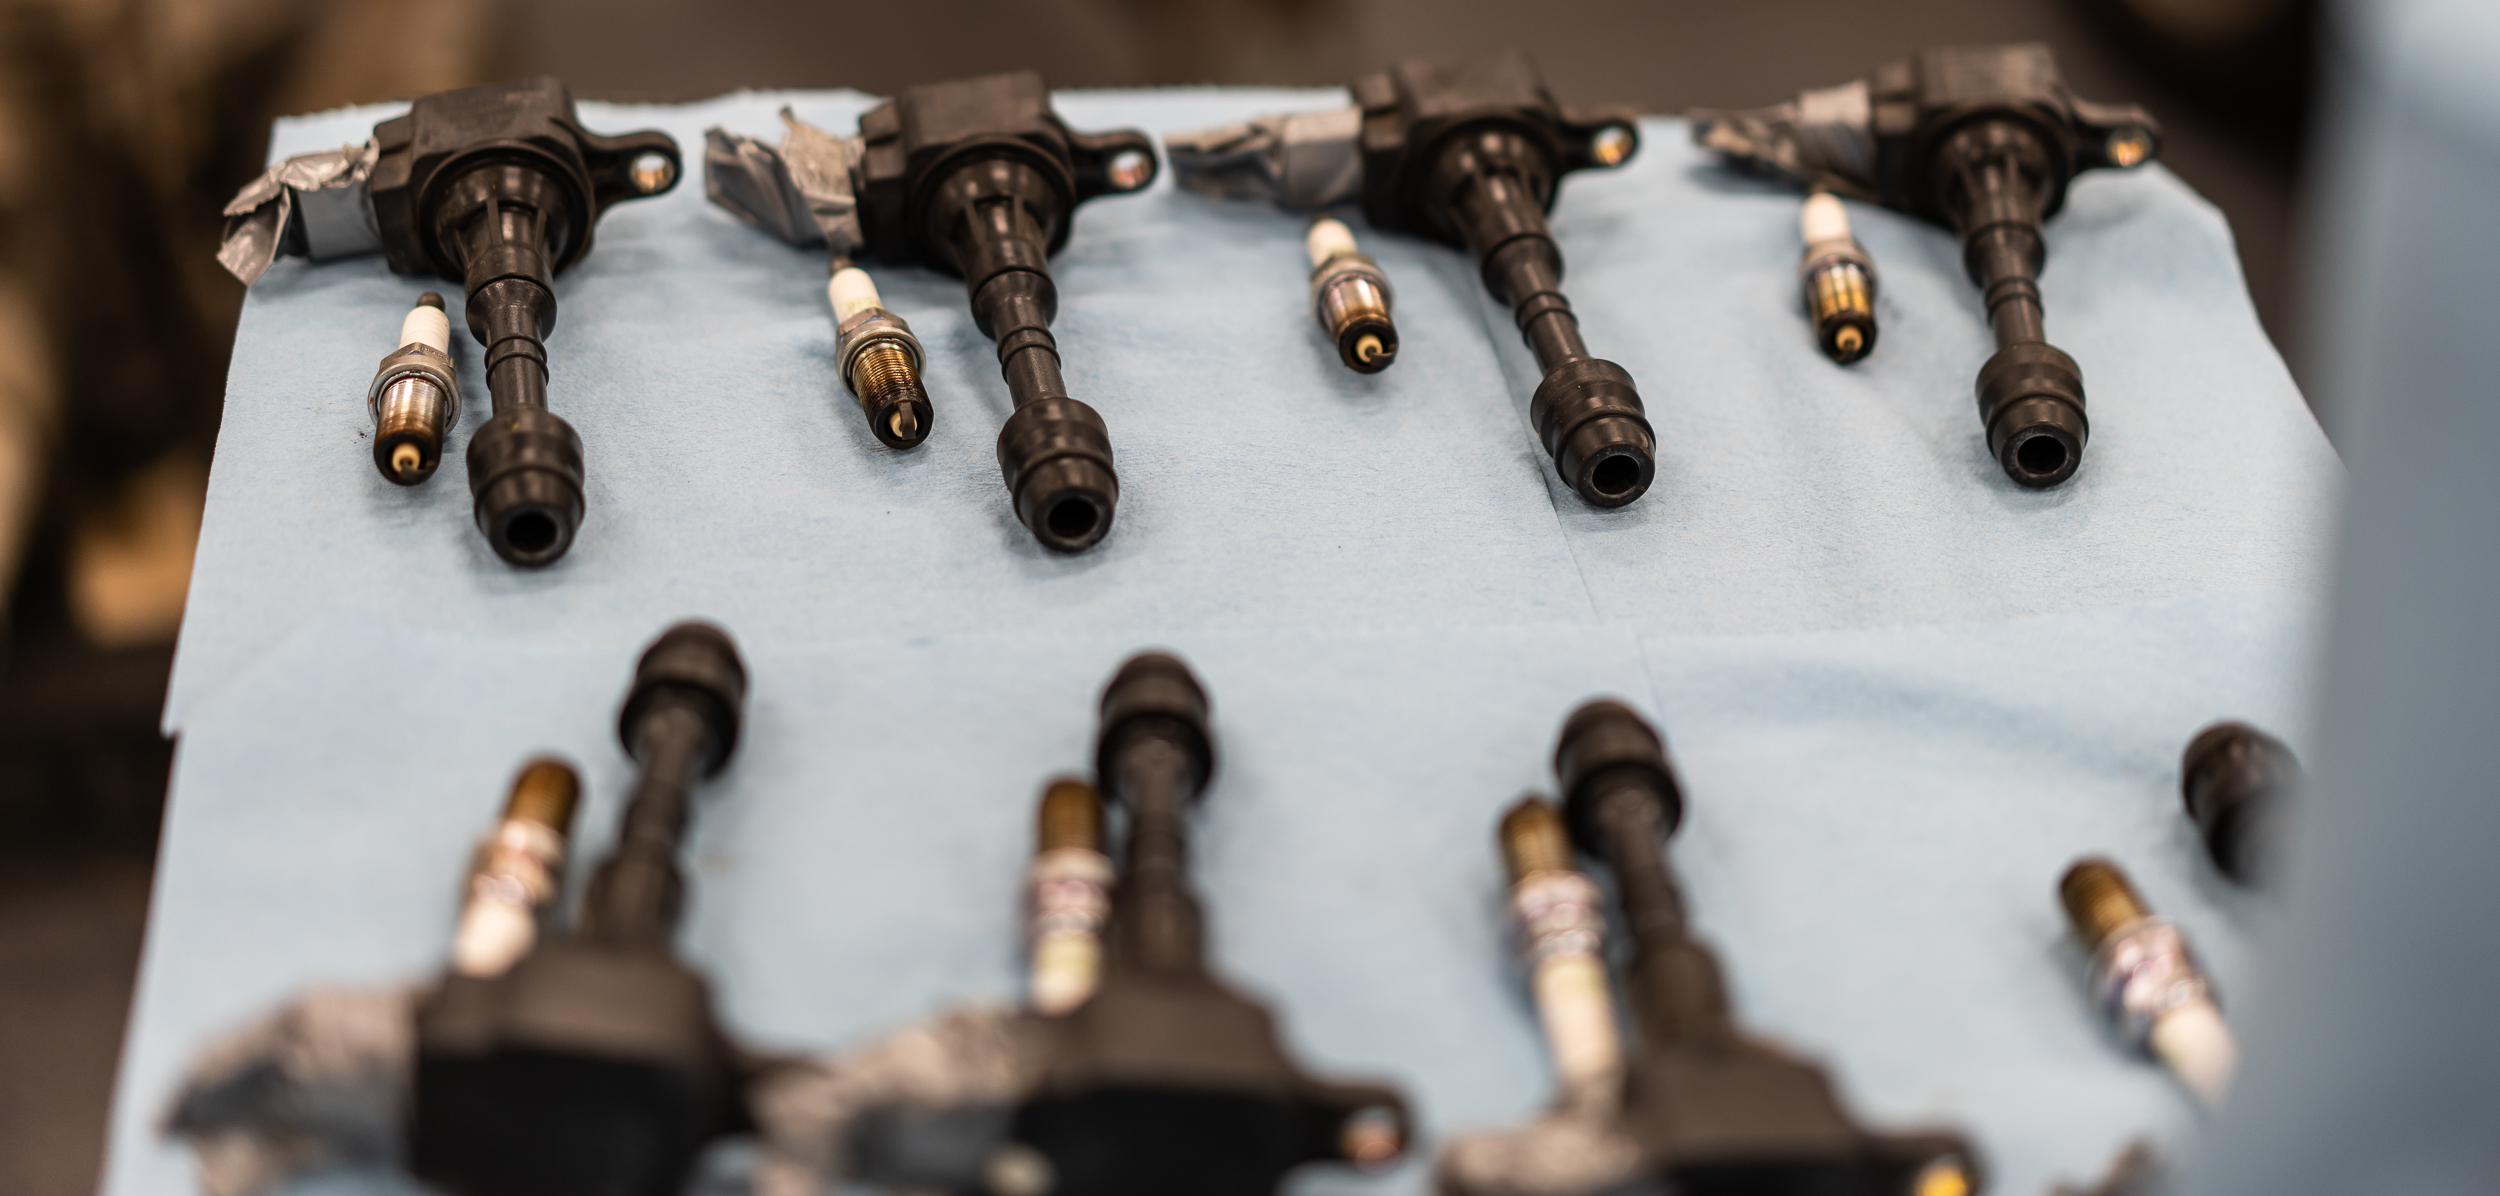
We had a bit of extra time left, so we did a compression test. One of the attractive things about this particular motor is that it came with a lot of items that are frequently not included. Starter, flex plate, ignition coils, injectors, intake manifold, throttle body, exhaust manifolds, O2 sensors, etc. So I pulled the coils and the spark plugs. The #7 coil came apart as I pulled it, but it doesn't seem terminal- are they supposed to come apart?
The plugs all looked good. A nice toasted marshmallow color.
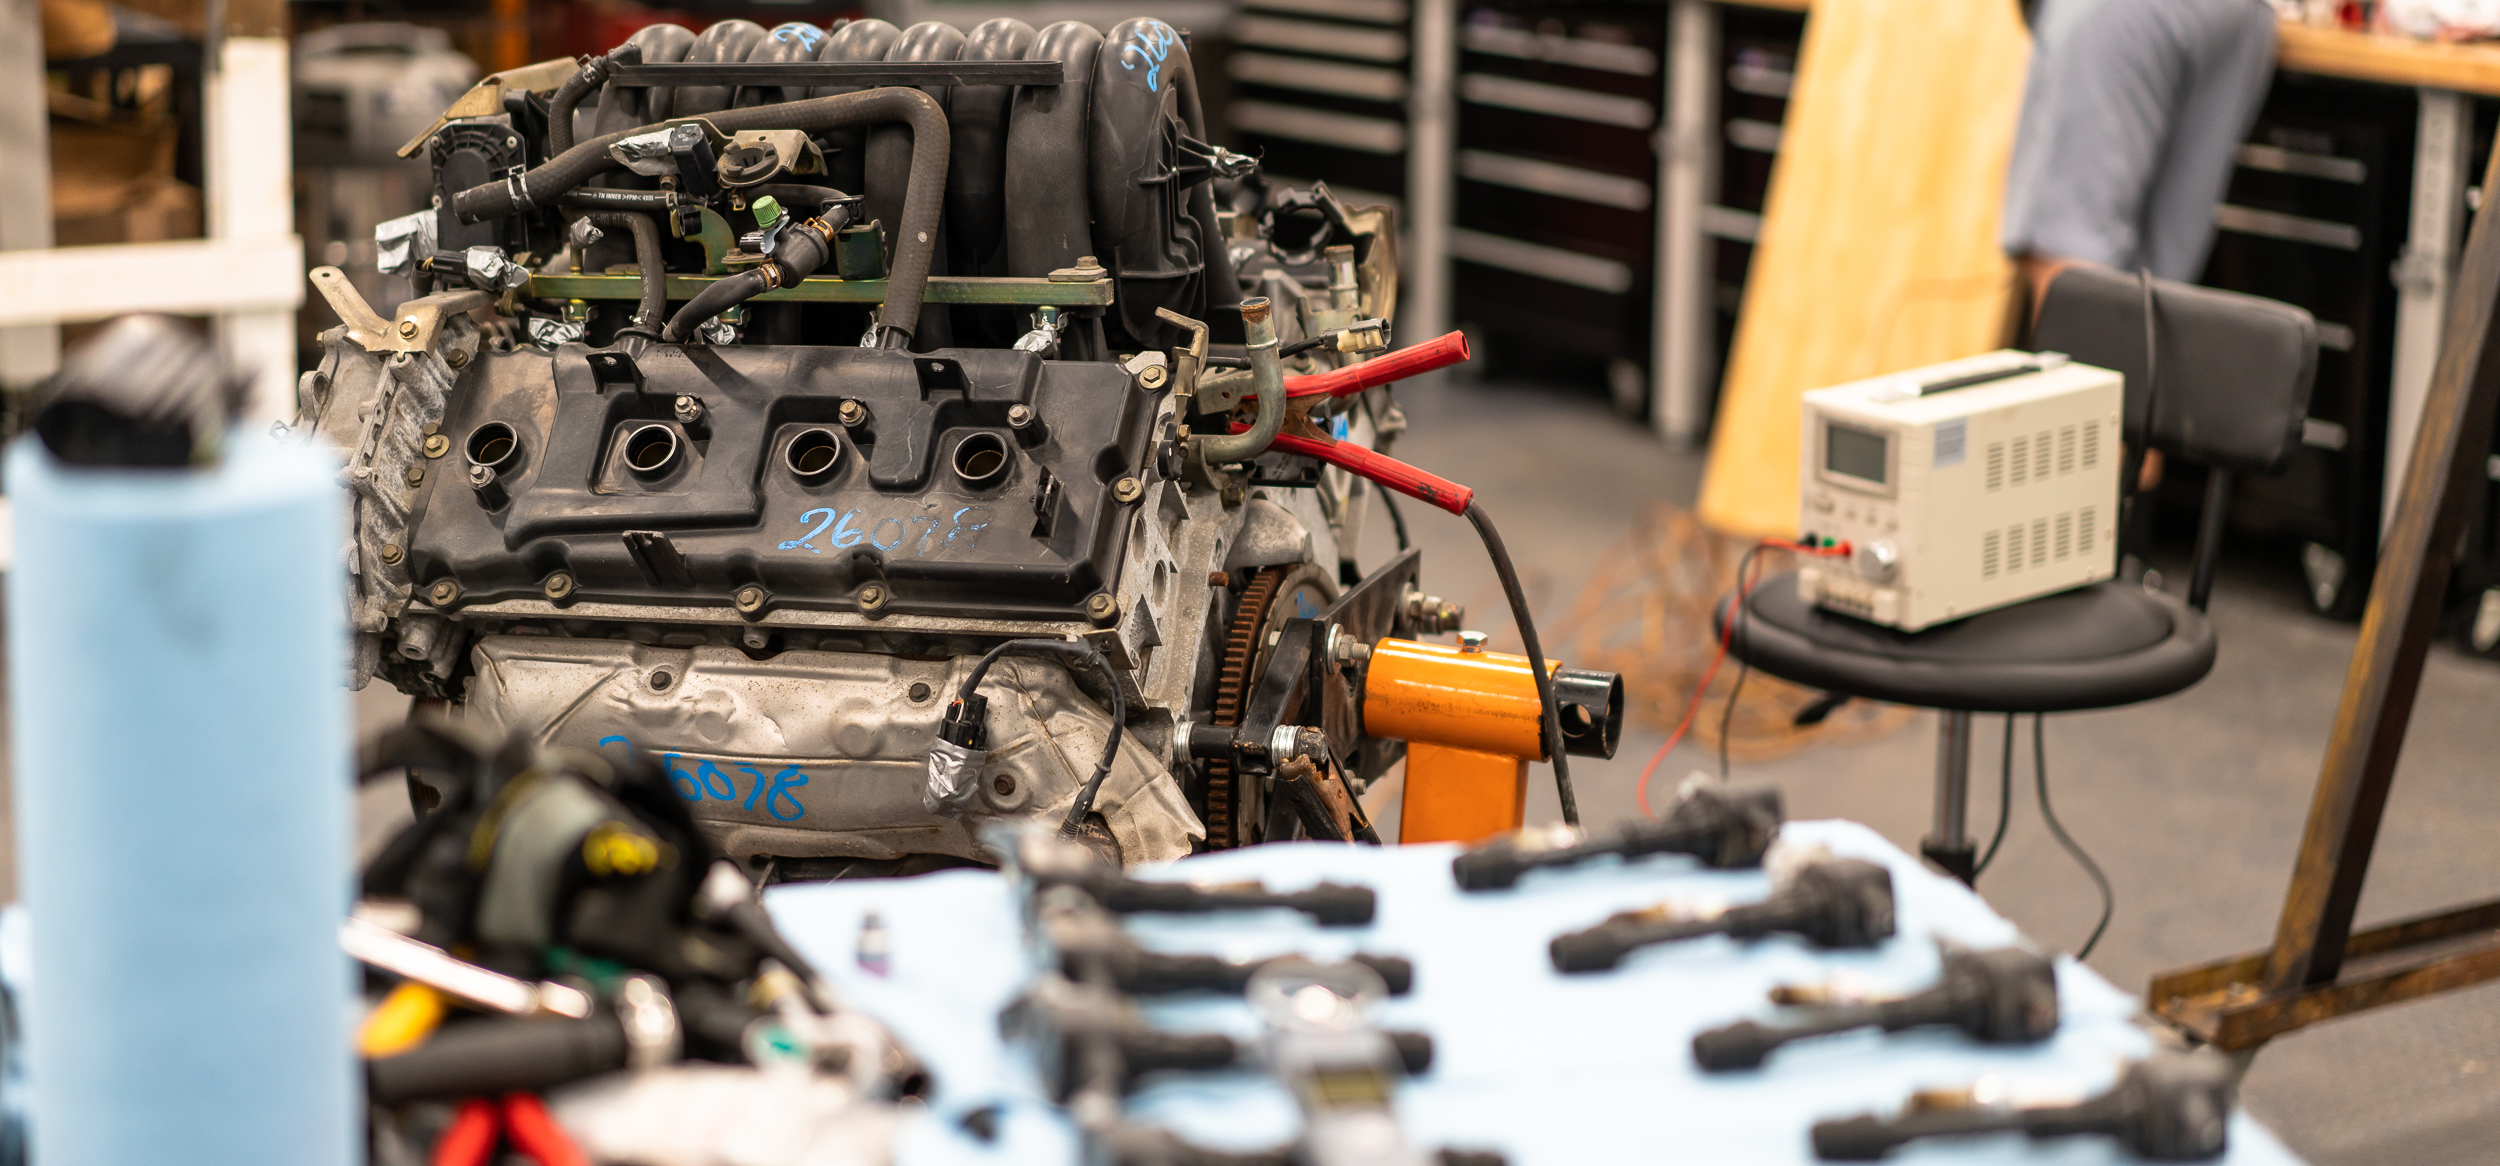
We proceeded to get a battery and jumper cables hooked up to the starter. Nik pulled out a variable power supply to trigger the solenoid, but it was limited to 3.0A, which wasn't enough to trigger the solenoid. The wire isn't that big- what is the current draw to get the solenoid to engage? Maybe I'll try to measure someday.
Anyhow, we ended up using a screwdriver to jump the solenoid, which engaged the starter, but the motor would just barely spin. Here's the setup:
We stopped for some dinner.
After dinner, we came back, put 5 qts of oil in (the recyclers had drained it before delivery) and screwed the compression tester into cylinder #1.
We jumped it again and the motor would wind around to the compression stroke on #1 and stop. Then barely make it over the top and spin until the compression stroke on #1 again. And stop, then barely make it....etc.
The motor had been sitting on a shelf for 6 months so it's possible the rings and walls were dry. We elected to do a wet compression test. I put about a tablespoon of oil into each cylinder and we tried again.
Nope, still wouldn't spin nicely.
Bad battery?
We switched to a good monster battery out of the forklift.
Nope, still wouldn't spin nicely.
At that point, we figured it must be bad contacts. Nik dug out some short leads with screw-on terminals (Nik's stash FTW again) and we bolted them onto the battery and the motor.
Whoa! Now it was turning over like it should. Check your contacts, folks.
Side note, the starter/ring gear in action was deafening, so I put on some ear protection. Is that normal?
With that sorted, we were able to go around and test the compression on all the cylinders. It came out something like this:
1: 232 psi
2: 240
3: 250
4: 250
5: 275
6: 240
7: 225
8: 240
I'm not sure what to make of the actual numbers, but I am happy to see no major problems. We'll take it.
We were out of time for the night, but I wanted to take a quick measurement now that I had the motor. How far "behind" the firewall would it protrude?
The tape sticking out is 25", about the length of the motor front-to-back. I want it sitting fully behind the strut towers, because reasons. The front of the tape is where I want the front of the motor, so the answer is:
5 inches.
The firewall will need to move at least 5" back. That sounds like a lot more than I was thinking and I'm not sure how I feel about it. Is that too much? Normal? Fine?
I have a feeling once the transmission is in place, I'll have to hire somebody to sit in the back hatch area to shift for me.
Either way, I feel very happy to have the engine in the shop. I wasn't looking forward to all the logistics of getting to this point, so I'm glad it's done.
My next step is to get an OEM wiring harness from which to harvest the connectors, then put an order in for an ECU and universal wiring harness.
Thanks for reading!
damen
Next Datsun Post: V8 Details
Previous Datsun Post: Finding A Donor Engine
All Datsun Posts: 600HP V8 Datsun 280Z


